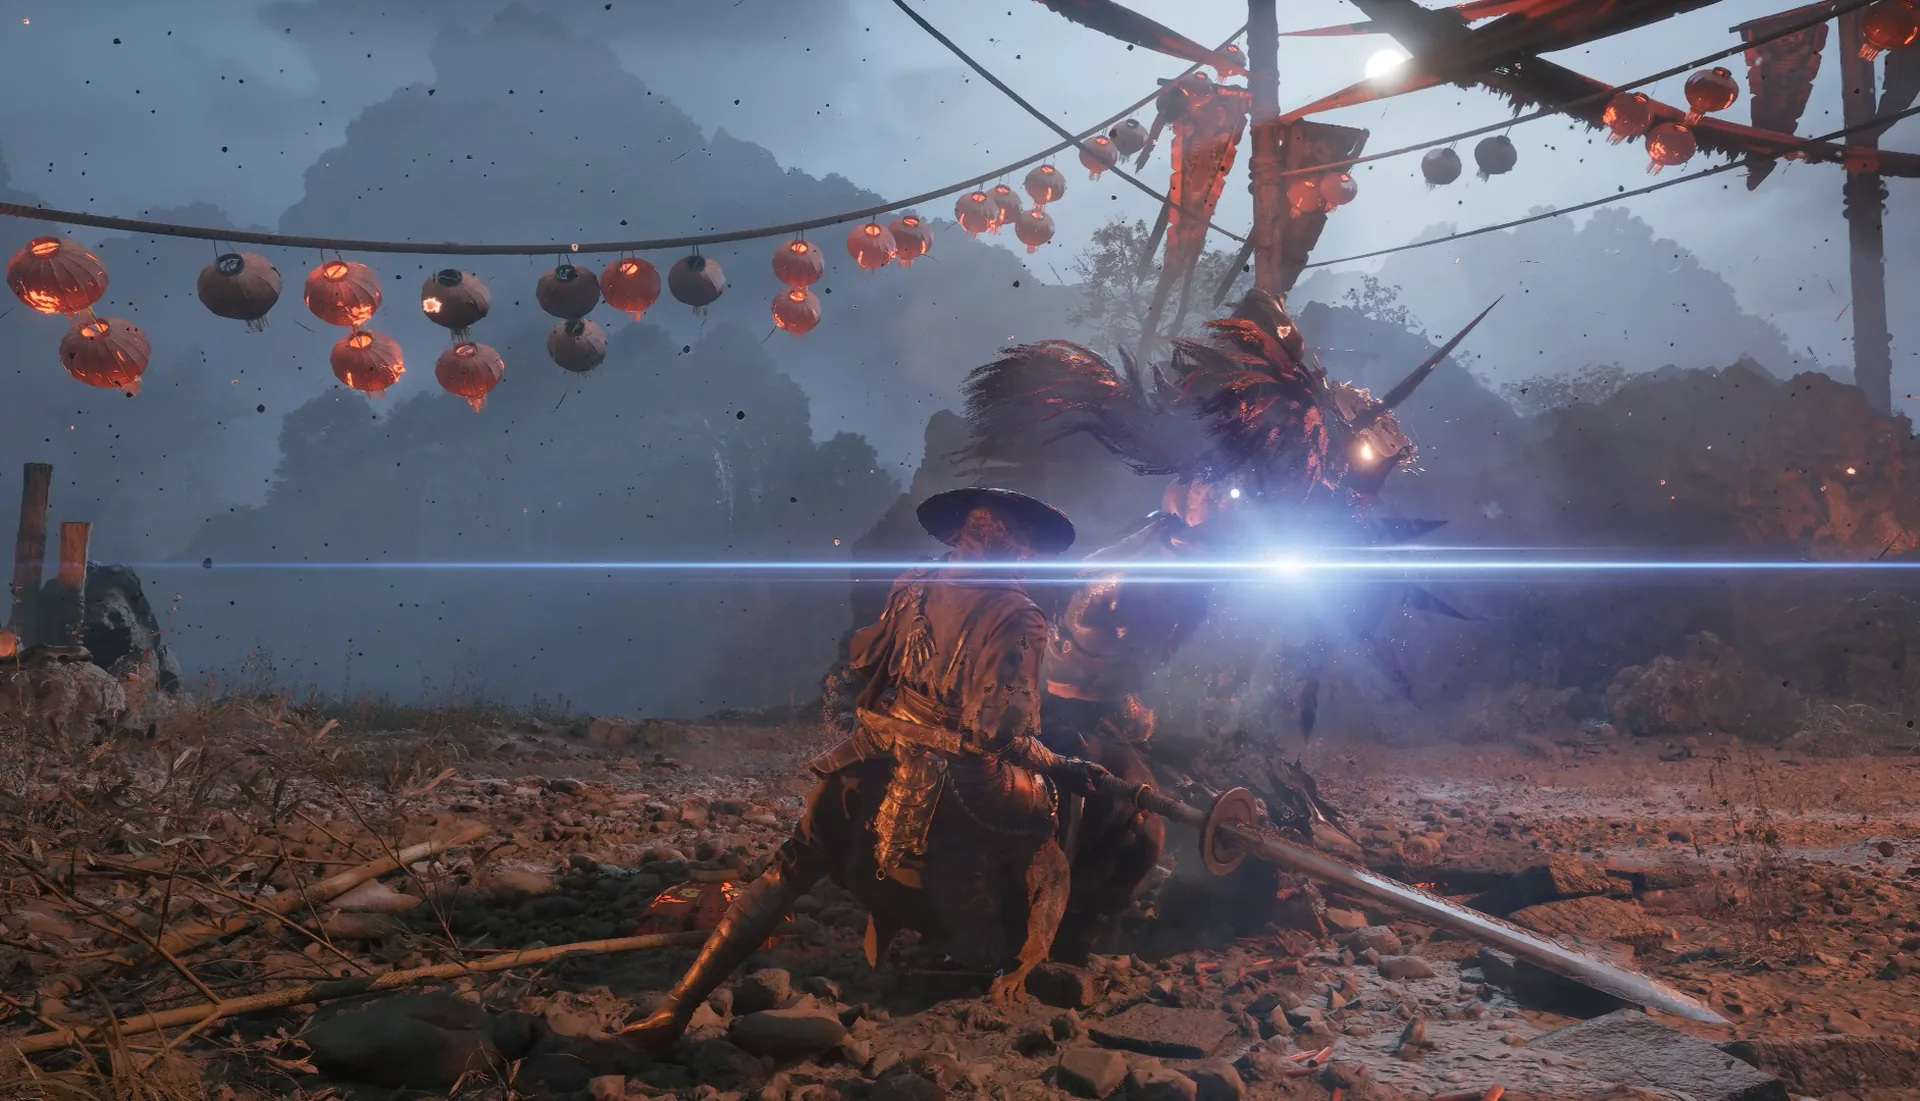
The Hunt is one character across two encounters. The first fight happens on a moving cart in the prologue, with a handful of starting tools and no room to run. The second is a full chapter boss at the Great Waterfall in Weeping Creek Valley, where the same chain-and-sickle kit returns with a second health bar and four scythes instead of one. This page covers both, in the order you meet them.
Location and unlock
The first encounter is in the Prologue, on the moving cart during the ride with Old Man Gen. It is mandatory and tutorial-paced: clear the two road enemies, then survive The Hunt before the story drops Soul into the valley. There is no unlock condition and no branch to miss.
The second encounter is The Hunt, Sixfold Scythe, the chapter boss of Steel and Steam in Weeping Creek Valley, Chapter 1. It waits at the Great Waterfall and closes the region’s main route. The Weeping Creek Valley walkthrough places it after the outpost, Peng Meng, Hua, and the Flesh Lily hand-in, as step 7 of the region route. It is mandatory, so the only requirement is following the critical path.
Reward and missable warning
The cart fight drops nothing. The Sixfold Scythe encounter drops the Hunter’s Chain Sickle, a Phantom Edge rather than a primary weapon. The edge is a three-hit chain that also works as a grapple anchor, so it is both a combat tool and a traversal key. Its temper gives the chain full damage and applies Bleed.
That traversal role matters beyond the boss: the Hunter’s Chain Sickle is the grapple prerequisite for Long Pillar 2 in Crimson Forest’s Mirrorwood / Parting Mists. Because The Hunt is mandatory, the drop itself is not missable on a completed run, but boss drops are one-per-run and enemies never respawn. Pick it up before you leave the waterfall and keep it upgraded enough to use as a tool.
Fight plan: two arenas, one rule
The rule is the same in both fights: guard the sickles, dodge the hook late. The cart is a compressed version of the waterfall duel, with less space and no phase change. Stand your ground, block the sickle strings, and wait for the hook to finish travelling before you dodge. Backing away on a moving cart is how you eat the arena edge and the chain at once.
At the waterfall, the fight has two bars: 18,720 HP, then 20,645 HP for the Sixfold Scythe phase. The chain reaches roughly 15 metres, so healing at range is not safe. His dash-in combo runs about seven hits, and the close strings are parryable. The hook grab is the move that ends most attempts, hitting for roughly 200–230 HP; dodge it late, as the chain reaches you, not on the throw animation.
The punish rhythm is one counter after a completed string. Do not try to steal a hit mid-chain. When the second bar starts, the fight adds four scythes. Move sideways, not backward: the scythes cover the retreat lane, and the chain already owns the long axis. Lateral movement keeps you inside the safe pocket and lets you re-enter after the sweep.
Attack tells
| Tell | Response | Punish |
|---|---|---|
| Sickle string at close range | Guard or parry the blue hits | One counter after the string ends |
| Dash-in combo, about seven hits | Hold guard through the sequence | Reset, do not trade mid-combo |
| Vault drop / leap | Blue streak on some leaps — parry | Short punish on landing |
| Hook grab, red flash | Dodge late, as the chain reaches you | Reposition; do not heal immediately |
| Four-sickle phase | Move sideways, not backward | Re-enter after the sweep |
| Long-range chain | Close distance or break line | Do not heal at 15 metres |
The colour grammar is the usual one: blue means parry, red means dodge. The hook is the exception players misread because the throw animation is long; the hit lands at the end of the chain’s travel, so an early dodge puts you back in the grab. The vault drop is not always a blue streak — the compendium notes it is blue on some leaps — so watch the character rather than assuming the colour.
Recommended weapon and build
Bring a parry-oriented main with a reliable guard-break. The fight rewards clean defensive sequences and one counter at a time, not long committed combos. A guard-break weapon shortens the wait between strings, and a second weapon gives you a Sha-Chi refill through the swap attack when the bar runs dry.
No elemental shortcut is documented for The Hunt. Do not build around Bleed for the boss itself; the chain edge’s Bleed temper is a bonus, not the plan. For the cart, the starting sword is enough — the encounter is tuned as a tutorial. For the waterfall, use whatever carried you through Peng Meng. The best builds guide covers the parry-first options that hold up in the valley, and the boss order guide places both encounters in sequence.
Common mistakes
- Dodging the hook on the throw animation. The grab lands late, as the chain reaches you.
- Backpedalling in the four-sickle phase. The scythes cover the retreat lane; move sideways.
- Healing at chain range. The chain reaches about 15 metres, further than the arena reads.
- Trading inside the seven-hit dash combo. Guard the sequence, then punish the recovery.
- Leaving without the Hunter’s Chain Sickle. It is the grapple tool for Long Pillar 2.
- Waiting for a third phase. The Sixfold Scythe bar is the end of the fight.
Sources & confidence
The two-encounter structure, the 18,720 and 20,645 HP values, the 15-metre chain, the seven-hit dash combo, the 200–230 hook damage, and the late-dodge timing come from the AllThingsHow fight breakdown, cross-checked against KeenGamer and the Kungfupunk walkthrough. The Long Pillar grapple prerequisite comes from the site’s Weeping Creek Valley and Long Pillars guides. The exact second-phase scythe count is from a single reliable breakdown; treat it as directional rather than frame-perfect. No elemental weakness is documented, so none is claimed here.
Sources & further reading
- The Hunt boss fight — AllThingsHow
- All bosses and rewards — KeenGamer
- Phantom Blade Zero walkthrough — Kungfupunk
- Phantom Edge locations — Fextralife
We link to the primary source for every hard number. If a source conflicts, we say so in the text.
By the PBZ Guide Team · Reviewed by the editorial desk Written in English from primary sources and cross-checked play routes. Spot an error? Tell us and we will update the guide. We link to the primary source for every hard number. If a source conflicts, we say so in the text.