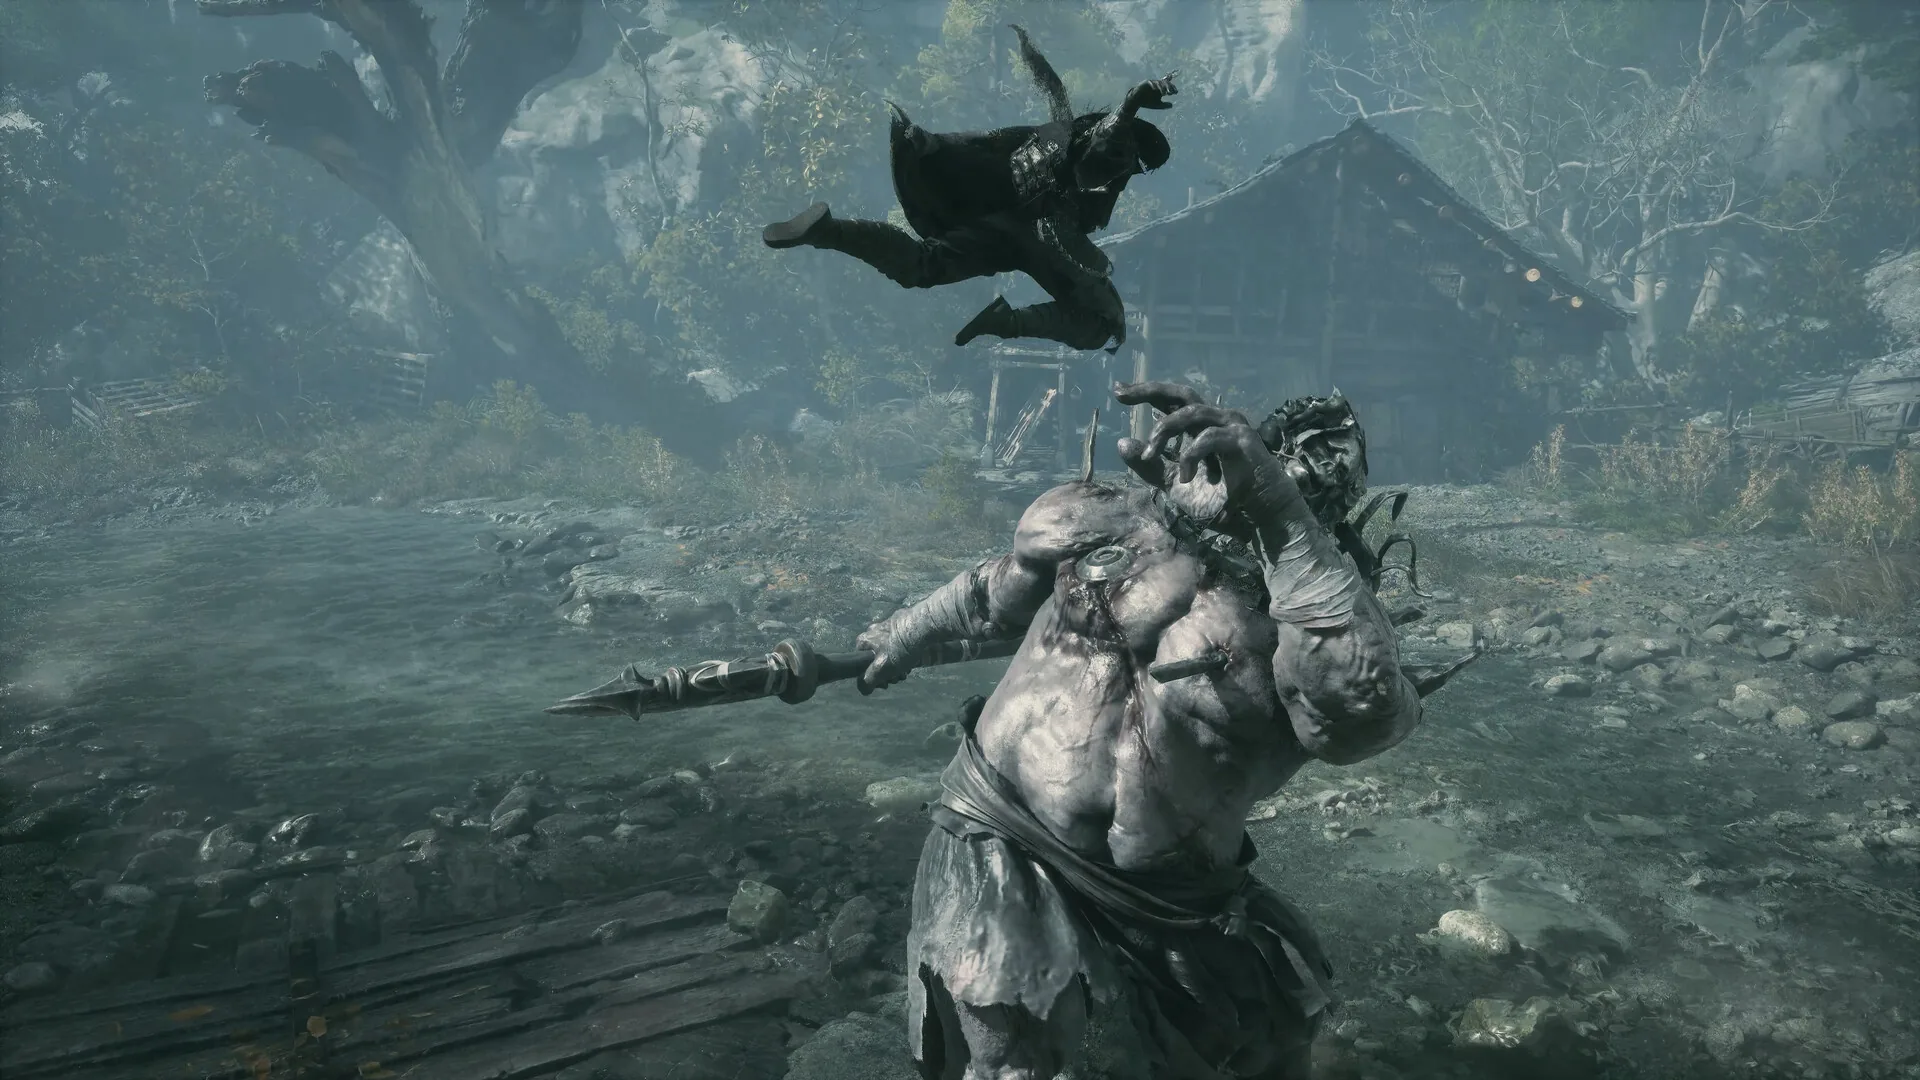
Flame is the Lion Dance Hall’s two-phase set piece and one of Pangzhen’s best fights. The first phase is a fire-and-chain duel; the second turns the arena into a burning pole stage with summoned Ho-Ho dancers. The fight is tuned around one defensive rule — the fire stream breaks guard, so dash sideways instead of blocking — and one execution prompt that players miss because it looks like a phase transition.
Location and unlock
Flame is a main-path boss in Pangzhen, Chapter 4, fought at the Lion Dance Hall. He is the region’s fifth mandatory boss, after Blaze, Cavalrybane, Wu Xuan, and Gu Wanyue, and before the Mandate detour and the later Green Serpent House block.
The Pangzhen route places him at step 5: open the Lion Dance Hall and defeat Flame for the Dormant Flaming Mane, then return to Lei Dang at Jingyang Hall to receive the Flaming Mane. The fight is mandatory; the follow-up hand-in is the part that turns the drop into a usable tool.
Reward and missable warning
The drop is the Dormant Flaming Mane. Taken to Lei Dang at Jingyang Hall, it becomes the Flaming Mane, an Artifice Phantom Edge that projects a flame stream, ignites, and burns brambles; its temper converts it to Chaotic Flame. The Flaming Mane is a route key, not just a weapon: it burns the brambles near the Pond of Fading Song for Leiting’s Thunder Mask, and it is used for the Red and Black Serpent House relics.
That makes the post-fight hand-in time-sensitive in practice. If you skip Lei Dang, you lose access to a mask and a Serpent key chain. The Pangzhen walkthrough and the Acolyte Masks guide track the dependencies. Boss drops are one-per-run.
Fight plan: phase one fire, phase two poles
Phase one: 88,830 HP. Flame fights with a censer-and-chain kit and a fire repertoire. The critical rule is the fire stream: it breaks guard, so do not block it. Dash sideways out of the lane, then re-enter after the stream ends. The rest of the phase includes a fireball/column, a leaping slam, and a charge. Punish after the slam and after the charge — those are the documented recovery windows.
Phase two: 98,700 HP, Final Dance. The arena changes. Flame adds a head thrust, a wide sweep, and another leap; he also perches on burning poles and summons Ho-Ho dancers. Do not attack the poles. The dancers are the objective, and the last one is the exit.
The Ho-Ho execution. The last Ho-Ho stops at roughly 25% health and must be executed with the interact prompt (E) to end the pole phase. This is the fight’s biggest tripwire: players keep attacking a dancer that is already defeated, or wait for a health bar to empty, and the pole phase drags on while the arena burns. When the last dancer stops, take the prompt.
Attack tells
| Tell | Response | Punish |
|---|---|---|
| Fire stream | Dash sideways — it breaks guard | Re-enter after it ends |
| Fireball / fire column | Sidestep the lane | Punish the recovery |
| Leaping slam | Dodge the impact | Punish after the slam |
| Charge | Sidestep, do not backpedal | Punish after the charge |
| Head thrust (phase 2) | Dodge | Short counter |
| Wide sweep (phase 2) | Guard or parry the blue portion | Punish after the sweep |
| Burning poles / Ho-Ho dancers | Do not attack poles | Execute the last Ho-Ho at ~25% |
The fire stream is the one tell that ignores the normal guard plan. Everything else follows blue-parry / red-dodge, with the slam and charge as the reliable punish windows.
Recommended weapon and build
Bring Flameward. The accessory cuts fire damage and Burn by 50%, and it is the single strongest documented pick for this fight. If you do not have it, build for fire resistance and survivability rather than raw damage.
A fast main with a short punish fits the slam and charge windows. A guard-break option helps in phase two, but the pole phase is about target priority and the execution prompt, not shield pressure. No elemental weakness is documented for Flame; do not assume water or frost is a shortcut. The best builds guide covers the fire-resistant setup, and the combat system explained covers the guard-break interaction.
Common mistakes
- Blocking the fire stream. It breaks guard; dash sideways.
- Attacking the burning poles. They are scenery; the Ho-Ho dancers are the objective.
- Waiting for the last Ho-Ho’s bar to empty. Execute it at roughly 25% with the prompt.
- Healing at range in phase one. The chain and fire cover the retreat lane.
- Backpedalling the charge. Sidestep it.
- Skipping the Lei Dang hand-in. The Dormant Flaming Mane is not the Flaming Mane.
- Forgetting the mask and Serpent key dependencies. The Flaming Mane is a route tool.
Sources & confidence
The 88,830 and 98,700 HP values, the fire-stream guard break, the dash-sideways response, the fireball/column, leaping slam, charge, phase-two head thrust, wide sweep, leap, burning poles, Ho-Ho dancers, and the ~25% execution prompt all come from the AllThingsHow Lion Dance Grandmaster breakdown, cross-checked against KeenGamer and the Pangzhen route. Flameward’s 50% fire/Burn reduction comes from the accessory guide. The Dormant Flaming Mane’s repair into the Flaming Mane and its bramble/mask role come from the Phantom Edges table and the Acolyte Masks route. No elemental weakness is documented, so none is claimed.
Sources & further reading
- Lion Dance Grandmaster boss fight — AllThingsHow
- All bosses and rewards — KeenGamer
- Pangzhen walkthrough — PowerPyx
- Phantom Edge locations — Fextralife
We link to the primary source for every hard number. If a source conflicts, we say so in the text.
By the PBZ Guide Team · Reviewed by the editorial desk Written in English from primary sources and cross-checked play routes. Spot an error? Tell us and we will update the guide. We link to the primary source for every hard number. If a source conflicts, we say so in the text.