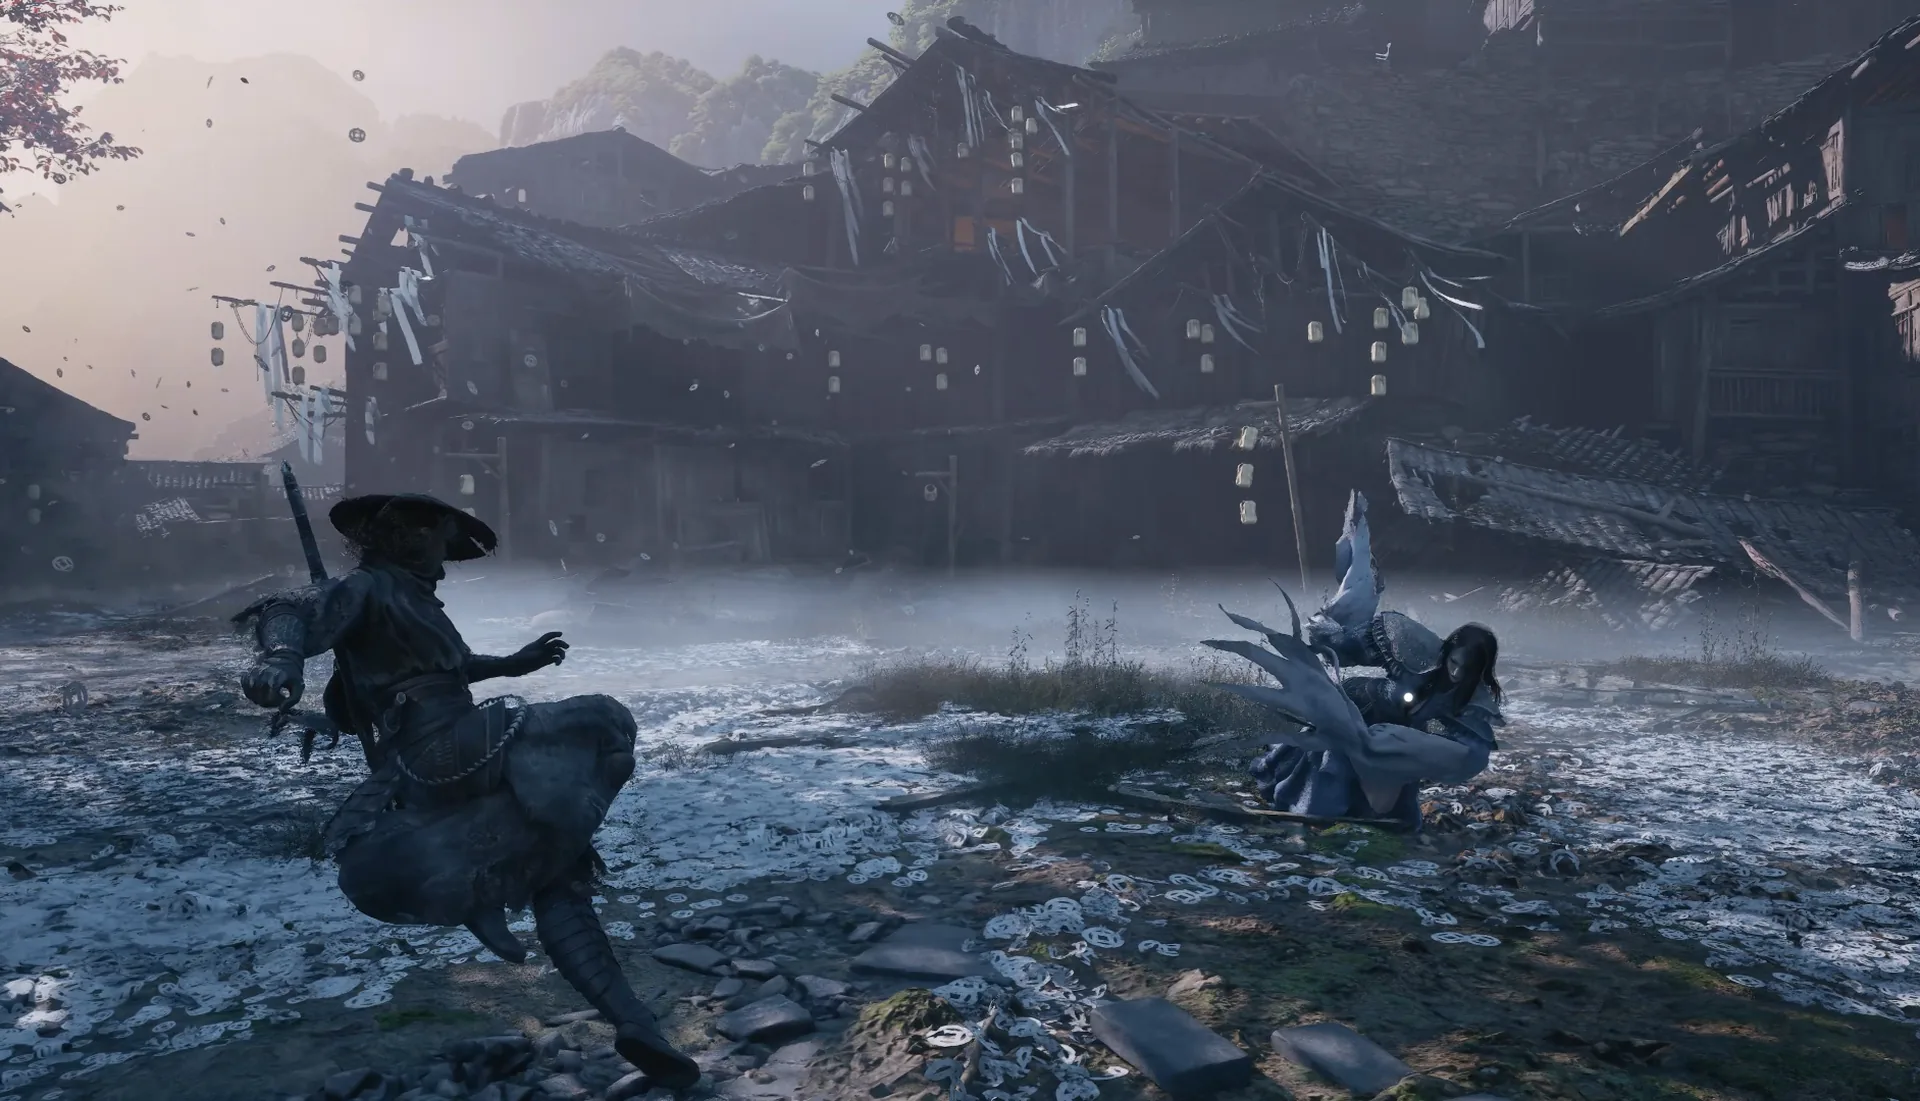
Meng Hua is the Normal ending’s final boss and the visual centrepiece of Mount Soulrend. The arena starts as a pink shore and drains to black-and-white as the fight escalates; the boss is a many-limbed figure on a pedestal, and the kit is built from exploding blossoms, rotating lasers, and a white-orb charge that darkens the screen before a red attack. The fight is a mobility check with one collectible that changes the finish.
Location and unlock
Meng Hua is a main-path boss on Mount Soulrend, Chapters 11–12, fought at Soulrend Cliff. She is the final mandatory fight of the Normal route, after Leng Tu, and the encounter that triggers the Normal ending if you have not opened the true-ending path.
The Mount Soulrend route places her at step 6: defeat Leng Tu, then defeat Meng Hua for Lady’s Fan, Lady’s Crown, and Herald’s Lingering Threads. There is no unlock condition beyond the ascent. If the true-ending flags are set, the gold portal to The Fallen Dream appears after her.
Reward and missable warning
The drop is the Lady’s Fan, a two-handed weapon built on Arcane Sigils (Fire, Lightning, Ice), Sigil Burst, and at Lv25 a third sigil plus a Chaos beam. The route also lists Lady’s Crown and Herald’s Lingering Threads as drops, so the reward package is larger than the boss table’s single line.
Meng Hua is mandatory, so the main drop is not missable. The true-ending window is the thing to watch: if you want the gold portal, the lake quest, all five Long Pillars, and the rest of the checklist must be done before this point. The true ending checklist tracks the flags, and the Mount Soulrend walkthrough tracks the final approach.
Fight plan: stay mobile, read the orb, collect the fragments
Meng Hua has 185,100 HP. The fight is a mobility and positioning check rather than a parry duel.
Stay mobile during the lasers. The rotating lasers are the signature hazard. Do not stand still to finish a combo; jump or dodge through the gaps, then re-enter. The compendium’s most common mistake is exactly this: standing still during the laser phase.
Read the white orb. The white orb charge → screen darkens → red attack sequence is the fight’s big tell. When the screen darkens, the red follow-up is coming; dodge it immediately rather than waiting for the animation to resolve. The compendium notes the colour-drain trigger is unpublished, so do not assume the black-and-white shift is a phase timer you can predict.
Collect the dark fragments. The dark fragments blunt the world-ending finisher. Pick them up as you move through the arena; they are the fight’s defensive collectible. If you ignore them, the finisher is harder to survive.
Respect the blossoms. The exploding blossoms are area denial. Treat them as ground hazards and keep a lane open rather than backpedalling into a fresh bloom.
No full moveset or attack names are published. The compendium explicitly flags Meng Hua’s attack names and colour-drain trigger as unpublished, so this page stays with the verified behaviours: lasers, blossoms, orb-to-red, fragments, and the finisher.
Attack tells
| Tell | Response | Punish |
|---|---|---|
| Rotating lasers | Jump or dodge through the gap | Re-enter after the sweep |
| Exploding blossom | Leave the bloom | Reposition |
| White orb charge | Wait for the screen darken | Dodge the red follow-up |
| Screen darkens | Dodge immediately | Do not wait |
| Dark fragments | Collect them | Blunts the finisher |
| World-ending finisher | Use the fragments, keep moving | Survive, then reset |
The white-orb sequence is the one to learn. The red attack lands after the screen darkens, not on the orb itself; dodge on the darkening.
Recommended weapon and build
Bring a mobile main with a short punish. The fight is about moving through lasers and blossoms, so a weapon that commits to a long animation will leave you in a hazard. A fast weapon lets you take one hit between patterns and reset.
The Lady’s Fan is the reward, and its Arcane Sigils give it elemental coverage, but it is not required for the fight. No elemental weakness is documented for Meng Hua; the compendium notes that elemental multipliers are datamine-only and uncorroborated, so do not treat any element as a verified shortcut. The best builds guide covers the mobile options for the final region.
Common mistakes
- Standing still during the lasers. Move through the gaps.
- Dodging the white orb instead of the red follow-up. The red lands after the screen darkens.
- Ignoring the dark fragments. They blunt the finisher.
- Backpedalling into a blossom. Keep a lane open.
- Treating the black-and-white shift as a predictable phase timer. The trigger is unpublished.
- Expecting a named moveset. The compendium flags the attack names as unpublished.
- Forgetting the true-ending flags. The gold portal only appears if the checklist is complete.
Sources & confidence
The 185,100 HP figure, the pink-to-black-and-white arena, the many-limbed pedestal figure, the exploding blossoms, rotating lasers, white-orb-to-red sequence, the dark fragments, the world-ending finisher, the stay-mobile advice, and the common mistake come from the Phantom Blade Atlas Meng Hua guide, cross-checked against KeenGamer and the Mount Soulrend route. The Lady’s Fan’s Arcane Sigils, Sigil Burst, and Lv25 Chaos beam come from the all-weapons table. The compendium explicitly flags Meng Hua’s attack names and colour-drain trigger as unpublished, and the elemental multipliers as datamine-only; this page does not present either as confirmed.
Sources & further reading
- Meng Hua boss guide — Phantom Blade Atlas
- All bosses and rewards — KeenGamer
- Mount Soulrend walkthrough — PowerPyx
- All weapons and locations — KeenGamer
We link to the primary source for every hard number. If a source conflicts, we say so in the text.
By the PBZ Guide Team · Reviewed by the editorial desk Written in English from primary sources and cross-checked play routes. Spot an error? Tell us and we will update the guide. We link to the primary source for every hard number. If a source conflicts, we say so in the text.