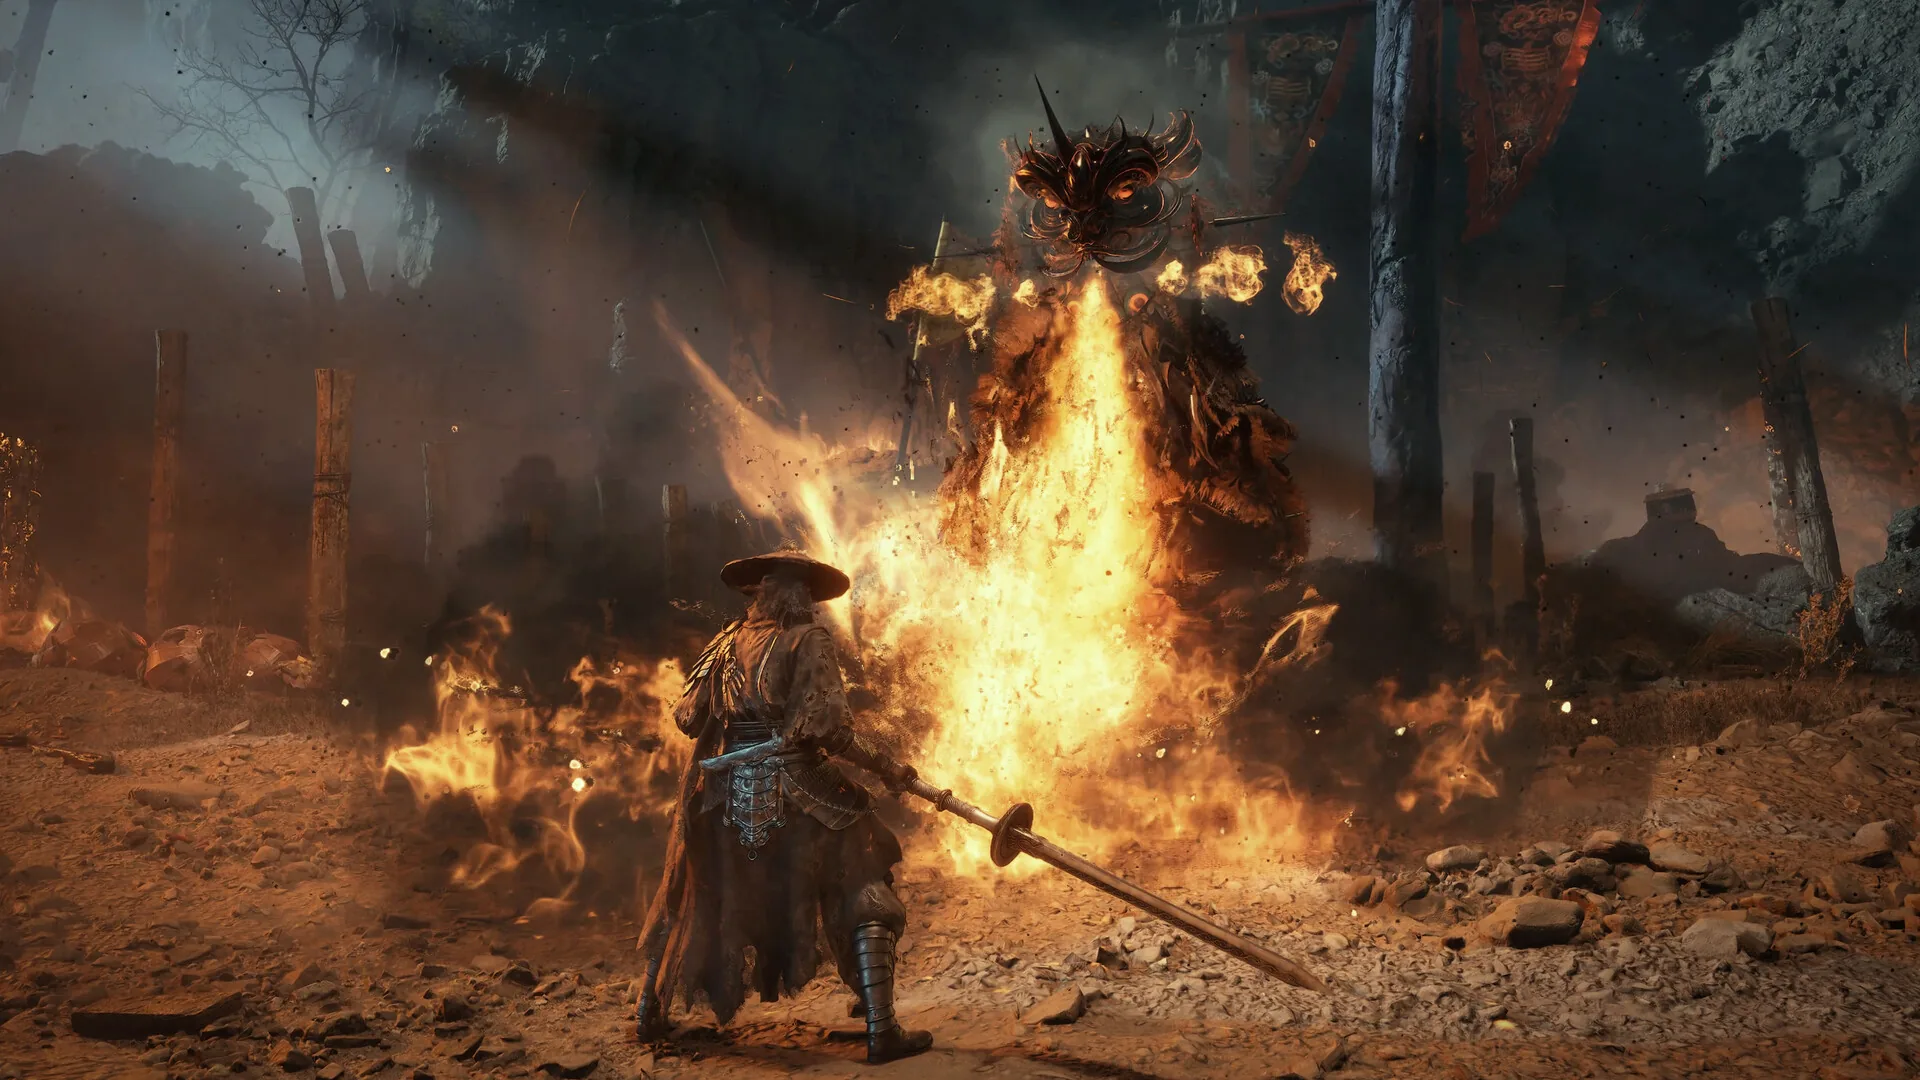
Bi Feng is one half of the Two Blade Masters and the most commonly missed true-ending pair in the game. He is optional on the Mountain of Imprisonment’s boss list — the region has no strictly mandatory fight for a Normal run — but skipping him locks the true ending. The fight itself is a heavy-weapon brawl: wide sweeps, a leaping slam, and a spin that covers every side.
Location and unlock
Bi Feng waits at the Commander’s Platform in the Mountain of Imprisonment, Chapter 6. The region route runs The Lady’s Path, Commander’s Platform, Shrine Outer Gate, The Lady’s Shrine, then the shrine hall. Bi Feng is the second stop, and the game lets you walk past him.
Do not. The Two Blade Masters achievement requires both Bi Feng and Zhu Yuan at the Sha-Chi Tower bottom in Pangzhen. Both are optional individually. Both are required for the true ending. The compendium calls them the most-missed pair in the game, and the region cutoff at the Green Serpent House is what turns that miss into a permanent one.
Reward and missable warning
Defeating Bi Feng grants Juggernaut, the boss’s heavy weapon drop. Boss drops are one-per-run and defeated bosses never respawn, so there is no second chance on the current save.
The reward is not the main reason to be here. The main reason is the true-ending flag. If you skip Bi Feng, you can still finish the Normal ending, but the Two Blade Masters gate stays closed. That is a route-level missable, not a combat one, and it is easy to walk past because the Mountain’s main path does not force the fight.
Fight plan and phases
Bi Feng has 135,180 HP and no documented phase split. Plan for one continuous bar and a fight that gets more dangerous as the arena fills with debris.
His kit is built around wide arcs and close-range pressure:
- Wide sweep — a spacing check; do not stand in the arc.
- Leaping slam with rocks and a red streak — the slam leaves rocks on the ground, so your punish route has to account for them.
- Flung debris — move laterally rather than backing into the next piece.
- Long thrust — one of your cleanest punishes after a sidestep.
- Full-circle spin — it covers every side. Do not hug him during it.
- Red flash into grab — unblockable; dodge it.
- Close combos — the reason healing beside him is a bad idea.
Punish after the slam, the thrust, and the spin. The slam is the biggest window, but the rocks linger; wait for the debris to settle before you step in. The thrust is the safest short punish. The spin is the one that catches greedy players: it looks like a move you can roll through and punish immediately, but the recovery is designed to catch exactly that. Back off, let it finish, then take your hits.
Attack tells and red/blue/black handling
| Tell | Response | Punish |
|---|---|---|
| Red flash into grab | Dodge, never block | Reset |
| Leaping slam, red streak | Dodge the impact | Combo after the rocks settle |
| Wide sweep | Move out of the arc | Short punish |
| Long thrust | Sidestep | Combo |
| Full-circle spin | Back off, do not hug | Combo after recovery |
| Flung debris | Move laterally | Reposition |
The red-flash grab is the clearest colour rule: red means dodge, and the grab is unblockable. The spin is a movement check, not a parry check. The compendium does not publish a black-flash tell for Bi Feng, so do not import a smoke habit from another boss. The third pressure here is the debris field, which is environmental rather than colour-coded.
Recommended weapon and build
Bring a guard-break main for the fight. The compendium’s build note is simple: Juggernaut is the drop, and a guard-break weapon is the right pre-fight choice. Do not sacrifice recovery for reach; the spin and the grab both punish long animations.
No elemental shortcut is documented. Build for stability: a weapon you can parry with, a guard-break option for the windows, and enough survivability to eat one mistake without losing the run. Keep a weapon switch available for Sha-Chi refills, and enter with full gourds because the debris field limits your safe healing spots.
Common mistakes
- Hugging him during the spin. It covers every side.
- Punishing the slam before the rocks settle. The debris is still active.
- Blocking the red-flash grab. It is unblockable.
- Skipping him. He is required for the true ending.
- Healing at close range. His combos punish the animation.
- Backing into flung debris. Move laterally.
- Leaving the Mountain without Zhu Yuan handled too. The pair is the gate.
Sources & confidence
This guide draws on the AllThingsHow Bi Feng breakdown, cross-checked against phantomblade.guide’s boss database and KeenGamer’s boss-and-rewards list for placement and reward. The 135,180 HP figure, the wide sweep, the leaping slam and lingering rocks, the flung debris, the long thrust, the full-circle spin, the red-flash grab, and the Juggernaut drop are from the sourced breakdown. The Two Blade Masters requirement and the most-missed framing come from the compendium’s achievement section and the boss-order guide. The exact true-ending flag logic is guide-derived rather than datamined.
Sources & further reading
- Bi Feng boss fight — AllThingsHow
- Boss database — phantomblade.guide
- All bosses and rewards — KeenGamer
We link to the primary source for every hard number. If a source conflicts, we say so in the text.
By the PBZ Guide Team · Reviewed by the editorial desk Written in English from primary sources and cross-checked play routes. Spot an error? Tell us and we will update the guide. We link to the primary source for every hard number. If a source conflicts, we say so in the text.