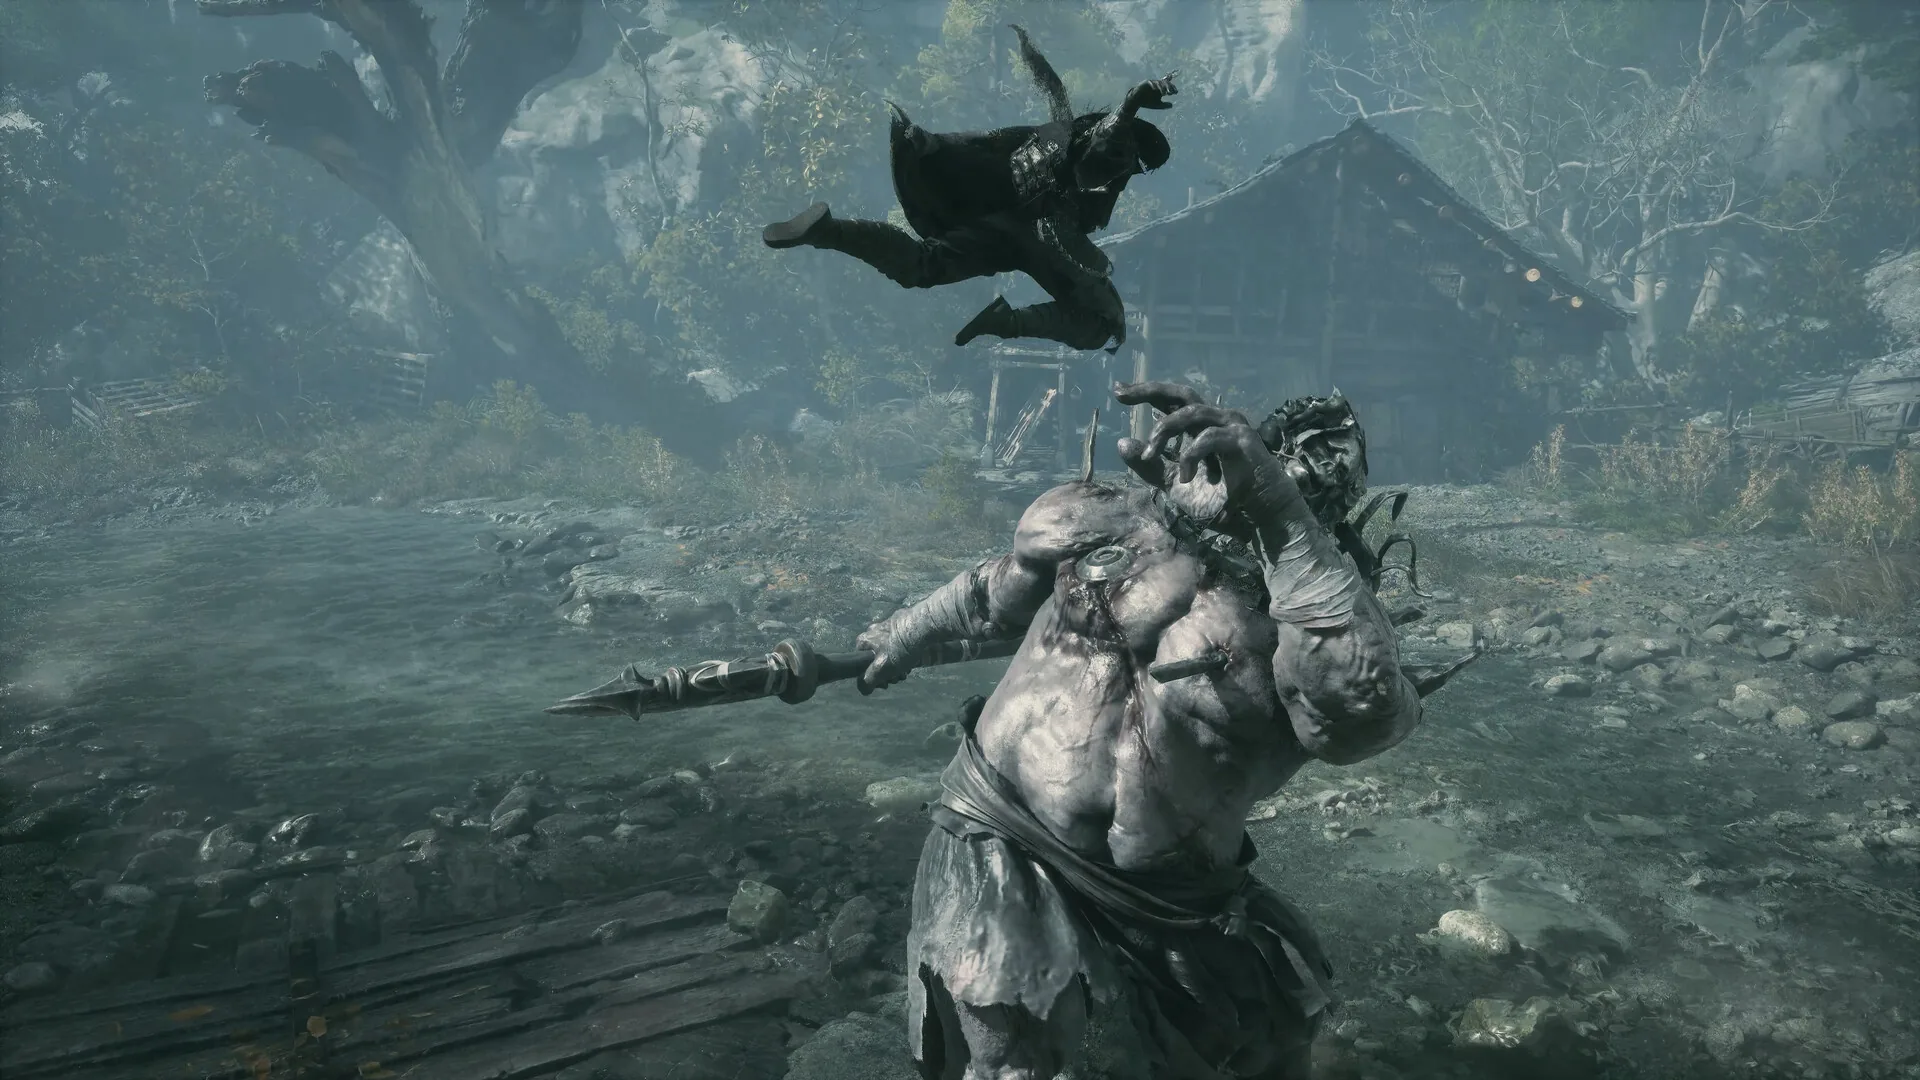
Lei Dang is the friendly artificer who repairs your Flaming Mane in Pangzhen, and then the last mandatory boss of Mirage Estate. The fight is a ranged-pressure duel: he wants you at distance, his phase two turns the arena floor into a hazard, and the move that punishes most players is not a projectile at all. It is the grab he throws out after his swing when you think you have earned a punish.
Location and unlock
Lei Dang is a main-path boss in Mirage Estate, Chapter 10, fought at the Perfect Vessel Pond. You cannot miss him. The route runs Opera House, Mourning Hall for Qiu Feng, Training Grounds for Yuding, the optional Mirage Long Pillar for Mo Yuan, then the Covered Corridor and Willow Pavilion to the Perfect Vessel Estate. Defeating Lei Dang opens the path to Mount Soulrend.
There is no special unlock condition beyond reaching the pond, but the region itself is gated behind the Green Serpent House in Pangzhen. Entering Mirage Estate is the first true-ending cutoff, so if you arrive without the lake quest, the Crystal Eyes, or the first four Lóng Pillars finished, the fight is the least of your problems.
Reward and missable warning
Defeating Lei Dang grants the Tiger Cannon. Boss drops are one-per-run and defeated bosses never respawn, so this is your only chance at the weapon on the current playthrough. The compendium does not attach an achievement or trophy to the drop.
Nothing about Lei Dang himself is missable if you finish Mirage Estate, but everything around him is time-sensitive. The fifth Lóng Pillar against Mo Yuan is in the same region and must be done before you leave; the path to Mount Soulrend opens immediately after Lei Dang, and there is no backtracking to the estate’s optional areas. Finish Mo Yuan and Quick Hand’s last treasures before you commit to the pond.
Fight plan and phases
Lei Dang has 166,590 HP in phase one and 185,100 HP in phase two, the One-Armed Tiger form. Phase two is a checkpoint: dying there restarts you at phase two with full health and heals, so phase one is the part you can afford to learn by taking risks.
Phase one is a ranged duel. The long red aim line is a far shot: dodge sideways, not backward. The fan lines are a barrage; move out of the spread and punish after the volley rather than trying to close during it. The overhead slam and leap burst are your clean punish windows. The grab after his swing-and-sidestep is the trap. Do not stand beside him after his swing. Move out first, then re-engage. The compendium names this grab as the biggest punish in the fight, and it is the move that turns a clean phase into a panic heal.
Phase two adds falling rocks, red leap slams, and a flaming floor. The rocks are not just hazard dressing — they are cover, and the compendium explicitly recommends using them. The red leap slams are dodge checks; the flaming floor is a leave-the-area cue. Punish after the barrage and after the slam, and keep your camera wide enough to see the next leap coming.
Attack tells and red/blue/black handling
| Tell | Response | Punish |
|---|---|---|
| Long red aim line | Dodge sideways | After the shot |
| Fan lines | Move out of the spread | After the barrage |
| Overhead slam | Sidestep | Combo |
| Leap burst | Track the landing | Combo on recovery |
| Grab after swing-and-sidestep | Leave his side, do not linger | Reset |
| Falling rocks | Use as cover | Reposition |
| Red leap slam | Dodge late | After impact |
| Flaming floor | Leave the area | Reset |
The red aim line is the clearest tell in the fight: red means dodge, and the line tells you the direction of the shot. The grab is also a red-family punish in practice — it is not a guard check, and standing beside him after his swing is the mistake the sources name. No black-flash heavy is documented for Lei Dang, so do not import a black-smoke habit from another boss. The phase-two pressure is environmental: rocks, fire, and leap slams.
Recommended weapon and build
Bring a mobile parry weapon and plan around repositioning rather than extended trades. The Tiger Cannon is his drop, so you will not have it for the first kill. A weapon with a short recovery is worth more than a high-commitment heavy here, because most of your damage comes from single windows after a barrage or slam rather than from long strings.
No elemental shortcut is documented. Build for survivability and camera control. If you have been leaning on guard-heavy play, this is a fight that punishes planting your feet: the direct pressure is ranged, and the grab specifically catches players who stay close after a swing.
Common mistakes
- Standing beside him after his swing. The sidestep grab is the biggest punish in the fight.
- Dodging backward from the red aim line. Move sideways.
- Ignoring the rocks in phase two. They are cover.
- Fighting on the flaming floor. Leave first.
- Trying to close distance during the fan barrage. Punish after it.
- Spending all your heals in phase one. Phase two is a fresh bar and a checkpoint.
- Skipping Mo Yuan before Lei Dang. The path to Mount Soulrend opens immediately after.
Sources & confidence
This guide draws on the AllThingsHow Lei Dang breakdown, cross-checked against phantomblade.guide’s boss database and KeenGamer’s boss-and-rewards list for placement and reward. The two health values, the One-Armed Tiger phase name, the red aim line, the fan barrage, the overhead slam, the leap burst, the sidestep grab, and the phase-two rocks and flaming floor are from the sourced breakdown. The story context — Lei Dang repairing the Flaming Mane in Pangzhen, then meeting you at the Perfect Vessel Pond — is from the Mirage Estate route. No full colour map or frame data is published; HP values vary by source and cycle.
Sources & further reading
- Lei Dang boss fight — AllThingsHow
- Boss database — phantomblade.guide
- All bosses and rewards — KeenGamer
We link to the primary source for every hard number. If a source conflicts, we say so in the text.
By the PBZ Guide Team · Reviewed by the editorial desk Written in English from primary sources and cross-checked play routes. Spot an error? Tell us and we will update the guide. We link to the primary source for every hard number. If a source conflicts, we say so in the text.