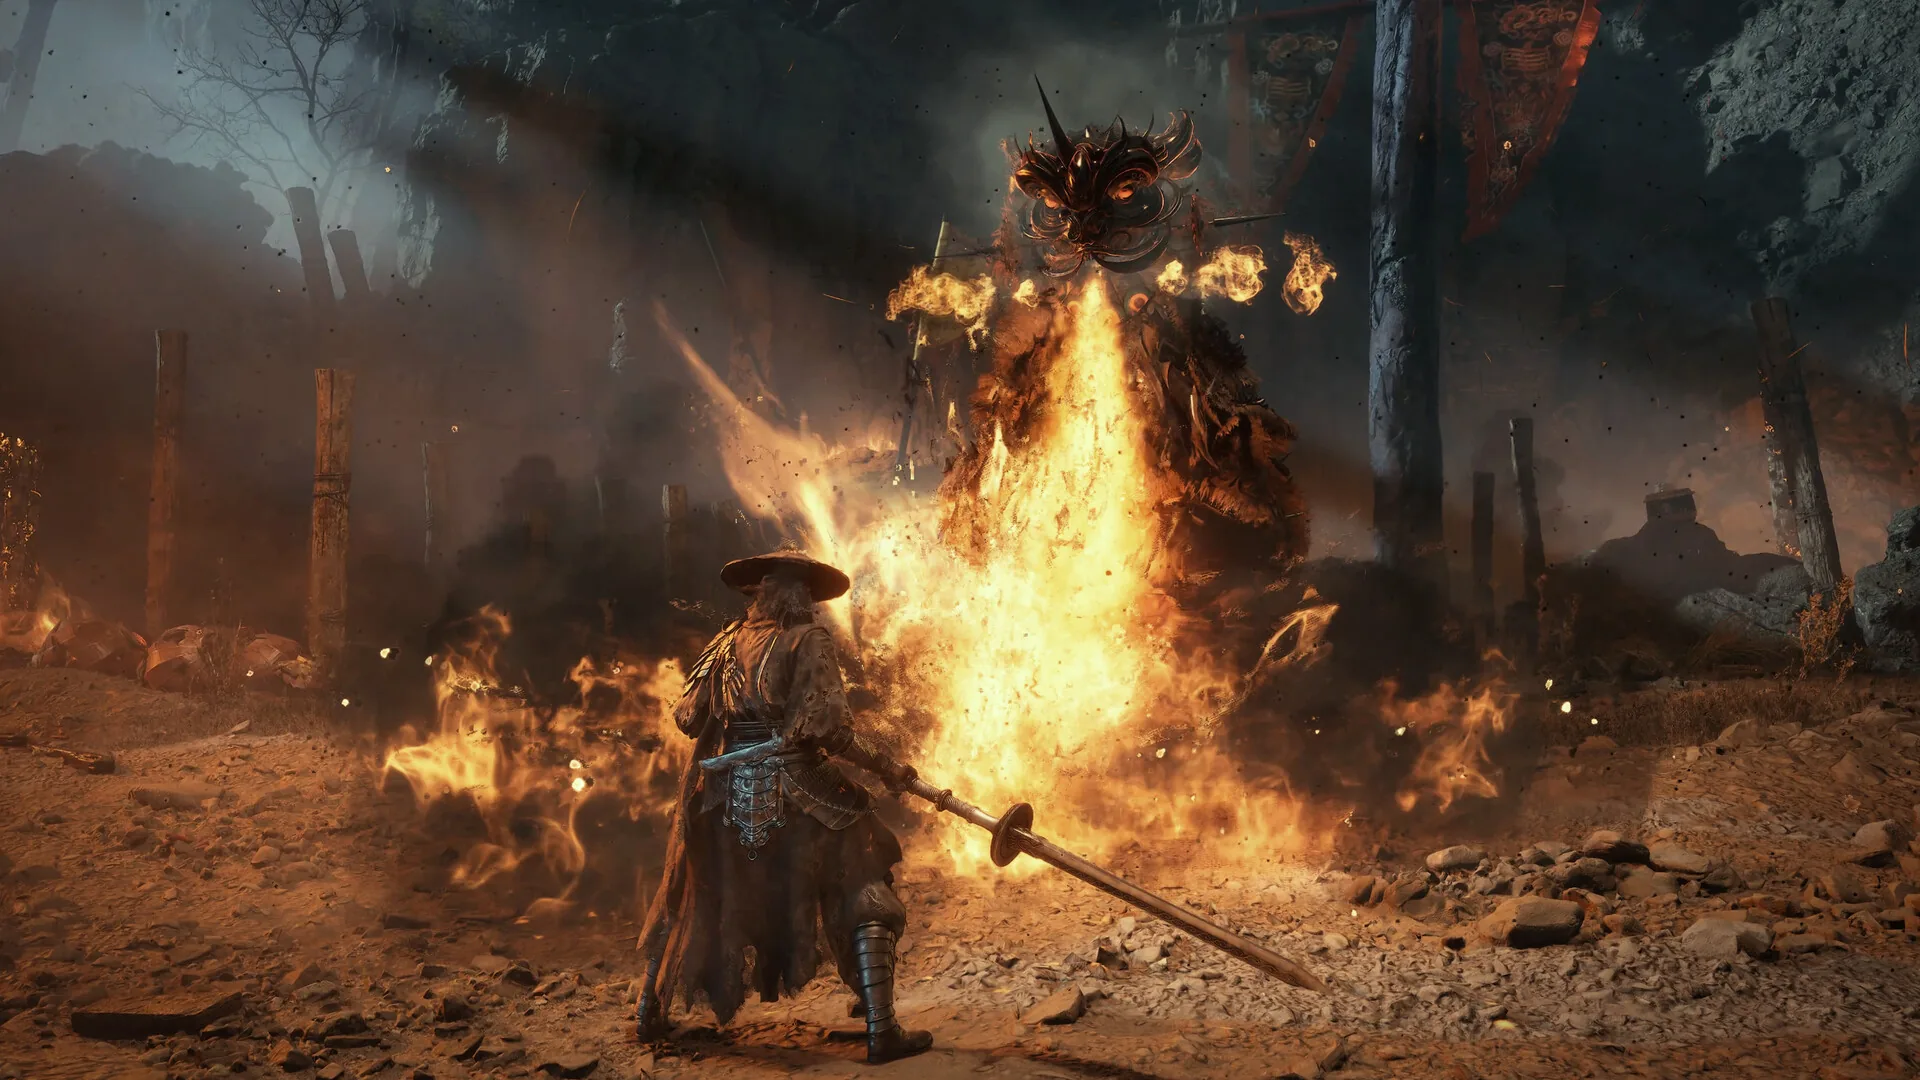
Heartpiercer is the White Serpent House’s guardian and the fight that teaches you to guard a stream instead of dashing through it. The compendium is blunt: dashing costs far more than guarding, and letting your Sha-Chi empty is the real failure state. It is a single-bar duel built on ranged pressure, red-flash punishes, and one counter-intuitive defensive rule.
Location and unlock
Heartpiercer is a main-path boss in Meigu Lake, Chapter 7, fought at the White Serpent House. You cannot miss him. The Meigu route runs Shallows Dock for Grief-Stricken Jin, the Songhouse for the Yan’er flowers and optional Yan Qiansui, then the White Serpent House. Defeating Heartpiercer yields the White Serpent Eye, the region’s key drop for the Four Serpent Houses chain.
There is no special unlock condition beyond reaching the house. The only route-level warning is the broader Meigu cutoff: finish the lake’s masks, Lóng Pillars, and Heart of the Lake ritual before entering Mirage Estate through the Green Serpent House.
Reward and missable warning
Defeating Heartpiercer grants the Sundering Dual Axes and the White Serpent Eye. The Eye is the item the Serpent House chain actually needs; the axes are the weapon drop. Heartpiercer is also one of the Three Elite Shadow Wardens, alongside Cavalrybane and Soulclaimer, so the kill counts toward that achievement group.
Boss drops are one-per-run and defeated bosses never respawn. Heartpiercer is mandatory, so the drop is not missable on a completed run. The missable risk is leaving Meigu without finishing the surrounding checklist — the eye gets you into the chain, but the masks and Pillars are separate objectives.
Fight plan and phases
Heartpiercer has 115,200 HP and no documented phase split. Plan for one continuous bar. That means there is no phase-two checkpoint to refund a bad opening: a death sends you back to the start, and the fight’s pressure is designed to make you spend resources early.
His kit is a mix of ranged blade pressure and close-quarters strings:
- Lunging slash — a close-range opener; sidestep and punish the recovery.
- Airborne blade stream — the signature. Guard it. Dashing through costs far more than standing your ground.
- Red-flash five-blade volley — dodge late; the blades arrive after the flash.
- Thrown blade into dash — do not chase the blade; the dash is the real attack.
- Red-flash spin — roughly 350 on Pathbreaker; dodge and punish after.
- Somersault — a reset tool; track the landing.
- Blue kick chain — parry it.
Your damage windows are after the stream and after the spin. The stream is counter-intuitive because it looks like something you should evade; the compendium says guard it. The spin is the opposite: red, unblockable, dodge it and take the recovery. Punishing mid-string is how you eat the next volley.
Keep your Sha-Chi above 100. This is the fight’s resource rule. If the bar empties, you lose the Breach pressure that makes your punishes meaningful, and the stream’s chip damage becomes a slow loss. Use a weapon switch to refill rather than letting the bar sit dry. Heal after long strings, not during the stream.
Attack tells and red/blue/black handling
| Tell | Response | Punish |
|---|---|---|
| Airborne blade stream | Guard, do not dash | After the stream ends |
| Red-flash five-blade volley | Dodge late | Reset |
| Red-flash spin | Dodge | Combo after recovery |
| Blue kick chain | Parry | Combo |
| Thrown blade | Do not chase | Watch the dash |
| Lunging slash | Sidestep | Short punish |
| Somersault | Track the landing | Reset |
The red tells are the five-blade volley and the spin, and both are dodge-only. The blue kick chain is your parry rep. The stream is neither: it is a guard check, and the correct answer is to hold your ground rather than treating every ranged attack as a dodge prompt. No black-flash heavy is documented for Heartpiercer, so the fight’s third pressure is the stream’s chip damage and the Sha-Chi drain, not a smoke tell.
Recommended weapon and build
Bring a guard-oriented parry main. The Sundering Dual Axes are Heartpiercer’s own drop, so you will not have them for the first kill. A weapon with a stable block and a short recovery is ideal: you need to hold the stream, then convert the spin and stream recoveries into damage without overcommitting.
Keep Sha-Chi above 100 throughout. That is the compendium’s explicit build note, and it matters more than any elemental choice. No elemental shortcut is documented for this fight. If you have a weapon switch, use it as a resource reset after the stream rather than as a damage swap.
For context on Sha-Chi and Breach, the combat system explained covers the loop, and the Meigu Lake walkthrough places Heartpiercer in the region route.
Common mistakes
- Dashing the blade stream. Guarding is cheaper.
- Letting Sha-Chi empty. You lose the Breach pressure that makes punishes stick.
- Punishing mid-string. Wait for the stream or spin recovery.
- Healing at range. The blade pressure does not stop for your animation.
- Dodging the five-blade volley early. It is a late dodge.
- Chasing the thrown blade. The dash is the actual attack.
- Treating the stream as a red tell. It is a guard check.
Sources & confidence
This guide draws on the AllThingsHow Heartpiercer breakdown, cross-checked against phantomblade.guide’s boss database and KeenGamer’s boss-and-rewards list for placement and reward. The 115,200 HP figure, the blade stream guard rule, the red five-blade volley, the spin damage, the blue kick chain, the Sha-Chi floor, and the Sundering Dual Axes drop are from the sourced breakdown. The White Serpent Eye and the Three Elite Shadow Wardens grouping come from the region walkthrough and the compendium’s achievement section. No phase split is documented; HP values vary by source and cycle.
Sources & further reading
- Heartpiercer boss fight — AllThingsHow
- Boss database — phantomblade.guide
- All bosses and rewards — KeenGamer
We link to the primary source for every hard number. If a source conflicts, we say so in the text.
By the PBZ Guide Team · Reviewed by the editorial desk Written in English from primary sources and cross-checked play routes. Spot an error? Tell us and we will update the guide. We link to the primary source for every hard number. If a source conflicts, we say so in the text.