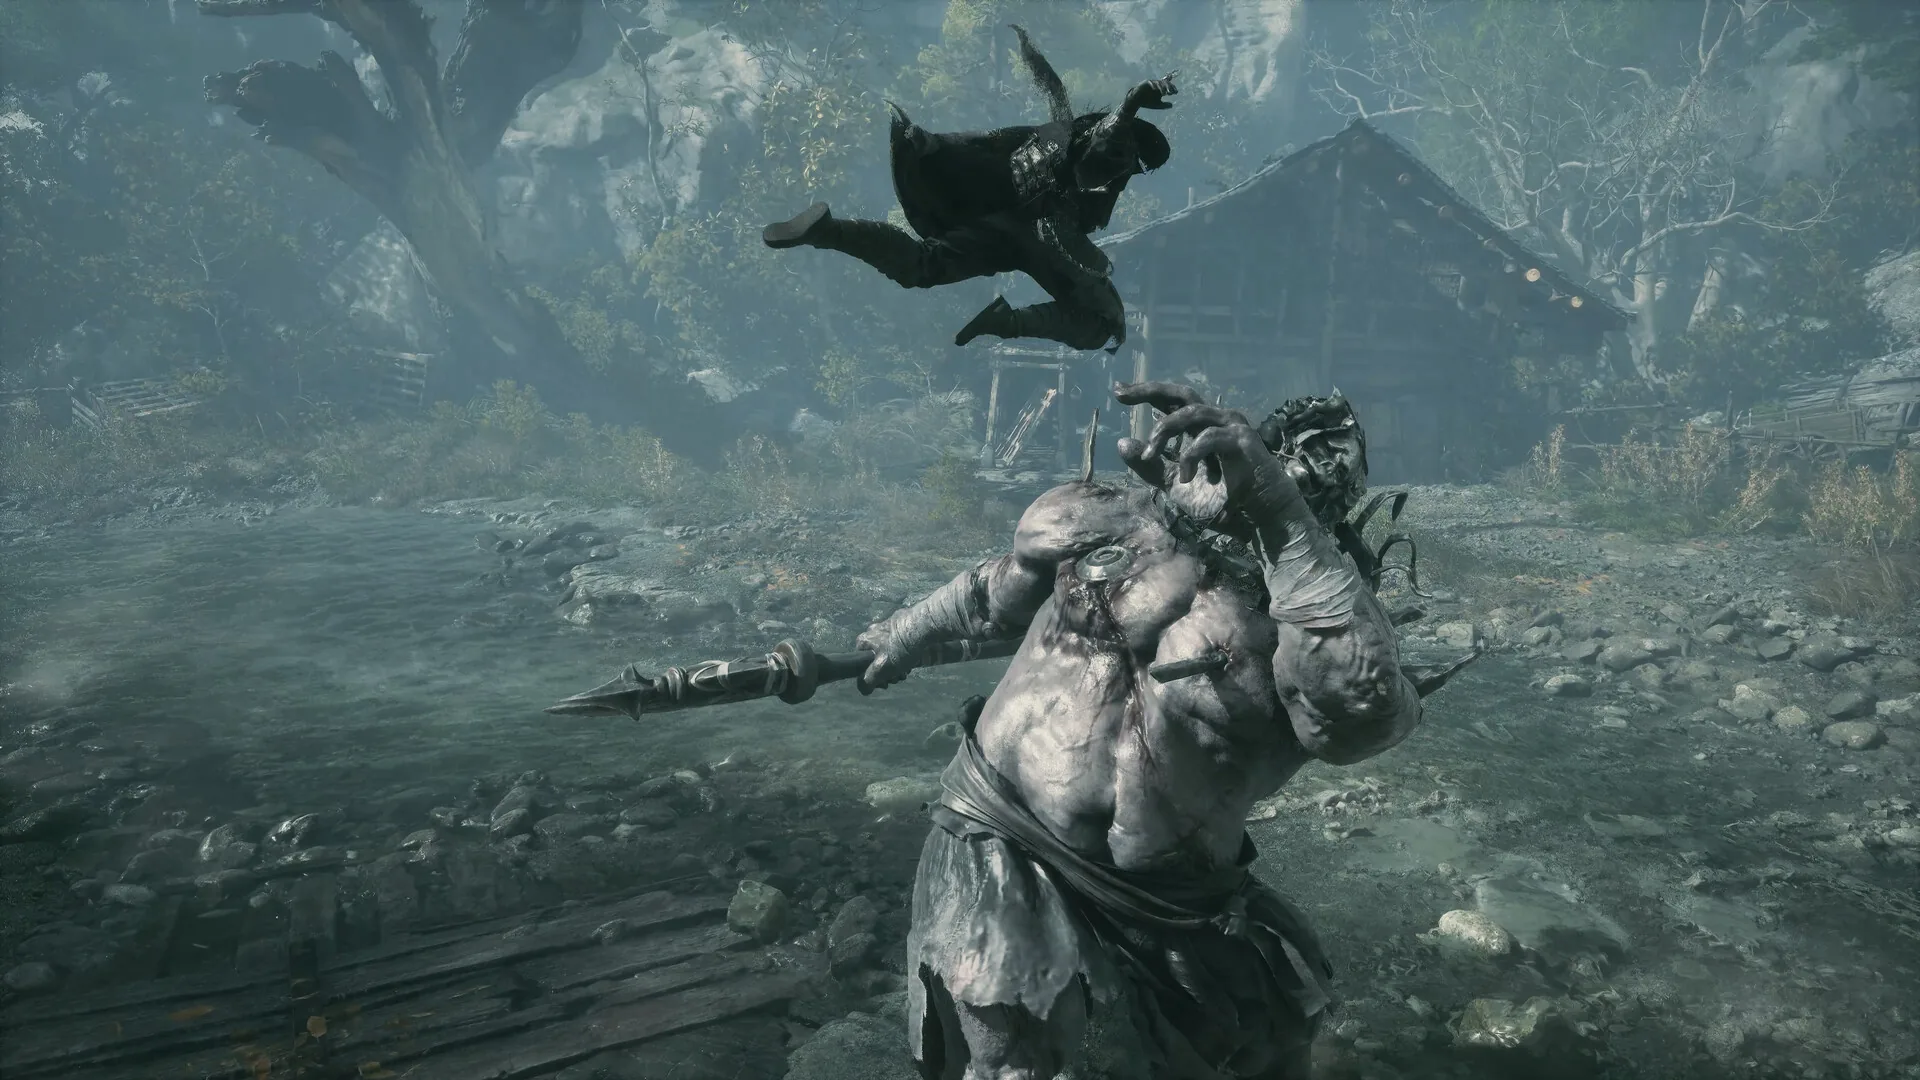
The Aberrant Three-Faced Puppet is the first optional boss in Phantom Blade Zero and the first one that can genuinely waste your evening. You can find it in Chapter 1, but it is tuned well above the gear you have when the rift first appears. The fight is a focus check: three masks, three patterns, and a Bleed immunity that punishes the weapon the valley just handed you.
Location and unlock
The puppet waits in the Challenge Rift near The Lady’s Rift in Weeping Creek Valley, Chapter 1. The rift is visible early and has no quest gate; entering it is the unlock. The Weeping Creek Valley route lists it as an optional encounter alongside Hua and the first Long Pillar, and the secret-boss guide is blunt about the timing: the puppet is overtuned for your level when you find it, so return after Chapter 3 rather than forcing the attempt on your first pass.
That return window is the practical unlock condition. If you are chasing the Yucong chain, do not leave the puppet until post-game. The Weeping Creek Valley walkthrough tracks the region’s optional sweep, and the Long Pillars guide explains why the related puppet content sits on the true-ending route.
Reward and missable warning
The drop is the Three-Headed Doll, and it is not flavour loot. The doll is required for the Yucong unlock chain: the Triple Threat quest, the Aberrant Puppet kill, and the Mirage Estate chapter all feed into the return visit at the Threadbound Great Tree. Skip the puppet and Yucong’s later phases are closed off for that run.
The fight itself is optional and missed optional bosses remain available in post-story free roam. Treat Chapter 3 as the practical deadline anyway. Once the Yucong window passes, killing the puppet late may no longer complete the chain you needed. Boss drops are one-per-run and there is no Remembrance-style refight.
Fight plan: one mask at a time
The puppet has three masks, each with its own attack pattern, and 88,830 HP in the compendium’s superboss table. The documented strategy is to burst one mask at a time rather than spreading damage. This is a DPS check on focus, not on total output: spreading hits across masks gives you three half-learned patterns and a longer fight, while committing to one mask removes a pattern from the encounter.
The practical loop:
- Pick the mask whose pattern you can read most reliably.
- Stay in that phase until the mask breaks, even if another target looks tempting.
- Disengage during the transition, reset your Sha-Chi, and learn the next pattern.
- Repeat until the last mask.
Because the fight is a puppet, Bleed is useless. Leave the Jagged Steel bleed plan at the door and bring raw damage or a guard-break tool instead. The fight is also a strong argument for returning leveled: the compendium’s difficulty rating is only 3, but that rating assumes gear from later in the run, not the starting valley kit.
Attack tells
The repo does not publish a colour map or named moveset for the three masks. What is documented is the structure: three masks, three patterns, and a focus-based damage check. Apply the universal grammar:
- Blue means parry. A timed block costs no Sha-Chi and drains the boss’s bar.
- Red means dodge. Red attacks ignore guard and parry.
- Black-flash heavies are dodge cues; blocking one can strip your Sha-Chi.
- Puppet immunity means Bleed builds do nothing here.
Do not assume a mask’s colour from its appearance. Watch the flash on the hit itself, and treat each mask transition as a reset rather than a continuation.
Recommended weapon and build
Bring a non-Bleed burst main and a guard-break option. The fight rewards concentrating damage, so a weapon with a reliable heavy string or a Phantom Edge that dumps damage into a single target is better than a wide-clearing setup. Keep a second weapon for the Sha-Chi refill after a mask breaks.
No elemental weakness is documented for the Aberrant Puppet. The compendium’s only resistance rule is the puppet Bleed immunity. If you are underleveled, the answer is to leave and come back, not to rebuild around an unverified element. The best builds guide covers the non-Bleed options that hold up once you return.
Common mistakes
- Fighting it when you find it. The rift is visible early; the puppet is tuned for later gear.
- Spreading damage across masks. Burst one mask at a time.
- Bringing Bleed. Puppets are Bleed-immune.
- Treating the difficulty rating as a level-1 promise. The 3/5 rating assumes appropriate gear.
- Skipping it entirely. The Three-Headed Doll gates the Yucong chain.
- Waiting until post-game. The Yucong window may close first.
Sources & confidence
The Challenge Rift location, the overtuned timing, the three-mask structure, the burst-one-mask strategy, the Bleed immunity, the 88,830 HP figure, and the Three-Headed Doll’s role in the Yucong chain come from the site’s secret-boss and boss-compendium material, cross-checked against KeenGamer’s boss list and the AllThingsHow boss hub. The exact transition rules between masks are not published, so the fight plan stays at the level of focus and reset rather than naming attacks. The Chapter 3 deadline is the compendium’s recommended window, not an in-game timer.
Sources & further reading
- All secret and optional bosses — KeenGamer
- Boss fight guides — AllThingsHow
- All 5 Long Pillars — Kungfupunk
- All Tales and side quests — KeenGamer
We link to the primary source for every hard number. If a source conflicts, we say so in the text.
By the PBZ Guide Team · Reviewed by the editorial desk Written in English from primary sources and cross-checked play routes. Spot an error? Tell us and we will update the guide. We link to the primary source for every hard number. If a source conflicts, we say so in the text.