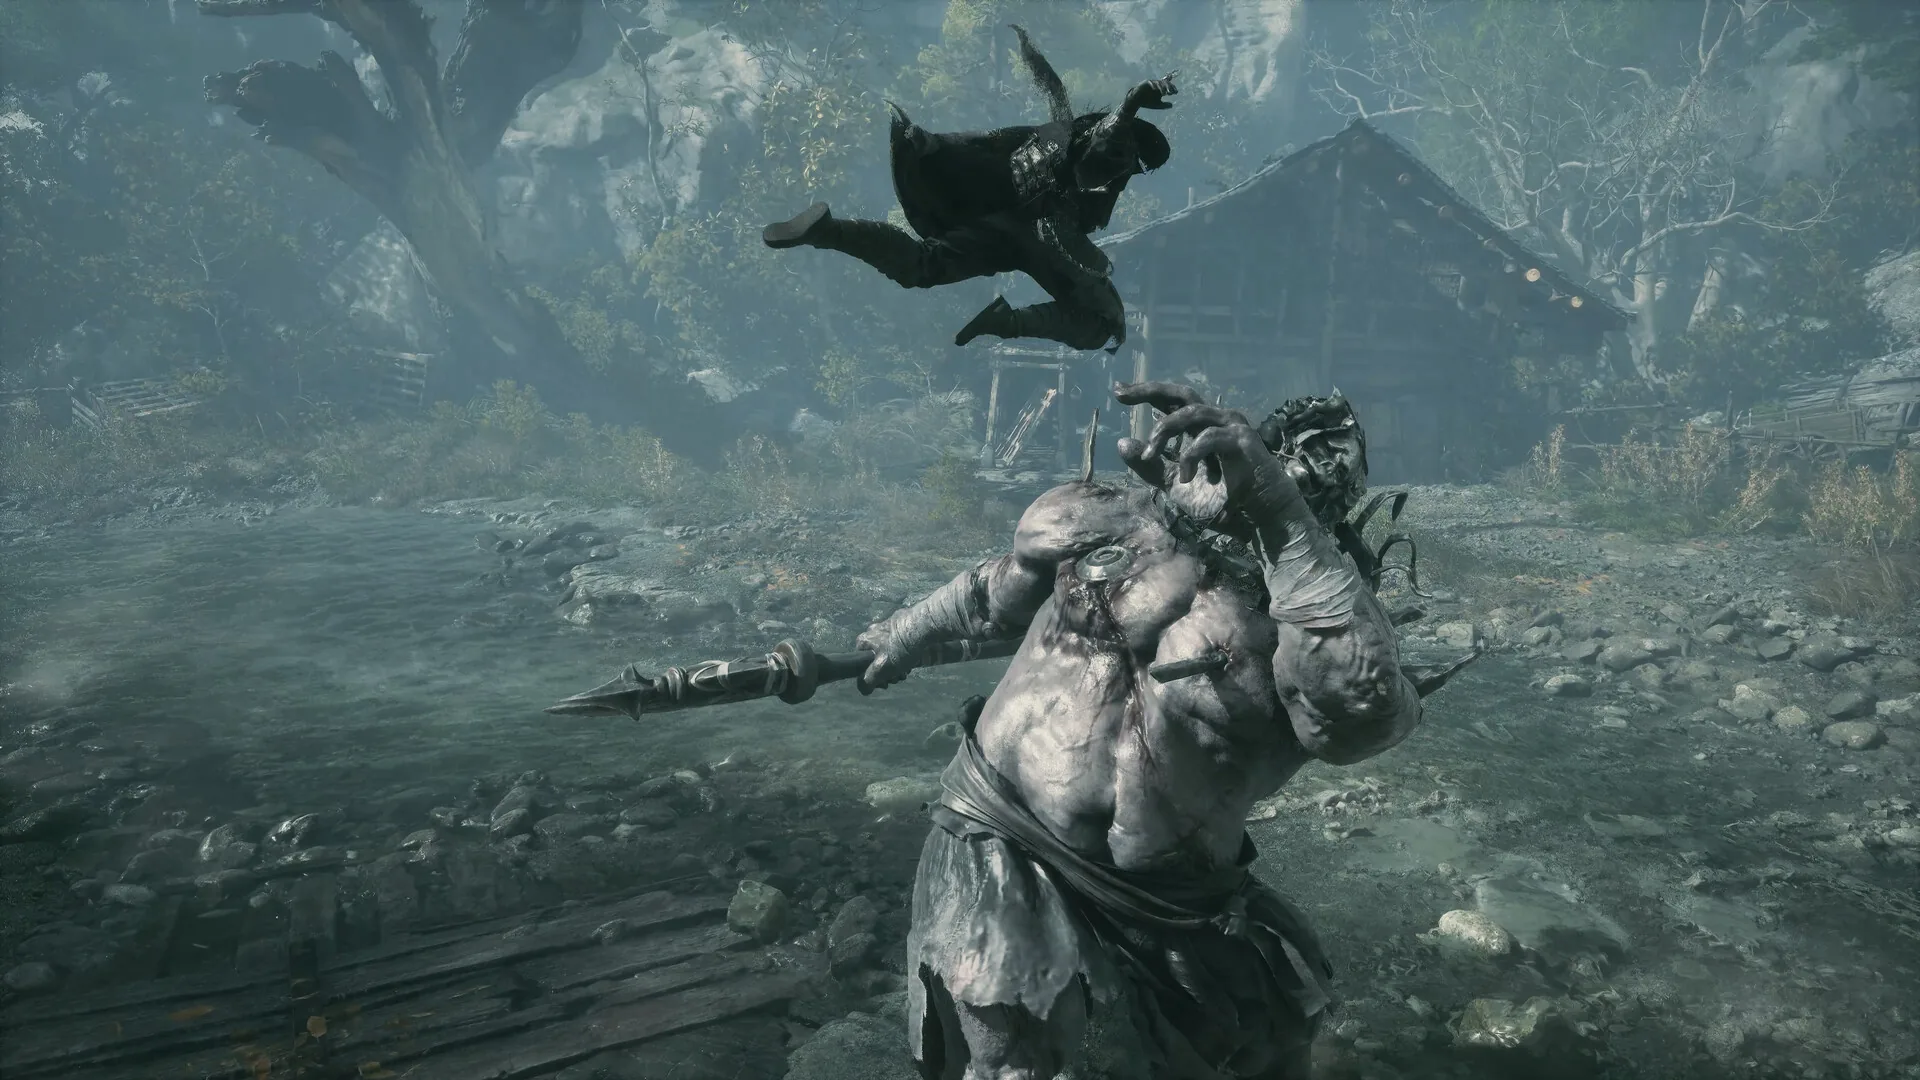
The Blizzard Blademaster is the reason Meigu Lake’s frozen mirror deserves a detour. The fight sits at Whiteshadow’s Fall, carries 186,240 HP, and is described in the compendium as one of the longest encounters in the game. It is optional in the strict route sense — no quest flag gates it — but its reward spawns Puppet No. 99, and the true-ending chain requires Puppet No. 99. If you intend to finish the lake quest properly, this is not a fight you can wave off.
Location and unlock
The Blizzard Blademaster is an optional boss in Meigu Lake, Chapter 7, fought at Whiteshadow’s Fall across the frozen lake. There is no quest gate and no prerequisite beyond reaching the region. The only unlock step is the one players skip: ring the bell before the cutscene.
That bell is not decoration. It is the checkpoint for the encounter. If you walk into the cutscene without ringing it, you lose the checkpoint and have to redo the approach. The compendium flags this as the fight’s most costly administrative mistake, and it is entirely avoidable.
Reward and missable warning
Defeating the Blizzard Blademaster grants Whiteshadow, a weapon tied to the frozen-lake line. More importantly for completionists, the fight spawns Puppet No. 99, which the true-ending chain requires as part of Secrets at the Heart of the Lake. The boss table calls the Blademaster optional, and structurally it is; the reward chain makes it effectively mandatory for the true ending.
Boss drops are one-per-run and defeated bosses do not respawn. There is no Remembrance-style boss select, so you cannot refight him later for a missed drop. Missed optional bosses remain available in post-story free roam, but the true-ending route has its own cutoffs, so do not treat this as post-game cleanup.
Fight plan and phases
The compendium does not list a phase split for the Blizzard Blademaster, so plan for one continuous health bar rather than a phase-two checkpoint. That changes the resource math: a death sends you back to the start of the encounter, and the fight is long enough that stamina in the real sense — patience, attention, gourd discipline — matters more than any single burst.
The fight applies three kinds of pressure. The first is a freezing hit that encases you in ice. The second is a spreading ice ring, telegraphed by the line “Watch closely. I’ll strike only once!” The third is a set of ranged and leaping follow-ups that punish standing still after a whiffed punish.
Open at mid-range and let him commit first. The ice crescent is a spacing check — sidestep rather than backpedal, because retreating keeps you inside the arc. The close burst is a reminder not to linger in front of him after a blocked string. When the spreading ring starts, leave the area and wait for it to resolve; the window after the ring is one of your two reliable punishes. The high leap is the other. Track the landing rather than the takeoff, take your hits, and reset.
The red-flash strike is the run-ender. It ignores guard and parry, so blocking the freeze setup is the single most common way this fight goes wrong. Dodge through it, re-establish spacing, and do not try to win the exchange back immediately.
Attack tells and red/blue/black handling
| Tell | Response | Punish |
|---|---|---|
| Freeze setup, red flash | Dodge, never block | Reset spacing |
| Spreading ice ring + voice line | Leave the ring | Combo after it resolves |
| Ice crescent | Sidestep the arc | One or two hits |
| Close burst | Disengage, do not trade | Reset |
| High leap | Track the landing | Combo on recovery |
The published breakdown does not assign a named blue parry tell to this fight, and it does not describe a black-flash heavy. Do not import habits from other bosses and assume a parry solution to the freeze. The documented answer to the freeze is a dodge, and the documented punish windows are the ring and the leap. Where a blue streak does appear, the universal rule still applies — timed block, no Sha-Chi cost — but the fight’s identity is the red-flash freeze, not a parry chain.
Recommended weapon and build
Bring your highest-level weapon and carry a Longevity Tonic. The compendium is explicit that there is no verified elemental shortcut for this fight. That means no fire, frost, or lightning gimmick is confirmed to shorten it; the fight is an endurance check, not a weakness puzzle.
Build for consistency rather than a burst setup. A weapon you can parry comfortably is worth more than a higher-damage option with recovery frames you cannot manage, because the ring and leap punishes are short. Keep your Sha-Chi for Breach pressure, and remember that switching weapons refills the bar mid-fight — it is a resource reset, not just a cosmetic swap.
Common mistakes
- Skipping the bell. You lose the checkpoint and redo the approach.
- Blocking the freeze setup. It is a red-flash strike; guard and parry both fail.
- Standing in the spreading ring. Leave first, punish after.
- Chasing the high leap. Track the landing instead of running at the takeoff.
- Entering underleveled. The compendium recommends a max weapon and a Longevity Tonic for a reason.
- Treating him as optional while chasing the true ending. Whiteshadow is optional; Puppet No. 99 is not.
- Greed after the ring. The recovery is long, but not long enough for a full combo plus a heal.
Sources & confidence
This guide draws on the AllThingsHow Blizzard Blademaster breakdown, cross-checked against phantomblade.guide’s boss database and KeenGamer’s boss-and-rewards list for placement and reward. The 186,240 HP figure and the bell checkpoint are consistent across the compendium. The moveset is only partially documented: the freeze, ice crescent, close burst, spreading ring, red-flash strike, and high leap are sourced, but there is no full frame-by-frame list, and no verified elemental weakness. The Puppet No. 99 link comes from the compendium’s reward table rather than a dedicated quest breakdown, so treat it as a high-confidence chain requirement rather than an independently tested trigger. As with all HP values in this game, the number varies by source and cycle.
Sources & further reading
- Blizzard Blademaster boss fight — AllThingsHow
- Boss database — phantomblade.guide
- All bosses and rewards — KeenGamer
We link to the primary source for every hard number. If a source conflicts, we say so in the text.
By the PBZ Guide Team · Reviewed by the editorial desk Written in English from primary sources and cross-checked play routes. Spot an error? Tell us and we will update the guide. We link to the primary source for every hard number. If a source conflicts, we say so in the text.