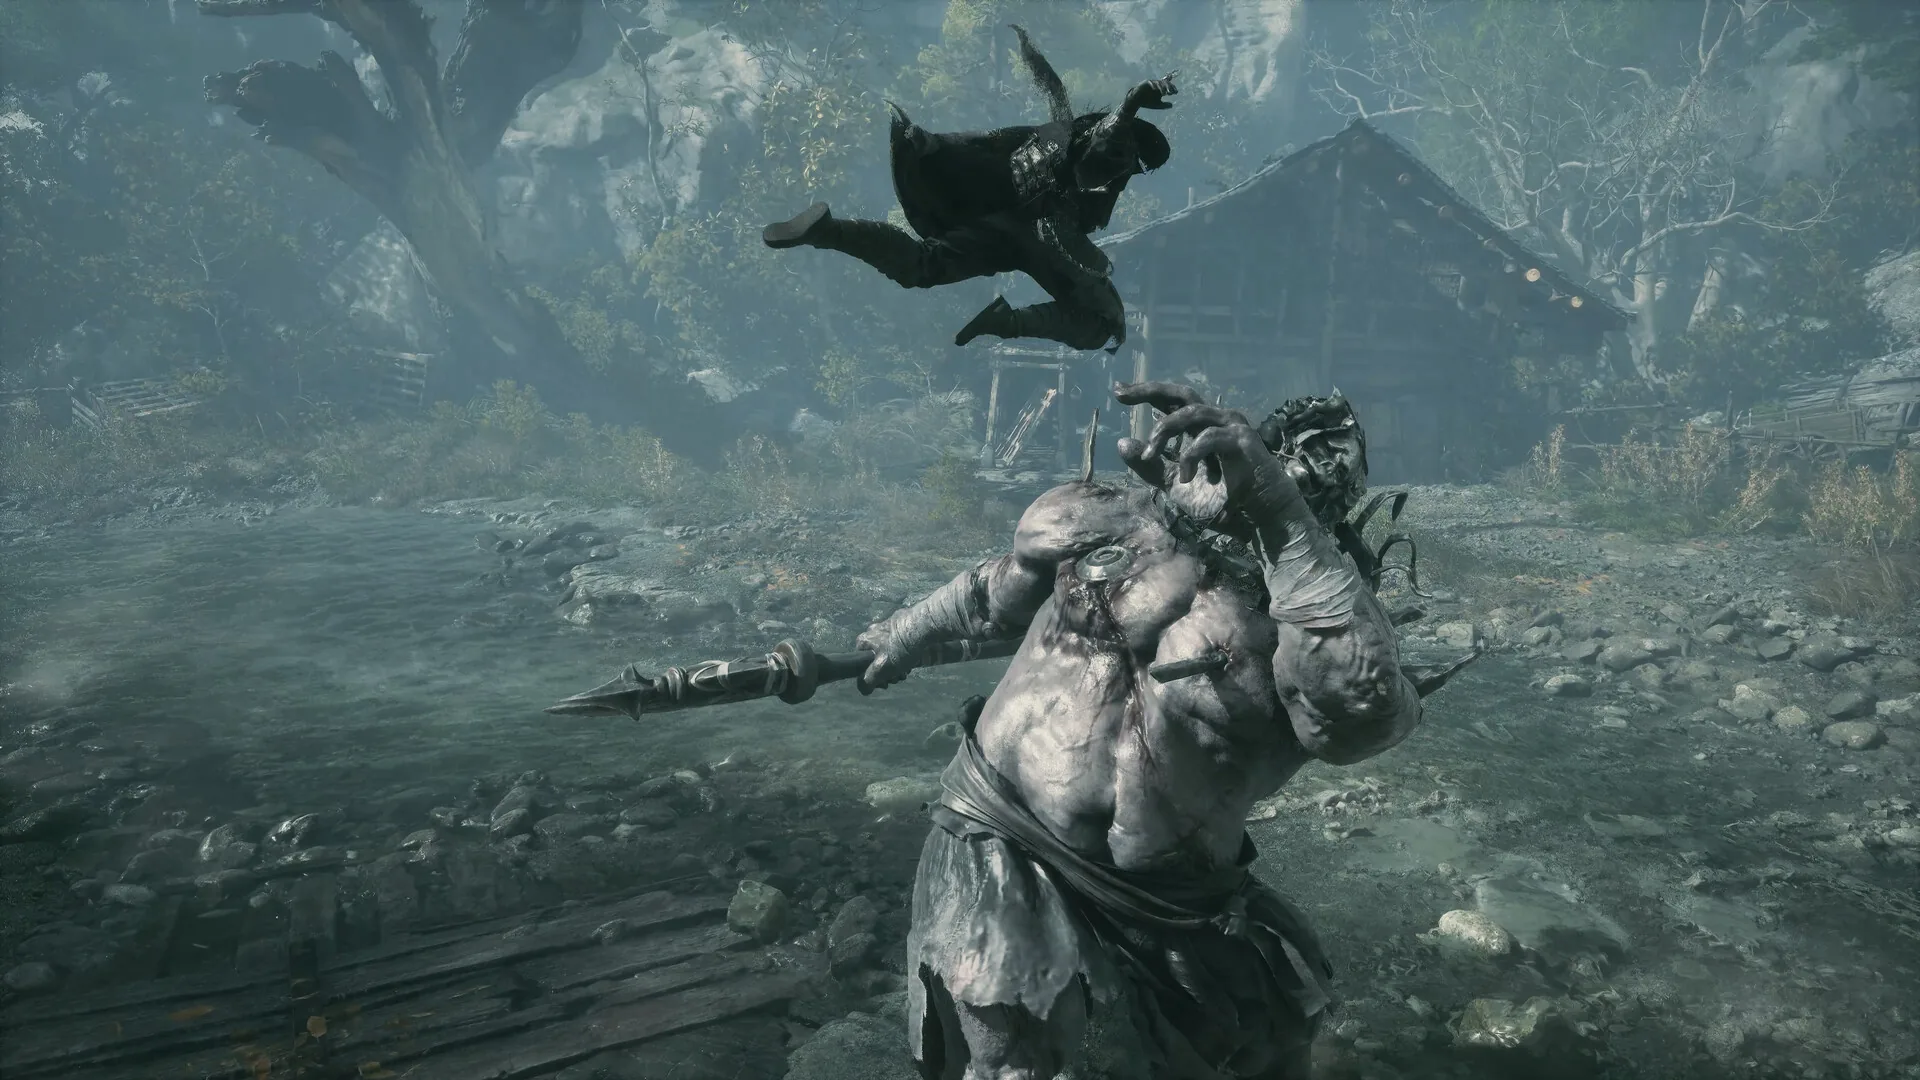
Red is the Mandate Encampment’s most important optional encounter, and the correct way to “beat” her is to stop before the kill. She is a parry check on the Dovecote rooftop, but the real mechanic is the choice afterward: finish her and the Daughter of the Dark Sect tale ends permanently, or disengage by the hanging chain and keep the tale’s rewards.
Location and unlock
Red is an optional boss in the Mandate Encampment, Chapter 5, fought on the Dovecote rooftop. She is the third encounter in the camp route, after Corpse-Eating Xue at the Mass Grave and Wan Jun in the Gatehouse yard. The route has you climb to the rooftop and fight her, then use the hanging chain beside the arena to disengage rather than finishing her.
The tale begins with the Disoriented Swordswoman near the Dovecote Bell. If you want the full chain, speak to her first, then spare Red on the roof.
Reward and missable warning
There is no reward on the first encounter if you spare her. The reward comes later: if Red survives, she joins the Chief Disciple fight in phase two at roughly half HP, and the Daughter of the Dark Sect tale resolves with Red’s Memory Flower and the Twin Fish Pendant. Collect both Twin Heroes’ Memory Flowers — the Chief Disciple’s Own Decision and Red’s The Mandate’s Decision — for the pair’s +5% max HP bonus.
Killing Red at the Dovecote ends Daughter of the Dark Sect on the spot. Lost: the Twin Fish Pendant (damage bonus rises as Sha-Chi falls, up to 20% at base and 30% at +1), Red’s Memory Flower, and the Twin Heroes’ +5% max HP bonus. PowerPyx’s author says this is not trophy- or true-ending-relevant, but it is a permanent content lock and the tale’s entire reward.
Fight plan: parry, do not overcommit
The boss table’s line is “parry; don’t overcommit.” That is the whole fight. Red is a duelist, not an add-heavy puzzle, and the danger is greed: staying in for one extra hit after a parry and eating the counter.
The loop:
- Stay at mid-range and let her commit.
- Parry the blue hits.
- Take one short punish, then reset.
- Do not chase her across the rooftop; the arena edge and the chain are part of the encounter.
- When the fight reaches the disengage point, take the hanging chain and leave.
If you are sparring her for the tale rather than trying to kill her, the goal is to survive the exchange, not to empty the bar. Treat the fight as a parry lesson with an exit.
Attack tells
No full colour map or named moveset is published. The documented tell is the parryable exchange; the rest is universal grammar.
| Tell | Response | Punish |
|---|---|---|
| Blue-flash swing | Parry | One short counter |
| Red-flash hit | Dodge | Do not block or parry |
| Overextended string | Reset, do not chase | Re-engage at mid-range |
| Hanging chain | Interact to disengage | Leave the rooftop |
The most important “tell” is the arena exit. If you have started the tale and intend to spare her, do not wait for a victory screen that ends the quest.
Recommended weapon and build
Bring a parry main with a short punish. A fast weapon is better than a heavy one because the fight punishes overcommitment. A guard-break tool is optional; the goal is clean parries, not a shield break.
No elemental weakness is documented for Red. Do not build around Bleed on an unverified assumption. If you are going to fight the Chief Disciple afterward, keep the same parry loadout; Red joins that fight and must be killed first if she is present. The best builds guide covers the parry options for the Mandate.
Common mistakes
- Killing her. It ends the tale and costs the Twin Fish Pendant.
- Waiting for a results screen. The correct exit is the hanging chain.
- Overcommitting after a parry. One punish, then reset.
- Skipping the Disoriented Swordswoman. The tale starts with her.
- Forgetting Red’s Memory Flower. It is part of the Twin Heroes’ +5% max HP pair.
- Ignoring her in the Chief Disciple fight. If she joins, kill her first while keeping the Chief on screen.
- Assuming the kill is trophy-relevant. The sources say it is not; the cost is content and loot, not the platinum.
Sources & confidence
The Dovecote rooftop location, the parry-and-don’t-overcommit strategy, the hanging-chain escape, the half-HP join in the Chief Disciple fight, and the reward chain come from the Mandate Encampment route, cross-checked against Game8’s Daughter of the Dark Sect walkthrough and Fextralife’s quest page. The Twin Fish Pendant’s scaling and the +5% max HP pair come from the site’s accessory and Mandate material. The “not trophy- or true-ending-relevant” note is PowerPyx’s authorial position as recorded in the route; it is not a universal source claim.
Sources & further reading
- Daughter of the Dark Sect walkthrough — Game8
- Daughter of the Dark Sect quest — Fextralife
- Mandate Encampment walkthrough — PowerPyx
- All bosses and rewards — KeenGamer
We link to the primary source for every hard number. If a source conflicts, we say so in the text.
By the PBZ Guide Team · Reviewed by the editorial desk Written in English from primary sources and cross-checked play routes. Spot an error? Tell us and we will update the guide. We link to the primary source for every hard number. If a source conflicts, we say so in the text.