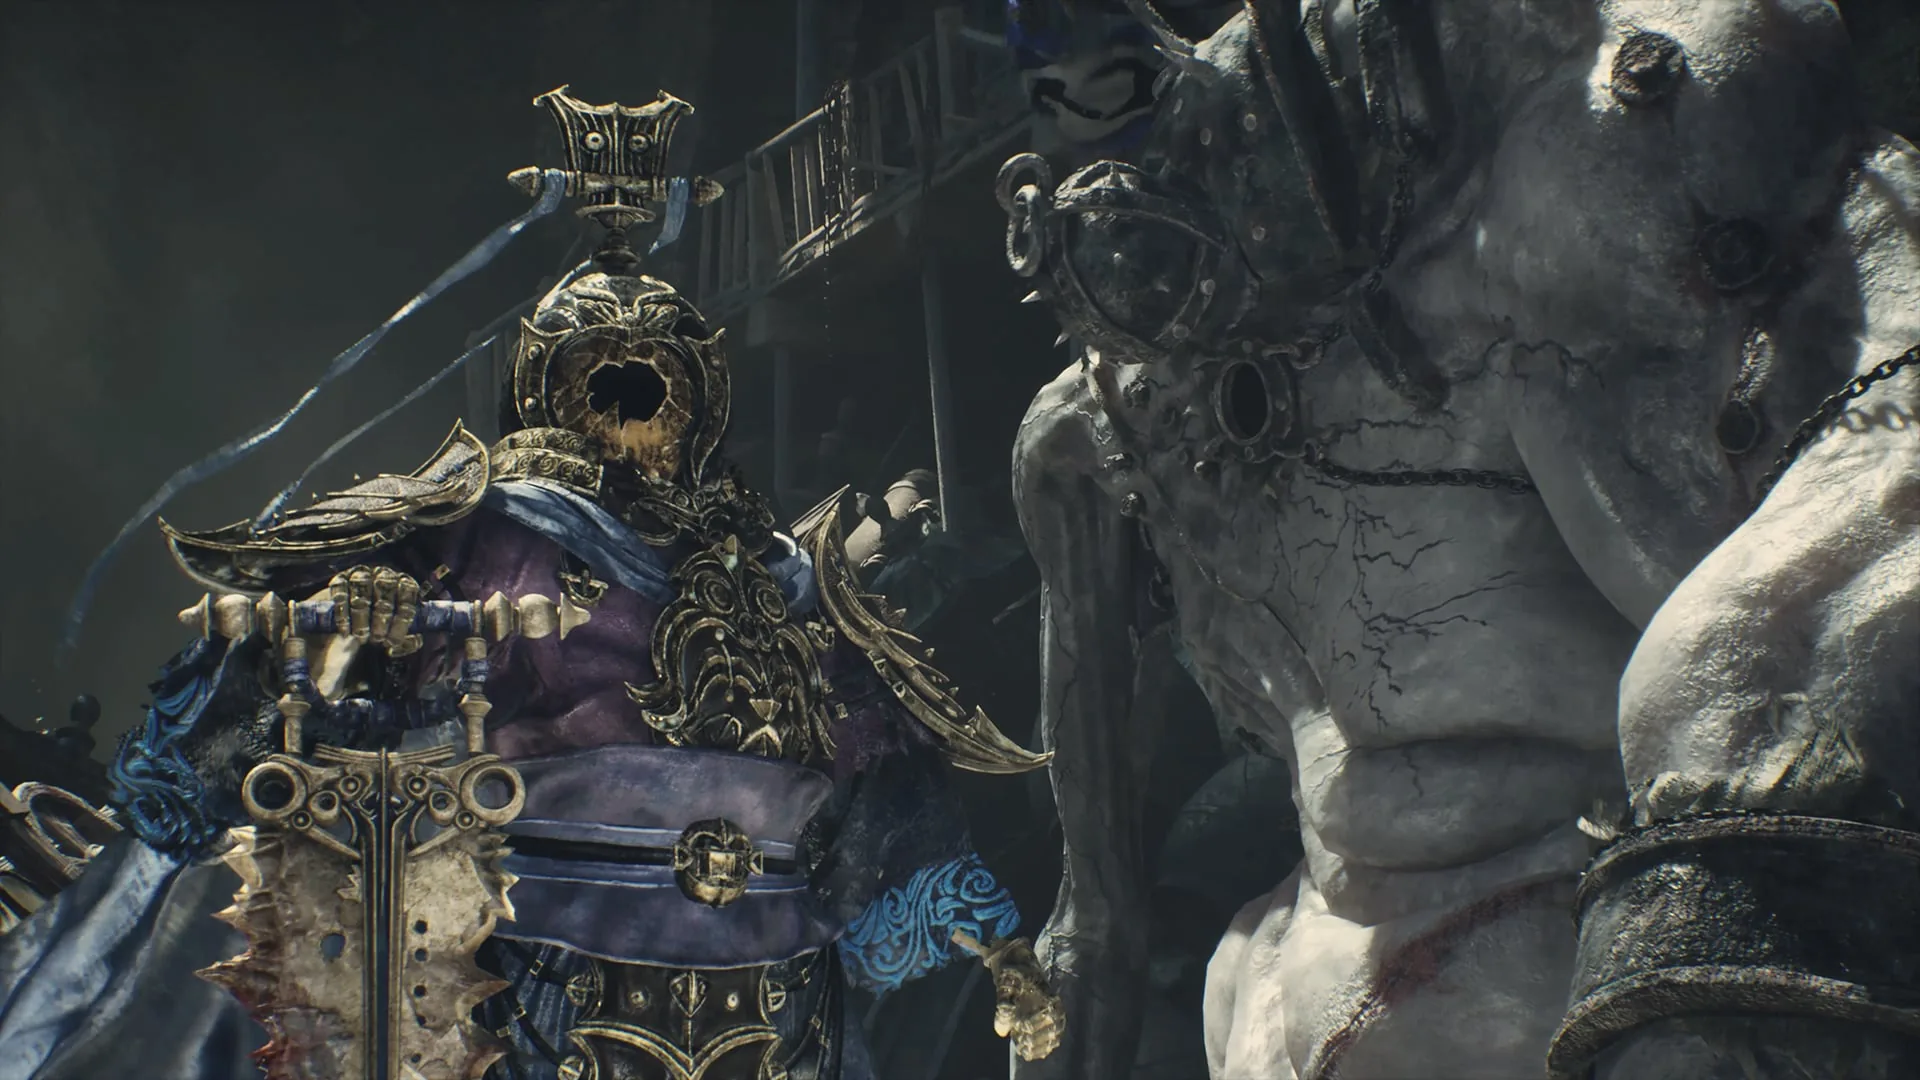
Crusher and Saw are the gatekeepers of the Giant’s Lair and the first mandatory fight on Mount Soulrend. The encounter is a two-body heavy-weapon check built around one absolute rule: every red flash is unparryable, so dodge them all. The other defining feature is the snow cloud, which hides the fight for two to three seconds and punishes anyone who keeps swinging blind.
Location and unlock
Crusher and Saw are main-path bosses on Mount Soulrend, Chapters 11–12, fought in The Giant’s Lair. They are the first mandatory fight of the final region, after you ring Mountain God Temple and The Last Mandate Encampment, and before The Last Chance bell and the climb to Leng Tu and Meng Hua.
The Mount Soulrend route places them at step 3: ring The Giant’s Lair, defeat Saw and Crusher for Bonesaw, then ring The Last Chance. There is no unlock condition beyond the ascent. The fight is mandatory, so you cannot miss it.
Reward and missable warning
The drop is the Bonesaw, a two-handed weapon with high shield-break. Its parry buffs the next attack, and its Bloodsaw effect makes all hits apply Bleed. That makes it a strong guard-break and status weapon for the final stretch.
If Cui’s tale is finished at The Last Mandate Encampment before the fight, the drop also includes the Baishan Headband. That is a conditional bonus, not the main reward. The Mount Soulrend route flags Cui’s tale as the reason to finish the encampment before ringing The Last Chance.
The fight is mandatory, so the Bonesaw is not missable on a completed run. The region’s real missable is The Last Chance cutoff: once you ring it, the mountain’s remaining side content is locked out. Boss drops are one-per-run.
Fight plan: dodge every red, wait out the snow
The fight has two bodies and two phases, but one rule dominates: every red flash is unparryable — dodge it. Do not try to guard or parry a red swing because the previous hit was blue. The colour is per-hit.
Phase one: 185,100 HP. Crusher uses a ball swing, a leap, and a slam. The snow cloud from the slam hides the fight for two to three seconds; do not attack into it. Back off, keep the camera wide, and re-enter when visibility returns. The phase also includes an ice eruption, a close drag, red-glow swings, and Saw’s spear thrust. Punish after the ball recovery — that is the reliable window.
Phase two: 185,100 HP, Earthshattering Form. The second bar keeps the same rules and adds pressure. Punish after the glowing slam. Do not assume the snow cloud is a safe damage phase; it is a visibility loss, not a stagger.
The practical loop: stay wide, bait the ball or slam, dodge the red commitment, wait out the snow, punish the recovery, reset. The fight is long, so conserve healing for the second bar.
Attack tells
| Tell | Response | Punish |
|---|---|---|
| Ball swing / leap / slam | Dodge the impact | Punish the ball recovery |
| Snow cloud | Stop attacking, keep moving | Re-enter when it clears |
| Ice eruption | Leave the ground tell | Reposition |
| Close drag | Dodge the grab | Reset |
| Red-glow swing | Dodge — unparryable | Do not guard or parry |
| Saw’s spear thrust | Sidestep the line | Punish the recovery |
| Glowing slam (phase 2) | Dodge, then punish | Second-phase damage window |
The snow cloud is the fight’s signature trap. It does not deal the damage itself; it hides the swing that does. Treat the cloud as a reset, not a DPS window.
Recommended weapon and build
Bring a guard-break main with a short punish. The fight rewards clean defensive reads and punishes long animations, especially during the snow cloud. A weapon with reliable stagger helps shorten the second bar, but survivability matters more than burst.
The Bonesaw is the reward and a strong fit for the final region: high shield-break, a parry buff, and Bloodsaw’s Bleed. No elemental weakness is documented for Crusher or Saw. Do not build around a status on an unverified assumption. The best builds guide covers the guard-break options, and the Mount Soulrend walkthrough tracks the route.
Common mistakes
- Attacking into the snow cloud. You cannot see the next swing.
- Parrying a red hit because the string started blue. Every red flash is a dodge.
- Standing under the ball slam. Dodge the impact, then punish the recovery.
- Burning all heals in phase one. The second bar is a fresh fight.
- Ignoring Saw’s spear thrust. It is a separate line from Crusher’s ball.
- Ringing The Last Chance before Cui’s tale. The Baishan Headband bonus is lost.
- Treating the snow cloud as a damage phase. It is a visibility loss.
Sources & confidence
The 185,100 HP values for both phases, the ball swing/leap/slam, the two-to-three-second snow cloud, the ice eruption, close drag, red-glow swings, Saw’s spear thrust, the unparryable red rule, the ball-recovery punish, the glowing-slam phase-two punish, and the Bonesaw reward come from the AllThingsHow Crusher and the Saw breakdown, cross-checked against KeenGamer and the Mount Soulrend route. The Bonesaw’s high shield-break, parry buff, and Bloodsaw Bleed come from the all-weapons table. The Baishan Headband conditional drop comes from the Mount Soulrend route. No elemental weakness is documented.
Sources & further reading
- Crusher and the Saw boss fight — AllThingsHow
- All bosses and rewards — KeenGamer
- Mount Soulrend walkthrough — PowerPyx
- All weapons and locations — KeenGamer
We link to the primary source for every hard number. If a source conflicts, we say so in the text.
By the PBZ Guide Team · Reviewed by the editorial desk Written in English from primary sources and cross-checked play routes. Spot an error? Tell us and we will update the guide. We link to the primary source for every hard number. If a source conflicts, we say so in the text.