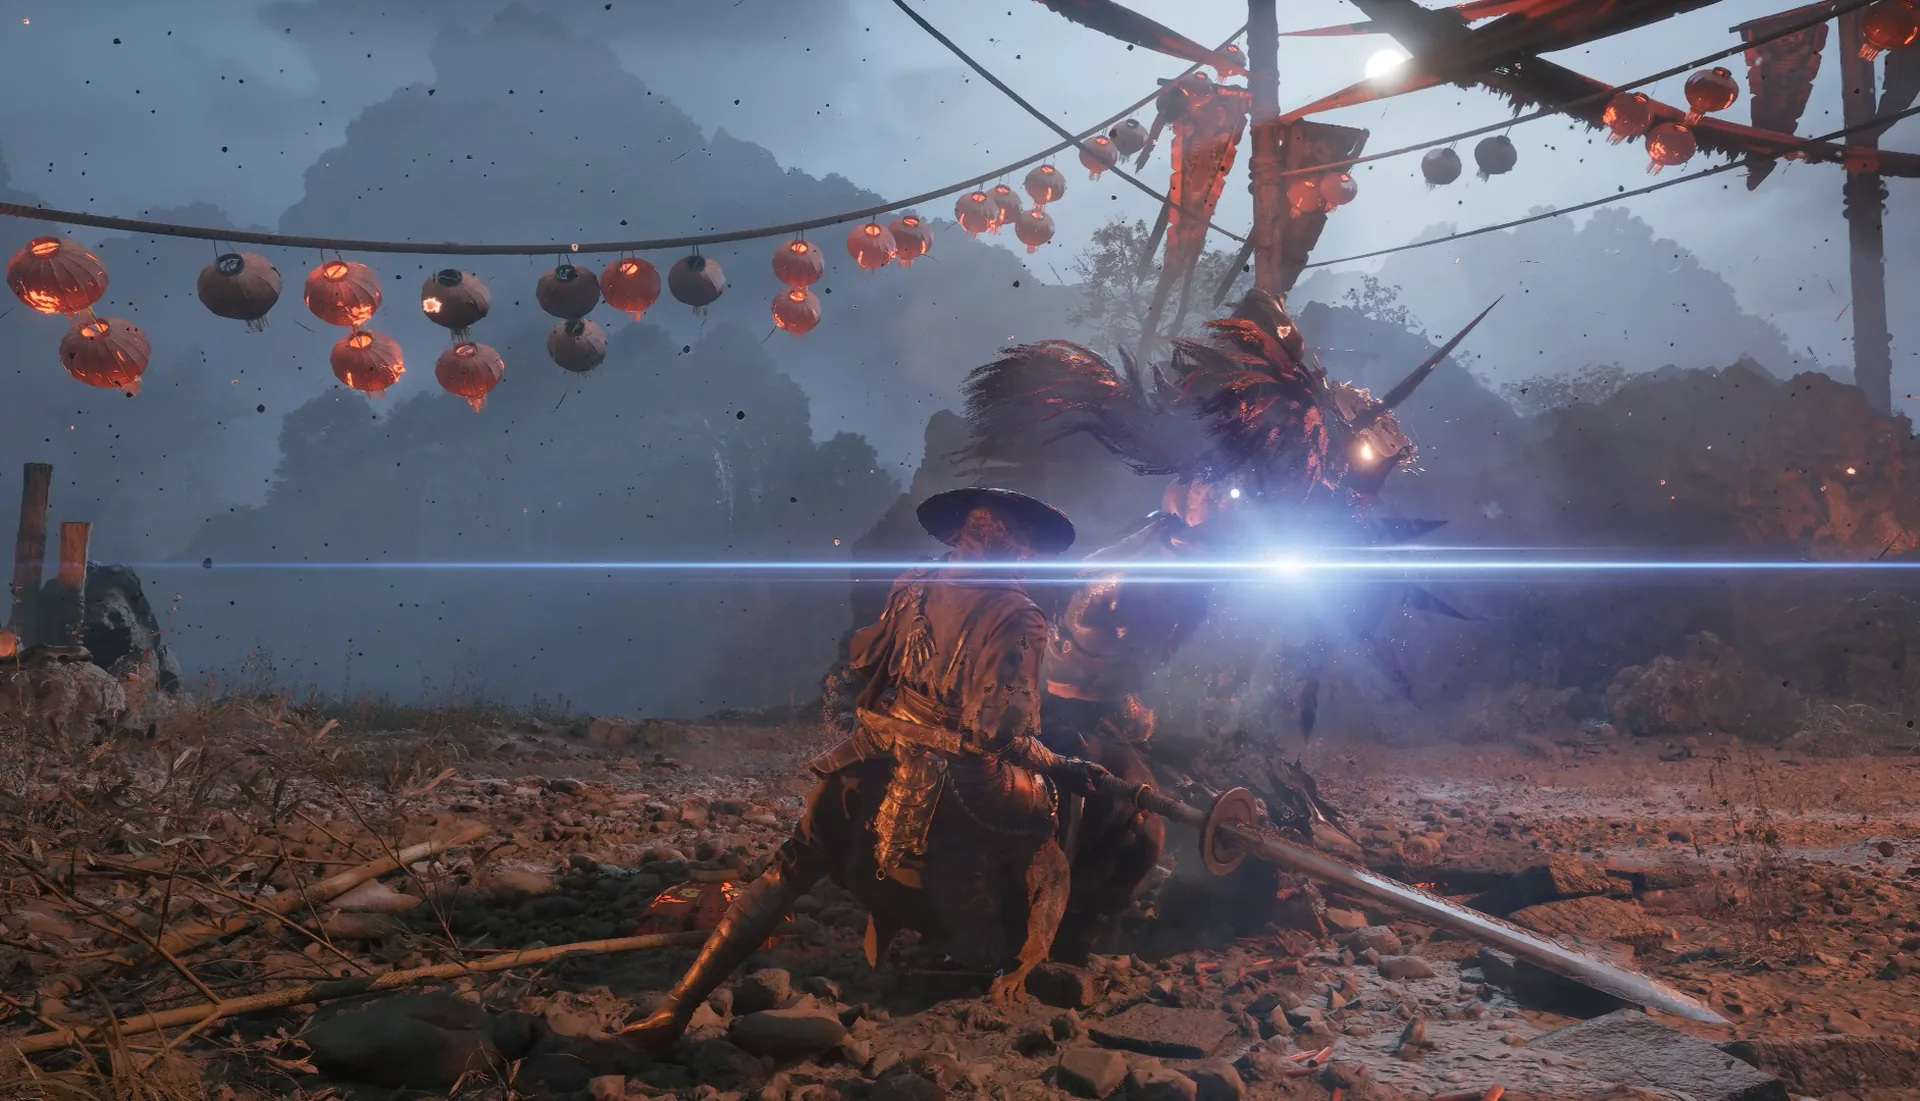
Phantom Blade Zero has no stamina bar, no corpse run, and no XP, which strips away the excuses most action games give you for playing cautiously. What it has instead is a yellow gauge shared between you and every enemy on screen, a purple resource split across two very different buttons, and a colour code that tells you whether to block or dodge. Get those three right and Guard Break, Essence, weapon swapping and Phantom Edges all resolve into one readable system.
The four meters that actually matter
Nothing here is per-weapon. The gauge you see is the same gauge the enemy is trying to protect.
| Meter | Colour / form | Builds from | Spent on |
|---|---|---|---|
| Sha-Chi | Yellow, shared with enemies | Light attacks, perfect dodges | Sha-Chi heavies (Triangle), guarding |
| Sha-Chi Essence | Purple pip | Landing parries and pressure | Power Surge (1), Zero State (3) |
| Remnant Spark | Edge charges | Refilled at bells | Phantom Edge (1–2) |
| Medicine | Two flask slots | Bells, Healing Art | R (Lower), T (Upper) on PC |
The critical detail is that Sha-Chi is shared. Your heavies and your guard both eat the same number the enemy’s yellow bar represents, and perfect deflects cost you nothing while draining them heavily. Every exchange is a tug-of-war over one value. Healing Gourd restores 40% HP; Vessel Restorative restores 70% plus Sha-Chi recovery, so it doubles as a pressure reset.
Blue is parry, red is dodge
Tap L1 a beat before impact for a parry. R1 is your dodge, and it is the only answer to a red flash — red attacks and grabs are unblockable and unparryable. Blue or neutral attacks are yours to deflect. Trying to block a red is a wasted input at best.
| Difficulty | Perfect deflect window | Incoming damage | Sha-Chi damage taken while blocking |
|---|---|---|---|
| Wayfarer | 10 frames | ×0.7 | ×0.33 |
| Pathbreaker | 8 frames | ×1.0 | ×0.66 |
| Hellwalker | 8 frames | ×1.0 | ×1.0 |
| 66 Days | 6 frames | ×1.0 | ×1.0 (66 deaths, no manual save) |
Boss and elite HP is identical across all four modes. Difficulty moves your margin for error, not the enemy’s health bar — which is why the parry window is the number worth memorising, not the damage scalar. Check the difficulty guide before you commit to 66 Days, since that mode locks on a new run.
Guarding without feeding the enemy
Holding L1 is a losing trade. Guarding drains Sha-Chi, and holding through a full combo costs an extra slice per hit, so a long block string can empty your own gauge before the enemy’s. Parrying is free and pushes the tug-of-war the other way.
Several weapons rewrite this rule, and they are the reason parry builds feel different rather than just better:
- Tianxuan Bronze Sword disables parry entirely in exchange for a cheap block — a deliberate anti-parry pick.
- Soft Snake Sword grants free guard and sidesteps, turning defence into positioning.
- Parting Hooks has a counter stance, and tempering makes a blue parry auto-counter.
- Bonesaw buffs your next attack on a parry; Juggernaut builds Red Edge from parries.
The Reflex Device is the blunt fix: +15% to parry and Perfect Dodge windows.
Guard Break is the real damage window
Empty the enemy’s yellow bar and they stagger — that is your Execution (O) or a full combo. Two things accelerate it: perfect deflects, which drain the gauge hard, and shield-break tools. Falling Petal Strike, Token of Pursuit and Bonesaw’s Cruel Advantages all amplify damage dealt to a Guard-Broken target, so the break is a burst window, not just crowd control.
Weapon swapping is a rotation, not a menu
You carry two primaries and two edges. Swap quick-attacks land for free and refill Sha-Chi, which makes swapping part of your damage loop rather than a reaction to durability or range.
- Dump primary A with standard strings and a Sha-Chi heavy woven after any swing.
- Swap — the swap attack connects and refills Sha-Chi.
- Dump primary B, including its L1+Triangle unique.
- Swap back on cooldown and repeat.
Because Sha-Chi doubles as the enemy’s guard bar, the loop is continuous pressure in both directions. It also means you should never finish a fight with a full second weapon. See the best weapons tier list for which pairs share status types, and the all weapons locations page before you leave a region — Fiend Saws and Wild Oriole Sword are permanently missable.
Upgrades are forgiving: Revert refunds 100% of invested materials (free to level 10, later requiring a Reforge Talisman). Soul Temper is irreversible, so treat the soul-tempering guide as a commitment check.
Phantom Edges and Power Surge
Power Surge (L2/Q) costs 1 Essence, and most Surges are unblockable and interrupt. It is your universal answer to a wind-up you cannot read or a blue-flash string you would rather not gamble on. Zero State sits above it at 3 Essence. Phantom Edge (R2) costs 1–2 Remnant Sparks and refills only at bells, so treat sparks as a per-bell budget rather than a panic button — the full breakdown lives in the Phantom Edges guide.
Status effects worth building around
- Bleed → Blood Loss: Jagged Steel, Bonesaw, Flying Guillotine. Useless against Puppets, Golden and Phantom enemies — check the enemy class before committing a build.
- Chill → Frozen: Freezing Chaos, Whiteshadow, Loong Trident. Frozen targets take more damage; Tiger Cannon shatters non-elites outright.
- Burning / Chaotic / Phosphor: damage over time; Chaotic drains Sha-Chi, Phosphor reduces attack.
- Lightning → Paralysis: Baishan, Thunder Spear. Wet amplifies it.
- Wet: Deluge, Trident. Boosts Lightning and Frost, works against fire.
- Chaos: Freezing Chaos, Lady’s Fan. Drains both HP and Sha-Chi.
- Poison: Flying Dagger only, and niche.
Six habits that lose fights
- Holding guard through a combo instead of tapping.
- Dodging a blue attack, or blocking a red one.
- Spending Essence on Power Surge while the enemy’s guard bar is nearly broken.
- Ignoring the swap-attack refill and fighting on one weapon.
- Running bleed into puppets, Golden or Phantom enemies.
- Assuming Wayfarer timing (10 frames) transfers to 66 Days (6 frames).
Death costs you nothing — you respawn at the last bell with a phase checkpoint on multi-phase bosses, and enemies do not respawn to farm. So the only real resource you are spending is practice.
Sources & confidence
Main sources are S-GAME’s official site and PlayStation FAQ, plus weapon and system concordance data compiled by guide sites such as PowerPyx. The biggest uncertainty is precision: the frame windows, stagger durations and several per-weapon perks are consistent across guides but are not published by S-GAME, so treat exact numbers as guide-derived rather than official.
Sources & further reading
- Steam store page — Valve
- Phantom Blade Zero review — IGN
- Trophy guide and roadmap — PowerPyx
- PC performance review — Wccftech
We link to the primary source for every hard number. If a source conflicts, we say so in the text.
By the PBZ Guide Team · Reviewed by the editorial desk Written in English from primary sources and cross-checked play routes. Spot an error? Tell us and we will update the guide. We link to the primary source for every hard number. If a source conflicts, we say so in the text.