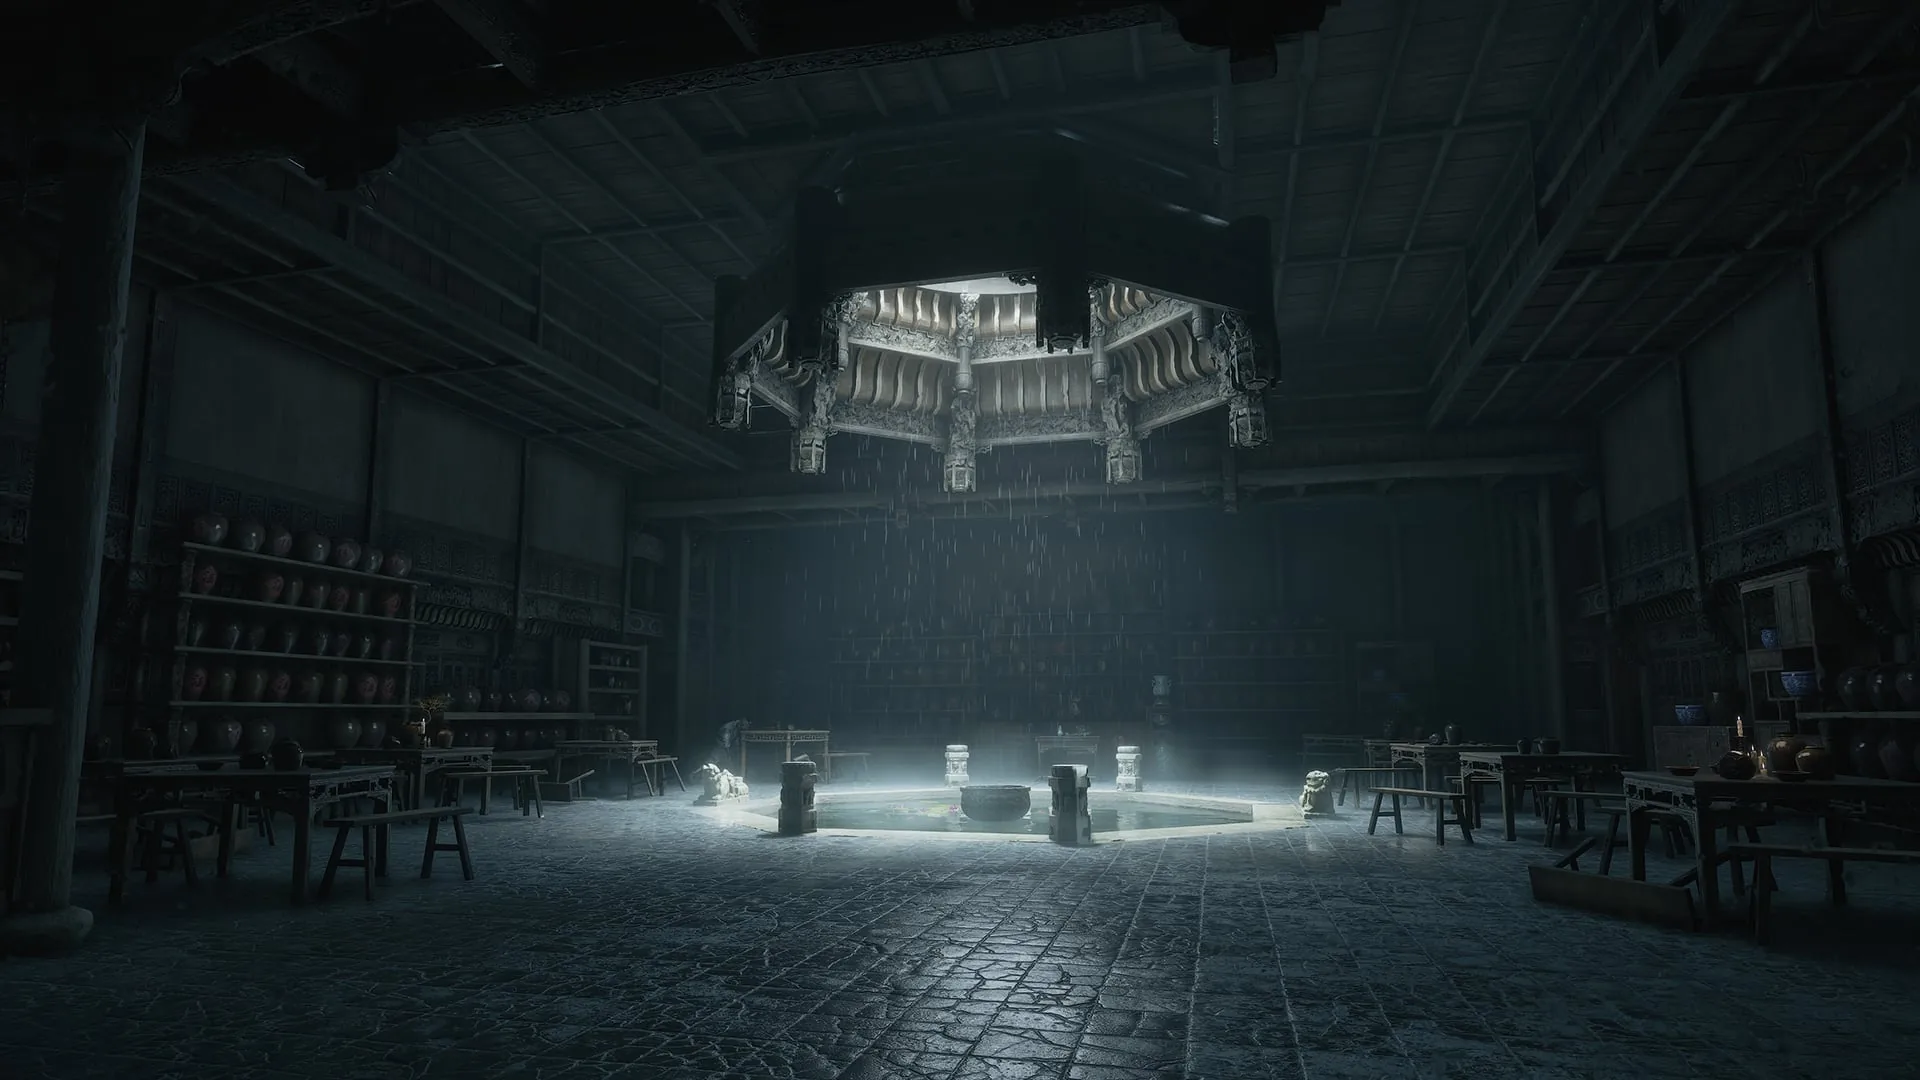
Camera and lock-on are the most-cited mechanical complaint in Phantom Blade Zero’s Steam reviews. In our scan of 131,414 reviews from the launch window, 2,925 mention camera or lock-on and 653 of those are negative — 22.3% of the mentions, with a median playtime of 34.2 hours. That is not a launch-week skill problem. It is a persistent group-fight problem, and the game gives you very few tools to configure around it.
How lock-on behaves in practice
These points come from consistent player reports and review footage, not from an S-GAME specification:
- The lock picks a target and tracks it, then moves to the nearest enemy after a kill.
- It does not switch quickly to an enemy outside the camera view. You have to correct the camera toward that enemy first, then re-lock.
- It can pick explosive barrels and other environmental objects as targets. One widely-shared review describes a four-enemy fight where the lock jumped to a barrel mid-combo.
- Bosses that summon adds, and encounters with several elites, can pull the lock away from the target you are trying to finish.
- During some attacks and scripted actions, the game forces a camera correction. Players report fighting the camera for control when this happens.
- There is no visible priority list. The game does not know that the healer is the real threat.
Treat that as the rules of the encounter, not as a bug you can toggle off. The practical goal is to reduce how often the lock has to make a decision for you.
The three-second pre-fight routine
Before you press the lock-on input, spend three seconds doing this:
- Pan the room. Count the enemies and find the healer, the ranged attacker, and every explosive barrel.
- Pick a fighting lane. Put a wall, a doorway, or the arena edge behind you so only one or two enemies can engage at once.
- Decide whether to lock at all. In a duel, lock. In a four-enemy room with a healer and barrels, free camera is usually better.
- Choose the first kill. Healer first, ranged second, melee chaff last. Barrels are not a kill target.
- If the lock grabs the wrong thing, release immediately. Do not wait for the combo to finish. Every second on the wrong target is a second the healer spends undoing your damage.
Target priority that actually works
| Priority | Target | Why it matters | How to handle it |
|---|---|---|---|
| 1 | Healer-type enemies | They can heal the enemy you are hitting back to full, undoing a whole combo | Manual camera toward the healer, approach from the side, burst before returning to the group |
| 2 | Ranged adds | They attack from outside your view; a red attack from off-screen is the classic group-fight death | Keep them in front of you, dodge toward them rather than backing away |
| 3 | Melee chaff | They clump and are the easiest to cleave, but they block your view of the real threats | Use wide sweeps and let them come to you; do not chase one into the pack |
| — | Explosive barrels | Not a target. They are terrain that the lock can mistake for an enemy | Fight away from them, or detonate them deliberately from free camera when enemies are close |
The healer is the exception to “kill the boss first.” If a healer is active, every point of damage you deal to the boss is provisional. Kill the healer, then return to the boss. The same logic applies to boss adds: ignore a summon that does nothing, but kill one that heals, buffs, or crowd-controls.
Two encounter-specific exceptions are worth memorising because the game does not label them:
- Dusk spawns a duplicate at roughly 40% health. Kill the copy first; its bar drains faster, and the real Dusk is still there afterward.
- Chief Disciple is a seven-man formation. Kill the six attendants first; they heal him at their own HP cost, and their synced strike can one-shot.
Manual camera correction, step by step
This is the core skill the game does not teach. It is also the reason some players never feel in control of group fights.
- Release the lock. If the current target is wrong, holding the lock and trying to drag the camera is the worst of both worlds.
- Flick the camera toward the off-screen enemy. Use the right stick or mouse. Raise camera sensitivity enough that one flick crosses most of the screen; lower it if you consistently overshoot.
- Re-lock only when the target is centred. If the lock grabs a different enemy, release and repeat. Do not re-lock while the camera is still moving.
- Do not fight the camera during an attack animation. The character is committed to the animation. Use the left stick to steer the character and save the camera correction for the gap between strings.
- When the game forces a camera correction, stop attacking. Reorient first. Queuing another attack during a forced pan is how you eat an off-screen red attack.
- Practice the flick in a cleared room. Enemies do not respawn, so you cannot farm practice targets, but you can practise camera control while traversing and in low-stakes camps.
Spacing for multi-enemy fights
- Fight at the edge, not the centre. The centre lets every enemy approach from every angle. The edge removes half the approaches.
- Put a wall or doorway behind you. A doorway turns a four-enemy fight into a two-enemy fight.
- Keep ranged enemies in front. If a ranged add is behind you, break the lock and reposition before you continue.
- Never let a healer sit behind the pack. If you cannot see the healer, you cannot stop the heal.
- Dodge through or around, not backwards. Backpedalling extends the hitbox and keeps you at the range where the follow-up lands. This is the same rule as red-flash attacks in the combat system guide.
- Break line of sight to reset. Cleared rooms stay cleared because enemies do not respawn. If an encounter lets you retreat into cleared ground, do it, heal, and re-approach with the room already mapped.
- Avoid fighting on slopes and stairs when you can. Players report that uneven ground makes execution prompts and target selection worse. Pull the fight to flat ground.
Weapon swaps, Phantom Edges, and summons
The combat system already has tools that solve part of the lock-on problem. Use them as camera management, not just damage.
Weapon swap. A swap quick-attack refills Sha-Chi and repositions the character. If the lock is on the wrong enemy, swap-attack to reset the exchange, then re-lock from the new angle. The standard loop — dump weapon A, swap-attack, dump weapon B, swap back — is also the cleanest way to keep pressure on a healer while the lock is being uncooperative.
Wide-clear weapons. Two-handed sweeps and wide arcs reduce the need for precise targeting:
- Sanguine Reach — wide sweeps and Blade Force.
- Armybreaker — thrust on swap and a rush that can be tempered uninterruptible.
- Crescent Blade — Crescent Storm into Qinglong Form.
- Bonesaw — high shield-break and a parry buff; good against guard-heavy packs.
Bleed weapons such as Jagged Steel and Scarlet Wraithblade are strong in general, but Bleed does nothing to Puppets, Golden enemies, and Phantom enemies. Check the enemy class before you commit to a bleed plan.
Summons that pull aggro. These are the closest thing to a lock-on fix in the game:
- Puppeteer’s Bell — sword-and-spear shield puppets for 15 seconds.
- Kuye Temple Prayer Beads — three Fist Bronze Men for 15 seconds.
- Swordsman’s Summon — a captain and two disciples for 15 seconds.
While a summon holds the pack’s attention, you can free-camera around to the healer or the ranged add. The summon is not just damage; it is a second camera target.
Crowd-control Phantom Edges. Flaming Mane (flame stream), Tiger Cannon (charged shell, ignites explosives), Bashpole (spin/slam), and War Wagon (drivable ram) all clear space without requiring a precise lock. Tiger Cannon is especially useful for detonating barrels on purpose instead of letting the lock find them.
Power Surge as an interrupt. Power Surge costs one Essence, and most Surges are unblockable and interrupt. When an off-screen enemy winds up a move you cannot read, Surge is a better answer than gambling on a parry. Save it for the wind-up, not for routine damage; if the enemy’s guard bar is nearly broken, spend the Essence on the Execution follow-up instead.
Phantom Edge budget. Edges cost 1–2 Remnant Sparks and refill only at bells. Do not burn an edge on a single chaff enemy. Use the edge to delete the healer, break the pack, or buy the camera time you need.
Settings that help — and what they cannot fix
| Setting | What it does | What it does not do |
|---|---|---|
| Motion blur: off | Removes smear during fast pans; enemies are easier to track | Does not change target selection |
| Camera shake: off/low | Reduces nausea and visual noise during hits and cinematics | Does not stop the lock from jumping |
| Camera sensitivity | Lets one flick reach an off-screen enemy; lower it if you overshoot | Does not add a target-priority option |
| Axis inversion | Personal preference | No effect on lock behaviour |
| Vibration: off | Removes rumble noise if it distracts during group fights | No effect on targeting |
| Remap | PC Interact/Talk was added in patch 1.0302256; other remaps exist | Remapping is partial; players report some actions cannot be changed |
| Subtitles / text size | Helps you read combat callouts and prompts | Not a camera fix |
Encounter-specific tips
Pangzhen healer and barrel groups (Chapter 4). This is the encounter shape the complaint is built around: several enemies, at least one healer, and barrels in the arena. Fight away from the barrels, kill the healer first, and use Flaming Mane to detonate barrels from free camera when enemies are clustered near them. If the lock jumps to a barrel, release immediately; do not attack it and assume the game will switch back.
Dusk. Do not hard-lock the giant. The hands and the body leave frame, and a slam you never saw is worse than a missed punish. Kill the duplicate first, then clear the crawler adds, then return to Dusk with free camera.
Chief Disciple. Kill the six attendants before the Chief. They heal him, and their synced strike can one-shot. Wide clears and summons are better than single-target lock-on here.
Mu Xiaokui, secret third phase. If you finished the five-ribbon questline, she summons Jade Dancer and Iron Fiend. Expect the lock to jump between three targets. Clear the adds first, then re-lock Mu Xiaokui when the arena is quiet.
Saw and Crusher. This is a duo, and the snow cloud obscures visibility for two to three seconds. Keep both in frame, do not lock during the cloud, and punish only when both are visible. Every red flash is unparryable.
Leng Tu’s five-stage gauntlet. Summoned allies are useful as sponges while you manage the camera. Use free camera between stages and re-lock only for the burst window on the current enemy.
Banyan tree duos. The Banyan rematches sometimes end in a duo, such as Cavalrybane and Soulclaimer. Keep both in frame, use the wave checkpoint, and treat the fight as a free-camera encounter rather than a lock-on duel.
When to stop fighting the camera
Death costs nothing in Phantom Blade Zero. You respawn at the last bell, multi-phase bosses keep phase checkpoints, and enemies do not respawn. That means walking away from a group fight is cheap.
If a fight is going badly because you cannot see the real threat:
- Drop the difficulty outside combat. Boss and elite HP is identical across the first three modes, so you are not making the fight “cheaper” — you are widening the parry window and reducing incoming damage.
- Change to a wide-clear weapon or a summon edge.
- Leave, clear a different room, and come back with the arena mapped.
- Use the free camera deliberately. If the fight is built around two enemies, free camera is the intended workaround, not a failure.
For the underlying combat rules, see combat system explained and the difficulty guide. For who to kill first in specific fights, see the boss order and secret bosses pages.
Sources & confidence
The counts come from the review scan in research/reviews/pain-points.json: 131,414 reviews from the launch window, 2,925 camera/lock-on mentions, 653 negative, 22.3% negative share, median 34.2 hours. These are keyword-bucket mentions, not a poll, and the buckets overlap. The behavioural claims are player reports from Steam reviews and review footage, not official S-GAME documentation; the two linked reviews are representative, not exhaustive. The settings list is cross-checked against the FAQ and guide coverage: motion blur, camera shake, sensitivity, axis inversion, vibration, remapping, and subtitle options are confirmed to exist, but the exact menu labels vary by platform. The central limitation is confirmed by absence: no source documents a lock-on priority, target filter, or barrel-exclusion setting.
Sources & further reading
- Steam store page — Valve
- Phantom Blade Zero review — IGN
- Phantom Blade Zero tips — PC Gamer
- Combat, weapons and upgrades — Fextralife
- Steam review — mArk1YH (lock-on jumps to explosive barrels) — Steam Community
- Steam review — But At What Cost (forced camera correction) — Steam Community
We link to the primary source for every hard number. If a source conflicts, we say so in the text.
By the PBZ Guide Team · Reviewed by the editorial desk Written in English from primary sources and cross-checked play routes. Spot an error? Tell us and we will update the guide. We link to the primary source for every hard number. If a source conflicts, we say so in the text.