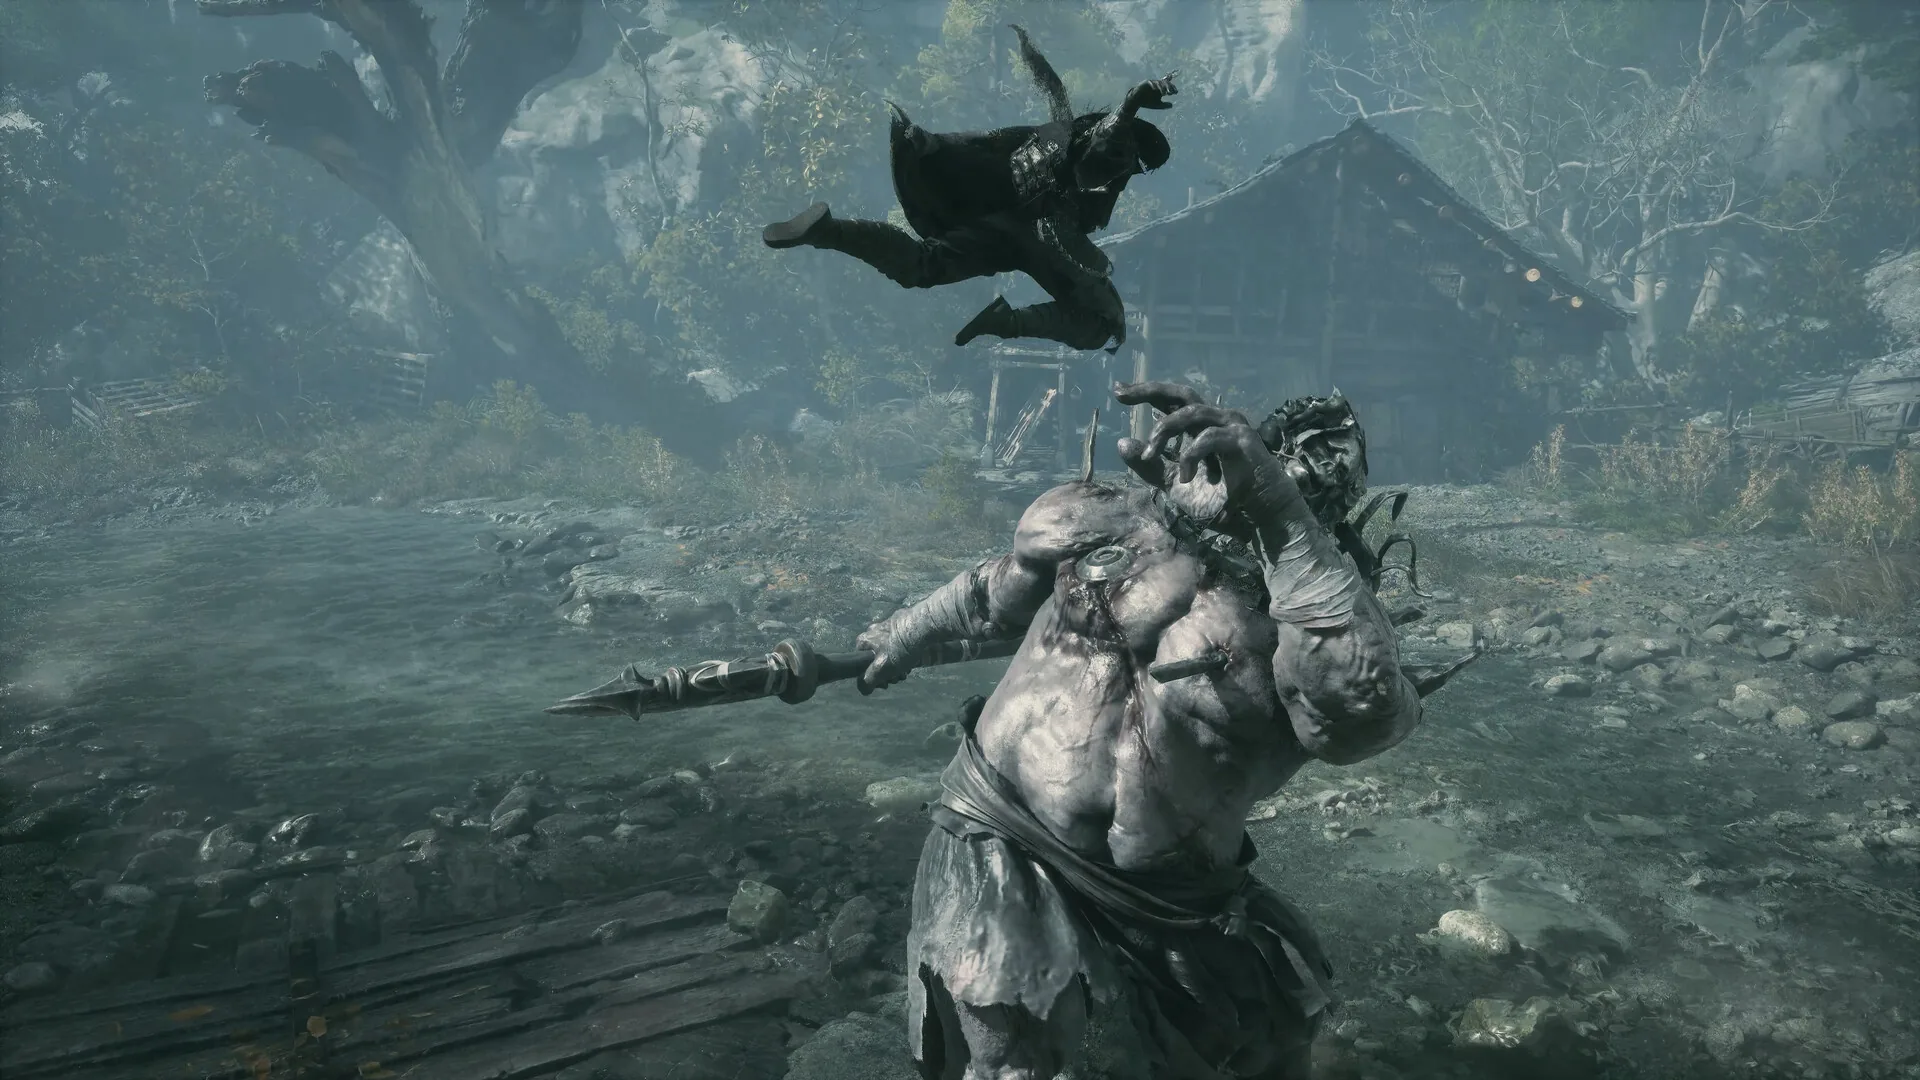
The Chief Disciple is the Mandate Encampment’s hardest fight and one of the game’s difficulty-five encounters. It is a two-stage problem: a seven-man formation, then a suspended marionette called the Sword of Despair. The first stage is a crowd-control check. The second is a spacing and patience check. Treat them as separate fights with separate failure modes, because that is what they are.
Location and unlock
The Chief Disciple waits at the Three Towers field in the Mandate Encampment, Chapter 5. He is optional — the Mandate is the one chapter with no strictly mandatory boss — but he is not disposable. The fight yields the Swordsman’s Summon, and the region route also lists the Training Grounds Key, which feeds the Pillars of Kunlun chain. If you are chasing the true ending, the camp’s tales and keys are part of the checklist even though none of its bosses are forced.
The natural route is Mass Grave, Gatehouse yard, Dovecote rooftop, Three Towers, The Confinement, then the Encampment end. The Chief Disciple sits in the middle of that sequence, and the Red decision from the Dovecote follows you into his second phase.
Reward and the Red decision
Defeating the Chief Disciple grants Swordsman’s Summon and the Training Grounds Key. Boss drops are one-per-run and defeated bosses never respawn. There is no Remembrance-style refight.
The bigger missable is not the drop. If you spared Red at the Dovecote, she joins the Chief Disciple fight at roughly half health in phase two. If you killed Red earlier, she does not join, which makes the fight simpler but permanently locks out the Daughter of the Dark Sect rewards: the Twin Fish Pendant, Red’s Memory Flower, and the Twin Heroes’ pair bonus. That trade-off is made before you enter the Three Towers, not during the fight.
Fight plan and phases
Phase one — seven-man formation, 90,350 HP. The formation is the fight. Kill the six disciples first. They heal the Chief at their own HP cost, and their synced strike can one-shot you. Tunneling the Chief while the six are alive is the most common way this phase stalls out and then kills you.
A wide-clear weapon is the right tool here. The compendium cites the Bashpole as effective, and the logic is obvious: you need to thin six bodies without spending the whole phase in single-target animations. Once the six are down, the Chief becomes a normal duel, and you can start taking the damage windows you earned.
Phase two — Sword of Despair, 125,100 HP. The Chief is suspended on threads, and the arena becomes a movement puzzle. The homing thread swarm requires sprinting perpendicular to the projectiles, not backing away. Red-glowing strings precede an unblockable ranged hit — dodge, do not guard. Parrying or dodging his strings triggers Ghostep counters, which is where your real damage comes from.
If Red joined, kill her first. She is a half-health add with her own pressure, and leaving her free to cast while you learn the thread patterns is how the phase snowballs. Keep the Chief on screen while you do it; the thread swarm does not pause for your duel.
Attack tells and red/blue/black handling
| Tell | Response | Punish |
|---|---|---|
| Six attendants syncing | Break formation, kill them | Prevent the heal and synced strike |
| Homing thread swarm | Sprint perpendicular | Reset after the swarm |
| Red-glowing strings | Dodge the unblockable ranged hit | Ghostep counter |
| Thread fans across the arena | Sprint across, do not walk | Close distance |
| Suspended stance | Reposition, watch the threads | Punish after the pattern |
The red-glowing strings are the clearest colour rule in the fight: red means dodge, and the follow-up is explicitly unblockable. The thread swarm is a movement check rather than a parry check. The compendium does not publish a black-flash tell for the Chief Disciple, so do not invent one; the phase-two pressure is threads, not smoke.
Recommended weapon and build
Bring a wide-clear weapon for phase one. The Bashpole is the named example, and any weapon with a reliable sweep will do the job of clearing six attendants without leaving you exposed. For phase two, keep a parry option available: the Ghostep counters are triggered by parrying or dodging his strings, and they are the cleanest damage in the fight.
No elemental shortcut is documented. Build for crowd control first and single-target patience second. A weapon switch is useful for refilling Sha-Chi between phases, and you should enter with full gourds because phase two’s thread swarm punishes panic healing.
Common mistakes
- Attacking the Chief while the six are alive. They heal him and their synced strike can one-shot.
- Ignoring the attendants’ heal. The fight is designed to stall if you do.
- Standing still during the thread swarm. Sprint perpendicular.
- Trying to block the red-glowing strings. The follow-up is unblockable.
- Letting Red free-cast in phase two. Kill her first if she joined.
- Killing Red earlier without accepting the tale loss. The fight gets easier; the rewards do not come back.
- Entering without a wide-clear option. Phase one will take twice as long.
Sources & confidence
This guide draws on Kungfupunk’s Chief Disciple page, cross-checked against phantomblade.guide’s boss database and KeenGamer’s boss-and-rewards list. The 90,350 and 125,100 health values, the six-attendant heal, the synced strike, the thread-swarm sprint, the red-glowing strings, and the Bashpole recommendation are from the sourced breakdown. Red’s half-health join is documented in the Mandate Encampment route, and the tale-reward trade-off is from that route rather than the boss page. The exact timing of Red’s join is approximate. HP values vary by source and cycle.
Sources & further reading
- Chief Disciple boss guide — Kungfupunk
- Boss database — phantomblade.guide
- All bosses and rewards — KeenGamer
We link to the primary source for every hard number. If a source conflicts, we say so in the text.
By the PBZ Guide Team · Reviewed by the editorial desk Written in English from primary sources and cross-checked play routes. Spot an error? Tell us and we will update the guide. We link to the primary source for every hard number. If a source conflicts, we say so in the text.