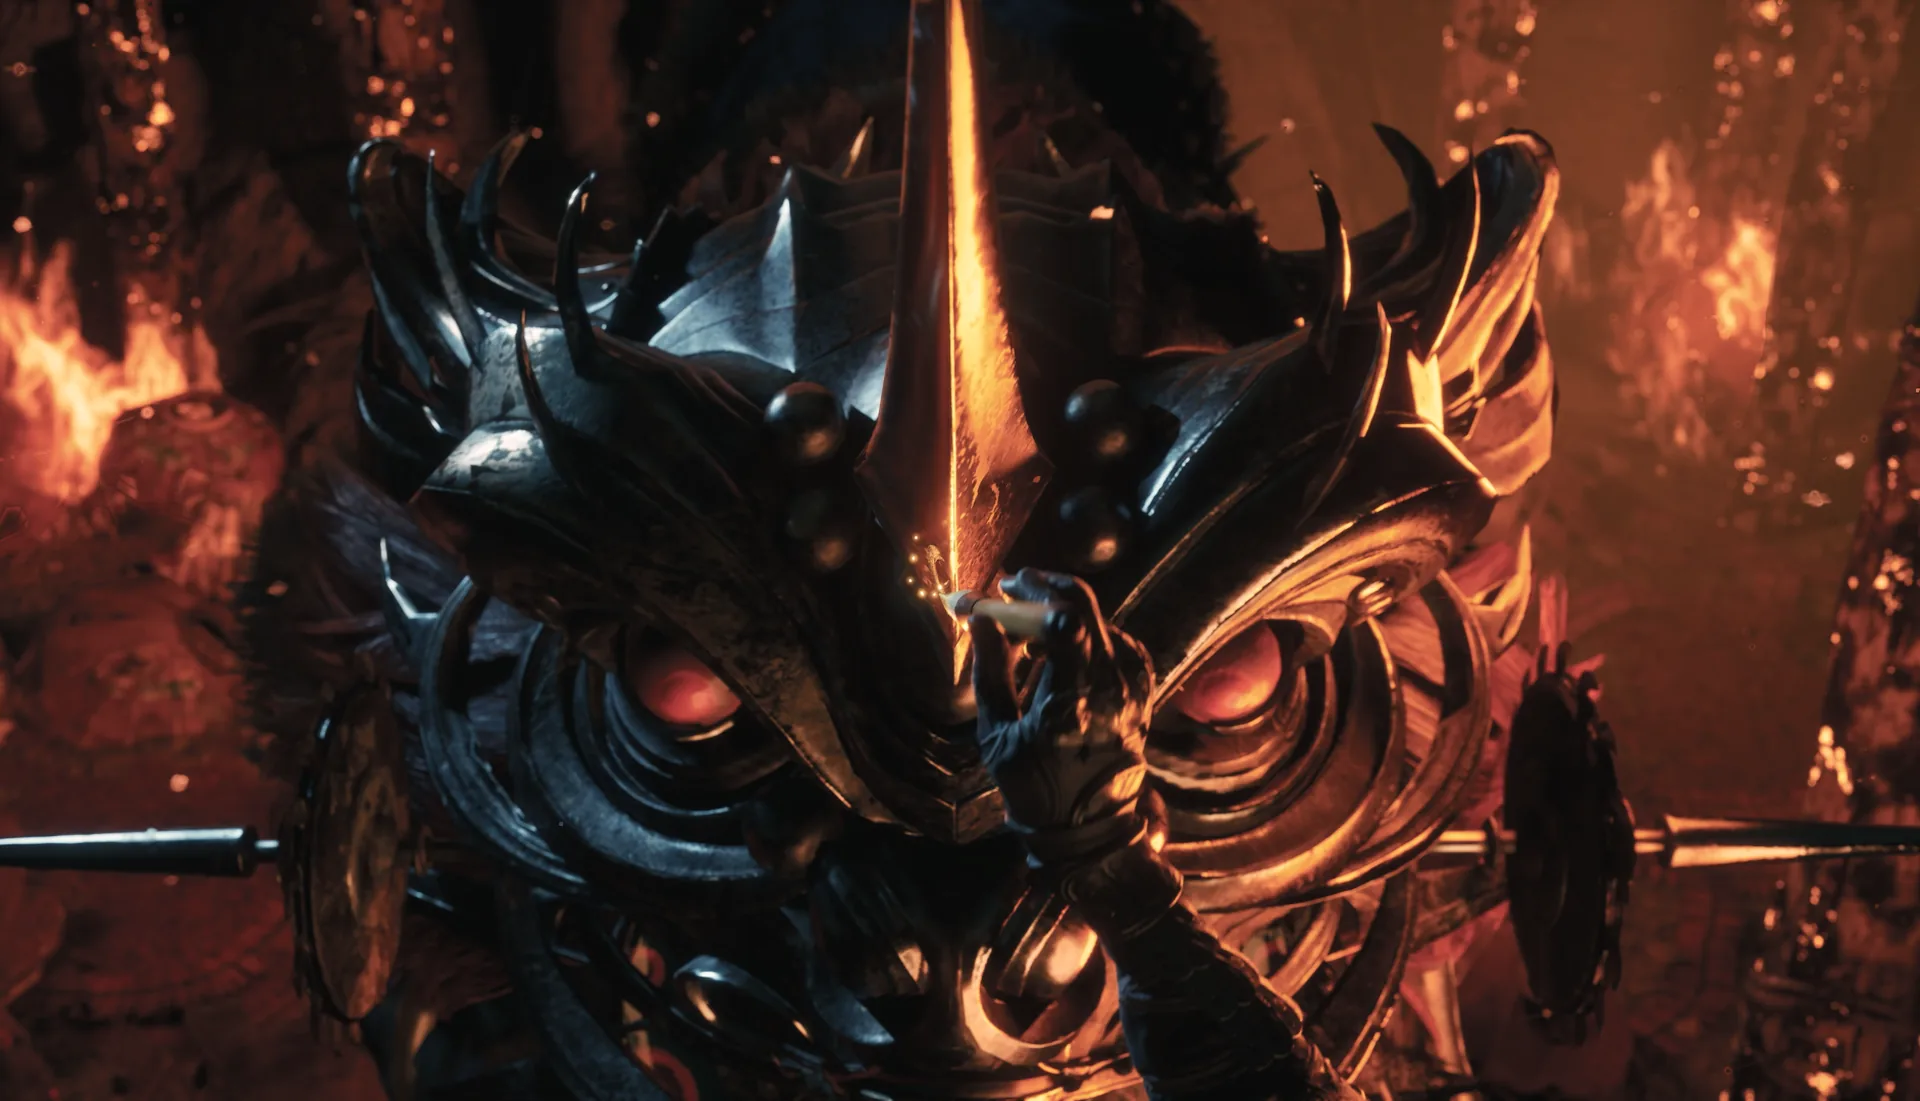
Chang Hong is Pangzhen’s spear-and-horse duel and the region’s hardest parry check. He fights on foot first, then mounts for a second health bar. The fight rewards lateral movement and punishes the instinct to back away from a charge. If you have been coasting on guard-heavy play, his seven-hit string is where that stops working.
Location and unlock
Chang Hong is a main-path boss in Pangzhen, Chapter 4, fought at the Ancestral Shrine Square. You cannot miss him. He sits in the later Pangzhen block, after the Mandate detour, alongside Xie Qiudong and Soulclaimer. The route order in the region guide places him after Xie Qiudong and before Soulclaimer.
There is no unlock condition beyond reaching the square. The only thing worth doing before you enter is confirming your parry timing and your gourds. The fight has two bars, and the second one is a checkpoint, so phase one is not where you should be hoarding resources.
Reward and missable warning
Defeating Chang Hong grants the Thunder Spear. Boss drops are one-per-run and defeated bosses never respawn. There is no boss-select or Remembrance system, so this is your only chance at the weapon on the current run.
Chang Hong is mandatory, so the drop itself is not missable. The route-level missable is Zhu Yuan, the optional Two Blade Masters fight at the Sha-Chi Tower bottom, which is required for the true ending. If you are in Pangzhen for the long haul, do not let Chang Hong’s mandatory status distract you from the optional fights that actually gate the ending.
Fight plan and phases
Chang Hong has 78,750 HP on foot in phase one and 87,500 HP mounted in phase two. Phase two is a checkpoint: die there and you restart at phase two with full health and heals restored. That makes phase one a learning bar and phase two a discipline test.
Phase one — on foot. His kit is built around ranged lightning and a long spear string. The lightning call marks a circle; leave it rather than trying to block the follow-up. The golden crescent is an arc check — move out of the arc instead of backing along it. The red-flash charge is the move that catches players who retreat; sidestep it, never back away. The blue-flash thrust is your parry rep. The lightning burst is a leave-the-area cue.
The seven-hit string is the centerpiece. The compendium describes it as the region’s hardest parry check, with the last hit landing for roughly 350 on the reference difficulty. If you cannot parry all seven, do not try to tank the final hit. Dodge the last strike and reset; eating it is how a clean attempt turns into a panic heal. Punish after the string and after his charges.
Phase two — mounted. He adds a circling charge, a horse leap, and a lance sweep. The same rules apply with a larger hitbox: sidestep the charges, track the horse rather than the rider, and do not lose the camera when he circles. Punish after the charges and the lance sweep. The grab is still a late dodge, not an early one.
Attack tells and red/blue/black handling
| Tell | Response | Punish |
|---|---|---|
| Red-flash charge | Sidestep, never backstep | After the pass |
| Blue-flash thrust | Parry | Combo |
| Lightning call circle | Leave the circle | Reset |
| Golden crescent | Move out of the arc | After the swing |
| Seven-hit string | Parry all seven or dodge the last | Combo after the final hit |
| Grab | Dodge late | Short punish |
| Mounted circling charge | Sidestep, track the horse | After the pass |
| Horse leap / lance sweep | Dodge the arc | Punish on recovery |
The colour split is clean: red-flash charge and grab are dodges, blue-flash thrust is a parry, and the lightning circle is a hard leave-the-area cue. No black-flash heavy is documented for Chang Hong, so do not import a smoke tell from another boss. The mounted phase’s danger is the expanded hitbox, not a new colour rule.
Recommended weapon and build
Bring your most reliable parry weapon. The seven-hit string is the fight’s gate, and a weapon with a stable parry animation is worth more than raw damage. A fast recovery helps in phase two, where the horse’s circles leave short punish windows.
No elemental shortcut is documented for Chang Hong. Do not build around lightning resistance on the assumption that it is sourced; if you have a defensive option you trust, slot it, but the fight is won on parry consistency and lateral movement. Keep a weapon switch available to refill Sha-Chi between phases, and enter with full gourds.
Common mistakes
- Backing away from the charge. It keeps you in the line. Sidestep.
- Trying to tank the seven-hit string. Parry it or dodge the last hit deliberately.
- Standing in the lightning circle. Leave.
- Panic-dodging the grab early. It is a late dodge.
- Burning all your heals in phase one. Phase two is a fresh bar and a checkpoint.
- Losing the horse in phase two. Track the mount, not the rider.
- Skipping Zhu Yuan. He is the true-ending gate in the same region.
Sources & confidence
This guide draws on the AllThingsHow Chang Hong breakdown, cross-checked against phantomblade.guide’s boss database and KeenGamer’s boss-and-rewards list for placement and reward. The two health values, the on-foot-to-mounted phase structure, the lightning call, the golden crescent, the red-flash charge, the blue-flash thrust, the seven-hit string, the grab, and the phase-two additions are from the sourced breakdown. The “region’s hardest parry check” framing and the ~350 final-hit figure come from the compendium’s line on the fight. No full colour map beyond the named red and blue tells is published; HP values vary by source and cycle.
Sources & further reading
- Chang Hong boss fight — AllThingsHow
- Boss database — phantomblade.guide
- All bosses and rewards — KeenGamer
We link to the primary source for every hard number. If a source conflicts, we say so in the text.
By the PBZ Guide Team · Reviewed by the editorial desk Written in English from primary sources and cross-checked play routes. Spot an error? Tell us and we will update the guide. We link to the primary source for every hard number. If a source conflicts, we say so in the text.