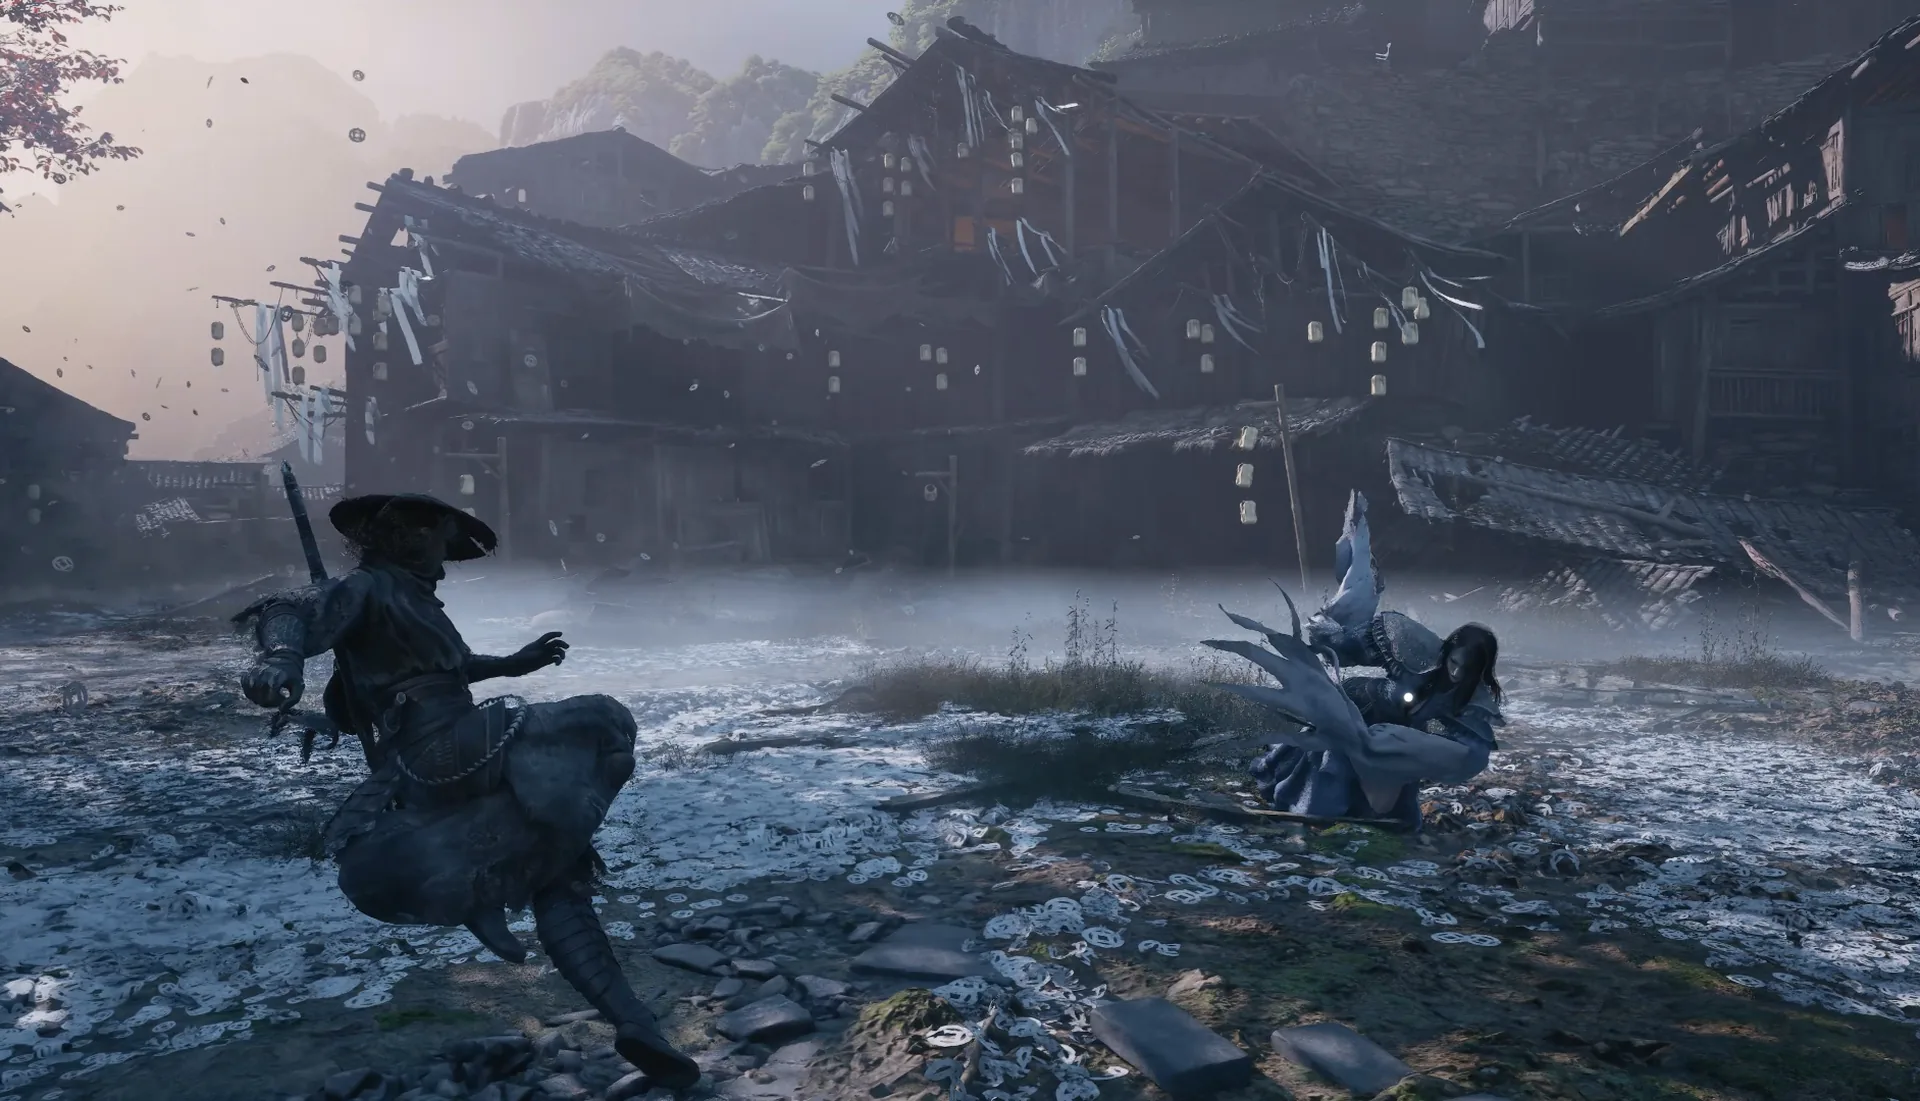
Huangxing is the Mountain of Imprisonment’s real gate. He is optional on the region’s boss list — the Mountain has no strictly mandatory fight for a Normal-ending run — but his drop, the Flying Guillotine, is the item you use at the Lady’s statue to obtain the Yin Crystal Eye. That eye is one of the two Crystal Eyes needed for the mirror ritual in west Meigu. In practice, Huangxing is mandatory for the true ending, and the fight is difficult enough that the distinction stops mattering once the ball starts swinging.
Location and unlock
Huangxing waits in the Lady’s Shrine hall in the Mountain of Imprisonment, Chapter 6. The region route runs The Lady’s Path, Commander’s Platform, Shrine Outer Gate, The Lady’s Shrine, then the shrine hall. There is no quest flag beyond reaching him, but there is a route-level warning attached to the whole region: the shrine objectives are tied to a cutoff around the Green Serpent House in Pangzhen. Finish the Mountain before you open the passage to Mirage Estate, or you can lose access to these objectives.
The fight itself has a clean two-bar structure: 139,680 HP in phase one, then 155,200 HP in phase two, the Whirling Executioner form. Phase two is a checkpoint. If you die there, you restart at phase two with health and heals restored, so the first phase is the one you can afford to learn aggressively.
Reward and missable warning
Defeating Huangxing grants the Flying Guillotine. That is not the same as the Yin Crystal Eye. The guillotine is the tool; the eye is the result of using it at the Lady’s statue. The region walkthrough is explicit about this: the boss alone does not hand over the eye, and leaving after the fight without the statue interaction means you did the hard part and skipped the reward.
Boss drops are one-per-run. The Flying Guillotine is not farmable, and there is no boss select to refight him. If you are chasing the true ending, confirm the statue step before you take the lift or the road back to Pangzhen.
Fight plan and phases
Phase one is a pole-and-ball control fight. Huangxing’s job is to keep you at the range where the ball can swing while the pole covers the space you would use to escape. Your job is to stay in open ground, read the thin tell, and punish the recovery rather than the swing.
The ball spin into slam is his signature. Do not punish the spin while it is still active; wait for the slam to commit, sidestep, and take the recovery. The direct launch is a trap for guard-heavy players: blocking produces sparks but slides you, which can put you into the next hit. Dodge it instead of planting your feet. The close ball turn leaves a red floor circle — leave the circle rather than trying to block through it. The pole thrust is one of your cleanest punish windows. The dust-skid gap closer is there to catch a panic roll; wait for the skid to finish before you commit to a dodge.
Phase two, the Whirling Executioner, keeps the same vocabulary but turns the pressure up. The arena becomes the second opponent. Pillars and the statue hide wind-ups, and the critical tell — a thin horizontal red flash before his hits — is already easy to miss against the shrine’s visual noise. Fight him in the open half of the hall even when that means giving up a damage window to reposition.
Punish after ball recovery and after pole thrusts. Those are the two windows the compendium names. Everything else is a spacing problem first and a damage problem second.
Attack tells and red/blue/black handling
| Tell | Response | Punish |
|---|---|---|
| Thin horizontal red flash | Dodge, do not block | After the follow-through |
| Red floor circle | Leave the area | Reset |
| Ball spin into slam | Sidestep the slam | Combo on recovery |
| Direct launch | Dodge, do not guard | Reposition |
| Pole thrust | Sidestep | Combo |
| Dust-skid gap closer | Wait out the skid | Short punish |
The thin red flash is the fight’s defining read. It is horizontal and brief, and it is the reason the arena matters: pillars and the statue can occlude the flash entirely. The red floor circle is a hard leave-the-area cue, not a guard check. The published breakdown does not assign a named blue parry tell or a black-flash heavy to Huangxing, so do not force a parry solution onto the ball. The documented answers are movement and punish discipline.
Recommended weapon and build
The compendium recommends a heavy guard-break setup for Huangxing. The Flying Guillotine is his own drop, so you will not have it for the first kill; bring the strongest guard-break weapon you already own. A stable parry option is useful for the pole sequences, but the fight is won by creating and taking the two named recovery windows rather than by parrying everything.
No elemental shortcut is documented for this fight. Build for survivability and consistent damage, and keep a weapon switch available to refill Sha-Chi if you are running the bar dry on punishes. If you are still choosing a main weapon, the best builds guide covers the guard-break options that hold up in the Mountain’s level band.
Common mistakes
- Fighting near the pillars or statue. They hide the thin red flash and turn a readable fight into a guessing game.
- Blocking the direct launch. It sparks and slides you, which is often worse than the hit you were trying to avoid.
- Punishing the spin. Wait for the slam recovery.
- Standing in the red floor circle. Leave first, ask questions later.
- Leaving without the statue interaction. The Flying Guillotine is not the reward; the Yin Crystal Eye is.
- Treating him as optional while chasing the true ending. He gates the eye.
- Rushing phase two. The checkpoint is generous, but the visual clutter is not.
Sources & confidence
This guide draws on the AllThingsHow Huangxing breakdown, cross-checked against phantomblade.guide’s boss database and KeenGamer’s boss-and-rewards list for placement and reward. The two health values, the Whirling Executioner phase name, the thin horizontal red flash, and the ball-and-pole move list come from the compendium and the dedicated breakdown. The statue interaction that produces the Yin Crystal Eye is documented in the Mountain of Imprisonment route, not in the boss guide itself, so treat the boss-to-eye chain as route-sourced rather than boss-sourced. The exact cutoff trigger at the Green Serpent House is flagged as medium confidence in the region guide. HP values vary by source and cycle.
Sources & further reading
- Huangxing boss fight — AllThingsHow
- Boss database — phantomblade.guide
- All bosses and rewards — KeenGamer
We link to the primary source for every hard number. If a source conflicts, we say so in the text.
By the PBZ Guide Team · Reviewed by the editorial desk Written in English from primary sources and cross-checked play routes. Spot an error? Tell us and we will update the guide. We link to the primary source for every hard number. If a source conflicts, we say so in the text.