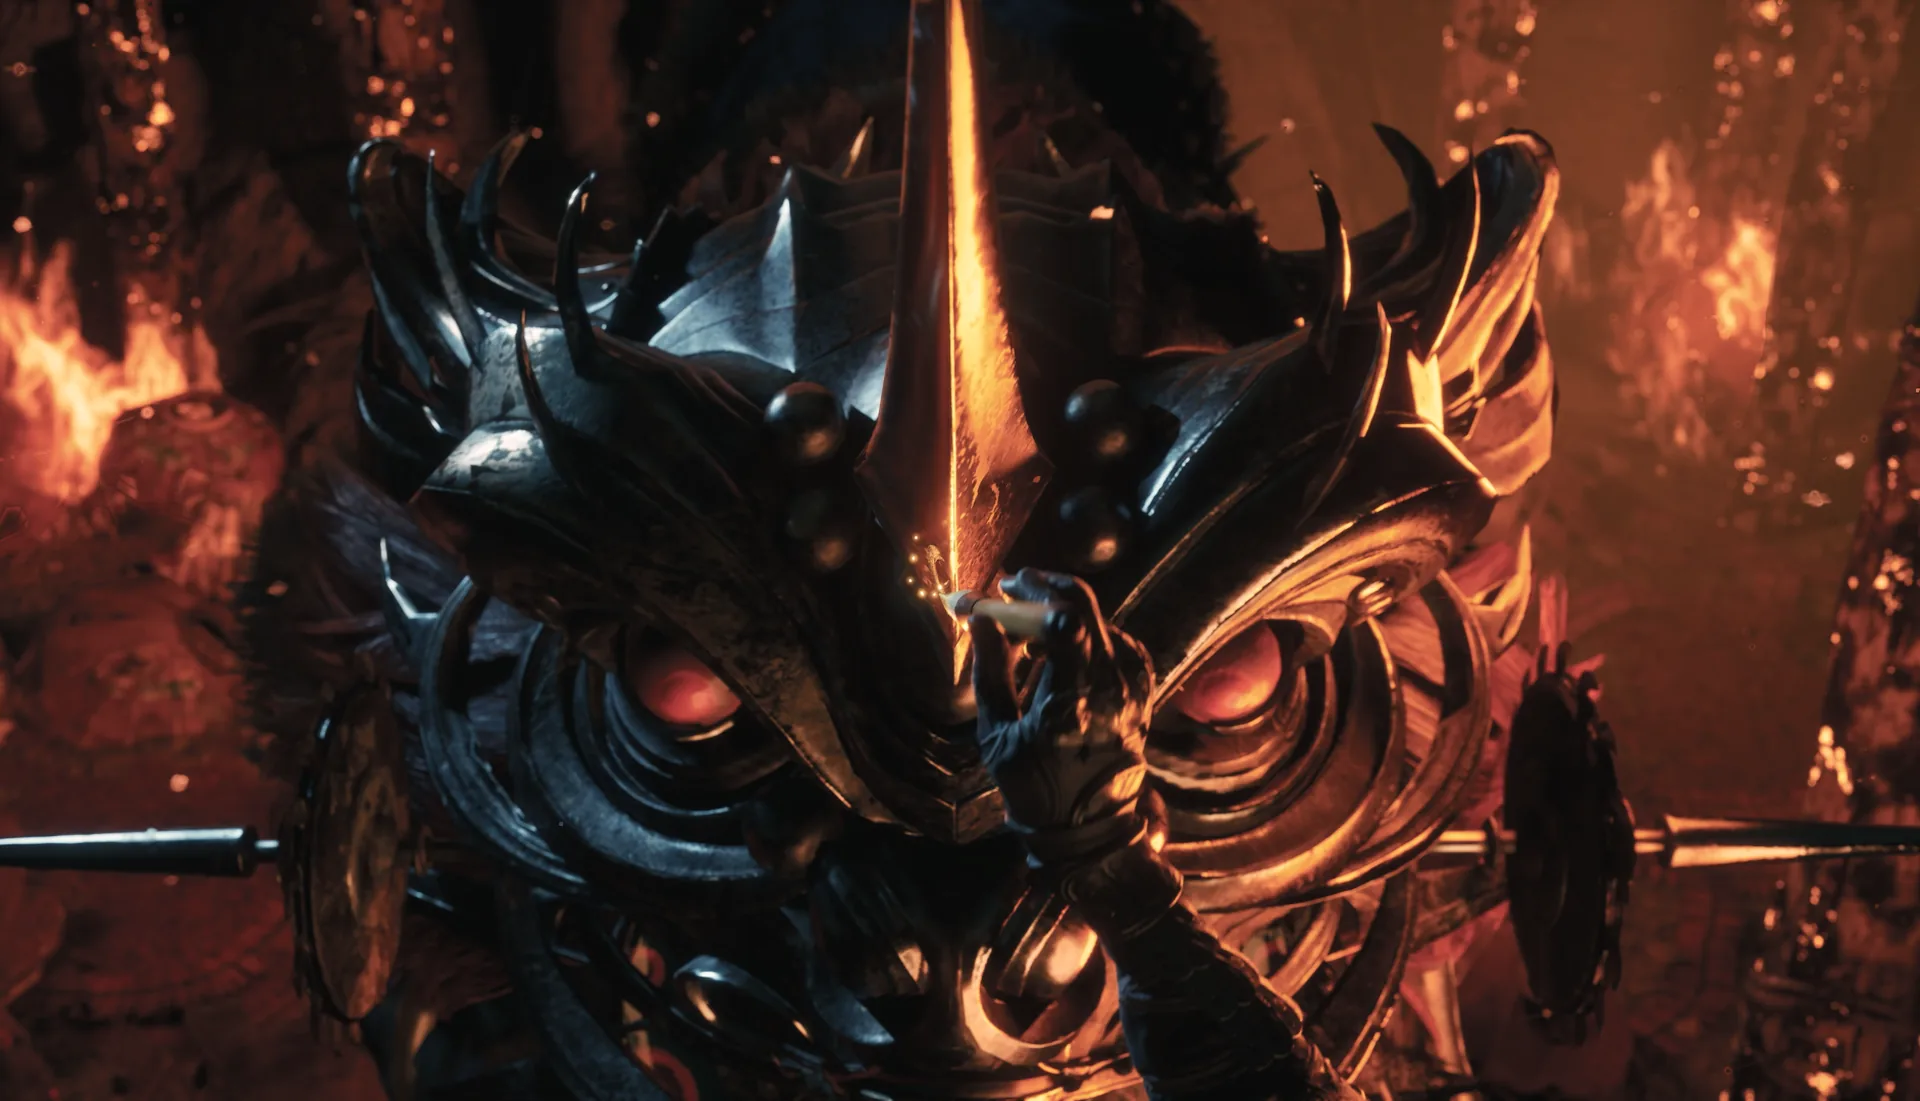
Jing Ye is the Crimson Forest’s mounted problem. He fights from horseback until roughly 40 percent of his health is gone, then dismounts behind a spiked shield. The fight is less about parry timing than about lateral movement: almost everything he does is designed to catch a player who backs straight away. Learn to step sideways and the encounter becomes a straightforward two-phase pressure test.
Location and unlock
Jing Ye is a main-path boss in Crimson Forest, Chapter 2, fought at the Outlaw Trap. You cannot miss him if you follow the story. He sits between Hua Qianxiao at the Pangzhen Bridge Overlook and Stone Hand Iron Fever at Mirrorwood, and he gates progress deeper into the forest.
One route note matters before you enter: the Apprentice Healer tale closes before Jing Ye. If you are tracking Tales, finish it first. The region walkthrough lists it as a hard cutoff, and the game does not warn you when it expires.
Jing Ye also returns later as one of the five Human-Faced Banyan rematches. The Burial Grounds banyan in Crimson Forest ends with Jing Ye plus two bandits. That is a separate encounter, not a second chance at his drop, and it is worth knowing if you are working through the Banyan challenges.
Reward and missable warning
Defeating Jing Ye grants the Outlaw Warblade. The compendium does not attach an achievement or trophy to this drop, so the weapon is the headline reward. Boss drops are one-per-run and defeated bosses never respawn. There is no boss-select or Remembrance system, so you cannot refight him for a missed item.
Because Jing Ye is mandatory, the drop itself is not missable on a completed run. The genuinely missable thing in his orbit is the Apprentice Healer tale, which closes before the fight. If you care about the tale chain, treat that as the real pre-fight checklist item.
Fight plan and phases
Jing Ye has 44,083 HP. He is mounted until he has lost roughly 40 percent of that bar, leaving him around 26,400 HP, then he dismounts and fights on foot with the spiked shield. Phase two is a checkpoint: die there and you restart at phase two with health and heals restored.
Mounted phase. He charges. Sidestep, never backstep. His three-hit combo is the timing trap — the third hit arrives early, ahead of the rhythm set by the first two. If you parry on the visual beat of the first two swings, you will eat the third. Hold your guard or parry through the full sequence rather than reacting hit by hit.
The long lunge has a heavy hit that lands roughly 3.5 to 4 seconds in. That is late enough that an early dodge whiffs and leaves you on recovery when the hit actually arrives. Wait for the commit, then dodge. Punish after charges, not during them. If you chase him while he is still moving, you are volunteering for the next pass.
Foot phase. The spiked shield changes the fight from evasion to pressure. Parrying and guard-breaking the shield is the answer; a high shield-break weapon is explicitly recommended, with the Dread Axe cited. Punish after his swings. If you only dodge in this phase, you extend it and give him more chances to catch you beside him — which is exactly where his damage is most dangerous.
Attack tells and red/blue/black handling
| Tell | Response | Punish |
|---|---|---|
| Mounted charge | Sidestep, never backstep | After the pass |
| Three-hit combo, early third hit | Hold guard through the string | After the full sequence |
| Long lunge, heavy hit at 3.5–4 s | Late dodge | After the recovery |
| Spiked shield | Guard-break, do not chip | After his swings |
| Dismount at ~40% | Reset spacing | Re-engage on foot |
The compendium does not publish a full colour map for Jing Ye. The documented answers are movement and shield pressure rather than a named blue/red chain. Apply the universal rule where a blue streak or red flash appears — parry blue, dodge red — but do not assume the charge is parryable just because it looks like a weapon swing. The sources describe it as a sidestep check, and backstepping is the mistake they name.
No black-flash heavy is documented for this fight. If a darkened tell appears, treat it as a guard-break risk and dodge out rather than testing your Sha-Chi.
Recommended weapon and build
Bring a high shield-break main for the foot phase. The Dread Axe is the named example, and it is a natural pick if you claimed it from Peng Meng earlier in the run. A parry-oriented weapon can carry the mounted phase, but the shield phase rewards guard pressure more than clean parries.
Keep a weapon switch available to refill Sha-Chi. The mounted phase drains your bar through repeated guards, and the foot phase is where you want a full bar for Breach pressure. No elemental shortcut is documented for Jing Ye; build for guard-break consistency rather than a status effect.
For broader context on shield bars and Breach, the combat system explained covers the loop, and the Crimson Forest walkthrough places Jing Ye in the region route.
Common mistakes
- Backstepping the charge. It keeps you in the line of the pass. Sidestep.
- Parrying the third hit on reaction. It arrives early; hold the sequence.
- Dodging the long lunge early. The heavy hit lands at 3.5–4 seconds.
- Chipping the spiked shield. Break it.
- Healing beside him. His close-range pressure punishes the animation.
- Skipping Apprentice Healer. The tale closes before this fight.
- Chasing between charges. Take the punish and reset.
Sources & confidence
This guide draws on the AllThingsHow Jing Ye breakdown, cross-checked against Kungfupunk’s boss compendium and KeenGamer’s boss-and-rewards list for placement and reward. The 44,083 HP figure, the 40 percent dismount threshold, the early third hit, the 3.5–4 second lunge, the spiked-shield phase, and the Dread Axe recommendation are all from the sourced breakdown. The exact colour mapping of his individual attacks is not published, so the red/blue section sticks to the universal rules and the movement answers the sources actually name. HP varies by source and cycle.
Sources & further reading
- Jing Ye boss fight — AllThingsHow
- Boss database — Kungfupunk
- All bosses and rewards — KeenGamer
We link to the primary source for every hard number. If a source conflicts, we say so in the text.
By the PBZ Guide Team · Reviewed by the editorial desk Written in English from primary sources and cross-checked play routes. Spot an error? Tell us and we will update the guide. We link to the primary source for every hard number. If a source conflicts, we say so in the text.