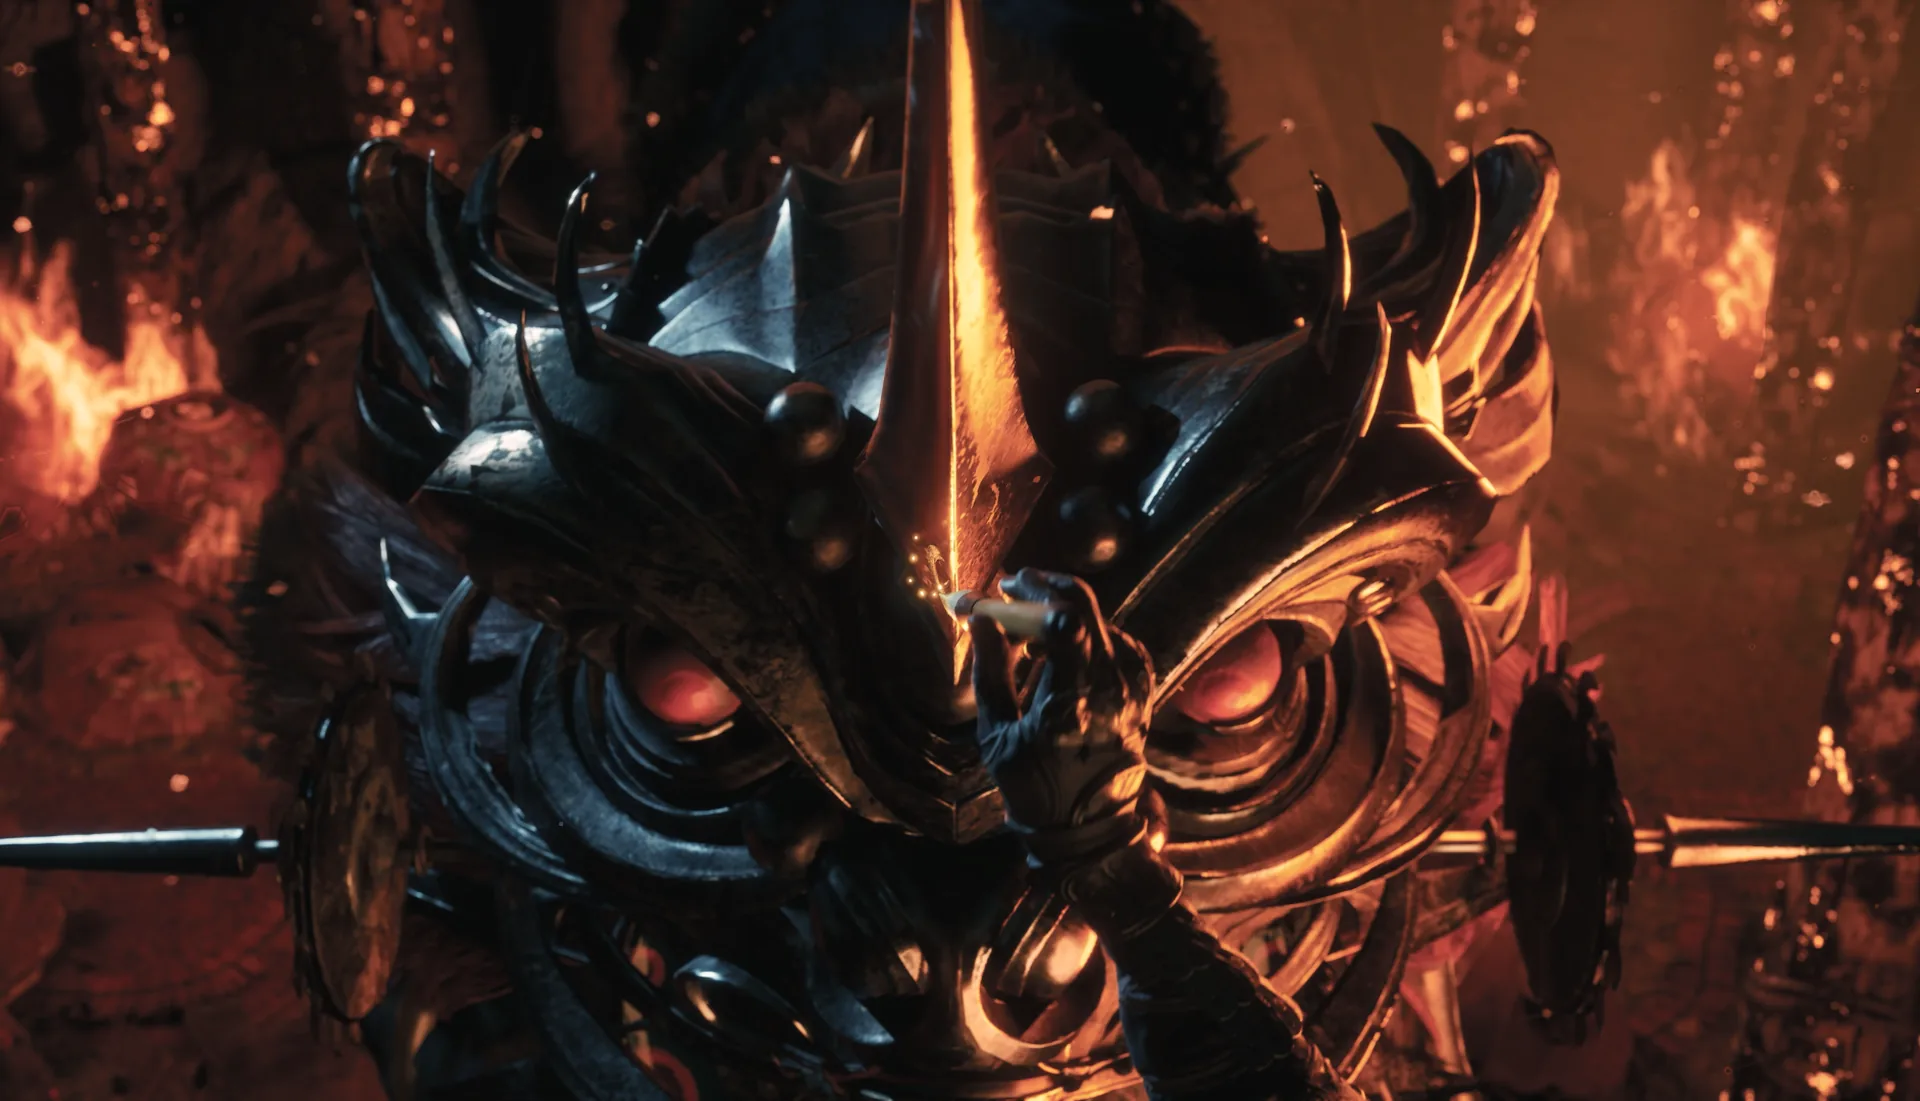
Yucong is the Four Great Puppets’ hardest fight and the reason the Crimson Forest’s Threadbound Great Tree stays on your return itinerary. It is a four-form puppet encounter that only reaches its real final phase if you bring the Blazing Edge. Without it, you get a truncated fight and lose the Chaos Twin Daggers. This is the one fight in the game where a single equipped weapon is the difference between the complete encounter and a wasted trip.
Location and unlock
Yucong is an optional superboss first seen at the Threadbound Great Tree in Crimson Forest, Chapter 2, but the full fight is a Chapter 10 return. The compendium labels the region “CF 2 / 10” for exactly this reason: you can find the tree early, but you cannot finish the encounter until the later chapter.
The unlock chain has four parts:
- Complete the Triple Threat quest.
- Defeat the Aberrant Three-Faced Puppet in the Weeping Creek Valley Challenge Rift. That fight drops the Three-Headed Doll, which the Yucong chain needs.
- Reach the Mirage Estate chapter.
- Return to the Threadbound Great Tree with the Blazing Edge equipped.
The order matters. The Aberrant Puppet is visible early but overtuned for the level you first find it; return after Chapter 3 if you are struggling. And the Blazing Edge is not a suggestion — without it equipped, phase three never triggers.
Reward and missable warning
Defeating Yucong grants Freezing Chaos, the boss’s weapon drop. The phase-three clear also yields the Chaos Twin Daggers per the compendium, which is why the Blazing Edge requirement is not optional for completionists. Boss drops are one-per-run and defeated bosses never respawn. There is no boss-select or Remembrance system, so a truncated kill is a permanent loss on that save.
The fight is optional in route terms — it is not required for the Normal ending — but it is part of the Four Great Puppets group and the broader puppet content. If you are chasing the complete encounter, treat the Blazing Edge as part of the unlock, not as a build preference.
Fight plan and phases
Yucong has 185,100 HP in the base form, then Steel, Frost, and Chaos forms at 111,060 HP each, then a three-puppet split. That is a long encounter with multiple bars, and the phase order is the fight’s real puzzle.
The kill order is Steel, then Chaos, then Frost. The compendium is specific about why:
- Steel hits harder than the other forms. Remove the damage threat first.
- Chaos burns HP and Sha-Chi. Leaving it alive drains your resources while you fight the others.
- Frost builds freeze. It is dangerous, but it is the least immediately lethal of the three if you manage spacing.
Do not spread damage across the elemental forms. Finish one before moving to the next. The three-puppet split at the end is a crowd-control check; keep moving and focus the remaining target rather than trying to brawl all three at once.
Fire is efficient against Yucong, and Bleed is weak because puppets are Bleed-immune. This is one of the few fights where the elemental note is explicit in the research. The Blazing Edge satisfies the phase trigger and leans into the fire weakness; do not bring a Bleed build and expect it to carry.
Attack tells and red/blue/black handling
| Tell | Response | Punish |
|---|---|---|
| Black smoke attacks | Dodge out of the smoke | Reset after the attack |
| Frost buildup | Disengage before freeze | Reposition |
| Steel heavy swings | Respect the damage, sidestep | Short punish |
| Chaos pressure | Kill Chaos second | Do not let it drain Sha-Chi |
| Elemental form bar empty | Move to the next form | Reset spacing |
| Three-puppet split | Keep moving, focus one | Crowd control |
The black-smoke attacks are the documented colour cue: dodge them, and do not try to trade inside the smoke. Frost is a buildup check — if you stay in the wrong place, the freeze follows. The compendium does not publish a full blue/red map for each elemental form, so apply the universal rules where a blue or red tell appears, but do not assume the fight has a single colour rhythm. It changes with the form.
Recommended weapon and build
Equip the Blazing Edge. That is the non-negotiable part. Build around fire and avoid Bleed entirely: puppets are Bleed-immune, so a Bleed-focused setup is wasting its main mechanic.
Beyond that, bring a weapon you can manage through a long multi-bar fight. A fast option helps with the three-puppet split, where you need to reposition constantly. Keep a secondary weapon for Sha-Chi refills, and enter with full gourds because the encounter’s length is the real difficulty. No other elemental shortcut is documented beyond fire being efficient.
Common mistakes
- Entering without the Blazing Edge. Phase three never triggers and the Chaos Twin Daggers are lost.
- Fighting the elemental forms out of order. Steel, Chaos, Frost.
- Spreading damage across forms. Finish one bar at a time.
- Bringing Bleed. Puppets are Bleed-immune.
- Ignoring black smoke. Dodge it rather than trading.
- Attempting the fight at Chapter 2 level. It is a return encounter.
- Brawling all three puppets in the split. Keep moving and focus one.
Sources & confidence
This guide draws on Phantom Blade Atlas’s Yucong page and Game8’s Yucong guide, cross-checked against KeenGamer’s boss-and-rewards list for the reward and the Four Great Puppets grouping. The 185,100 base health, the 111,060 elemental forms, the Steel/Frost/Chaos split, the kill order, the black-smoke attacks, the fire efficiency, and the Blazing Edge phase trigger are from the sourced breakdowns. The Three-Headed Doll prerequisite comes from the Aberrant Puppet entry in the compendium. The exact Chapter 10 return trigger is described consistently but not datamined; treat the unlock chain as high-confidence guide consensus rather than an official quest log.
Sources & further reading
- Yucong boss guide — Phantom Blade Atlas
- Yucong boss guide — Game8
- All bosses and rewards — KeenGamer
We link to the primary source for every hard number. If a source conflicts, we say so in the text.
By the PBZ Guide Team · Reviewed by the editorial desk Written in English from primary sources and cross-checked play routes. Spot an error? Tell us and we will update the guide. We link to the primary source for every hard number. If a source conflicts, we say so in the text.