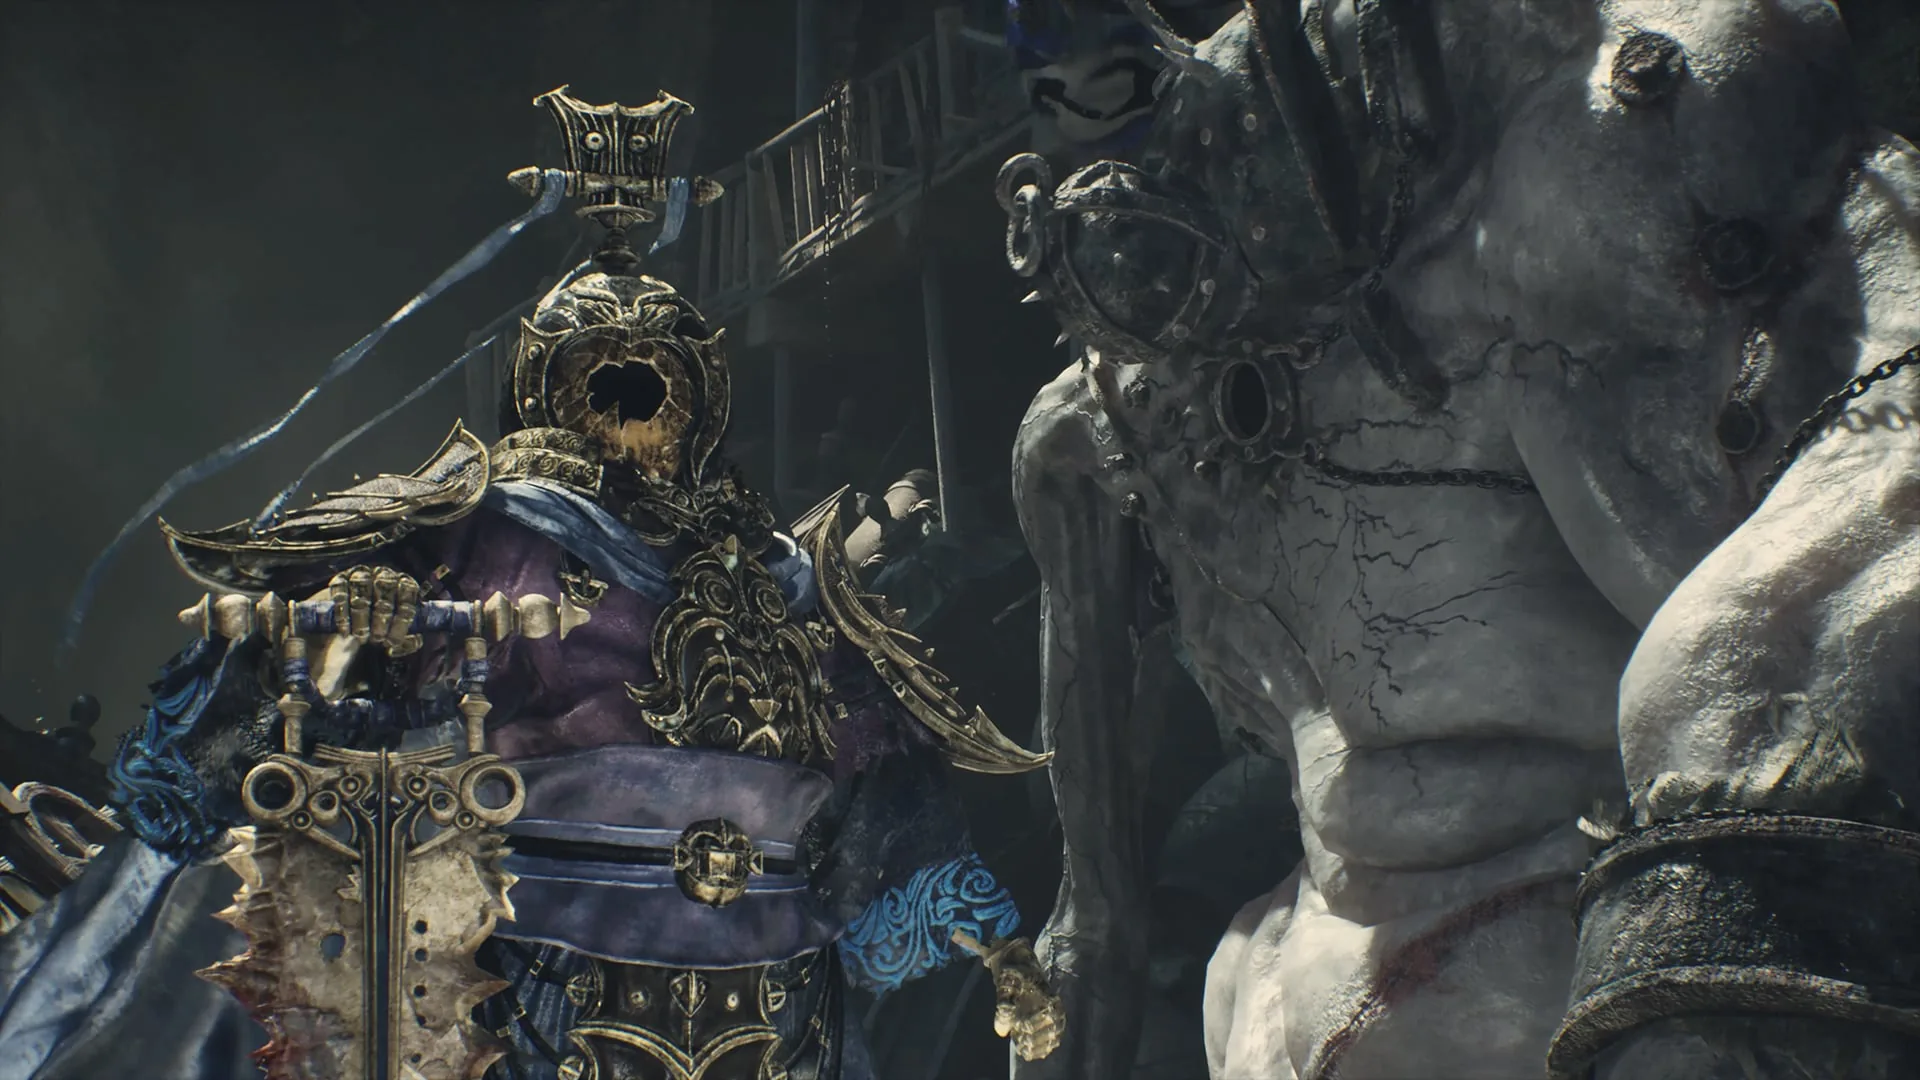
The Gold-Masked One is not one boss but a recurring duel: five sealed Long Pillar trials, each guarded by the same masked counter-fighter, each a little harder than the last. The encounters share a moveset and a win condition, so learning the first teaches you four more. This page covers the shared loop, all five locations and rewards, and the cutoff that decides whether the series counts toward the true ending. The fifth duel is Mo Yuan; his dedicated breakdown lives on the Mo Yuan page.
Location and unlock: all five Long Pillars
The five Pillars are purple-icon Mysteries, not Tales. Pillars 1–4 can be tackled in any order once their individual gates are open; the duels themselves escalate in a fixed sequence. Pillar 5 is inside Mirage Estate and is necessarily last. The full route is in the Long Pillars guide.
| Trial | Location | Route and gate | Reward |
|---|---|---|---|
| 1/5 | Lóng Pillar Overlook, Weeping Creek Valley | Eastern locked cave; Deep in the Valley for the Rusted Loong Key | Counterstrike Bracers |
| 2/5 | Waterfall Long Pillar / Mirrorwood, Crimson Forest | After Iron Fever, right fork into Parting Mists; grapple with the Hunter’s Chain Sickle | Miraculous Scabbard |
| 3/5 | Midlake Lóng Pillar Dock, Meigu Lake | Sail east with the Sha-Chi Powered Boat | Quenched Flaming Grip |
| 4/5 | Phantom Illusionist Ruins, Meigu Lake | Four Acolyte Masks at the mirror; Dread Axe for the third-bell barrier | Bloodline progress; Chaos Iron Fragment per the Long Pillars route |
| 5/5 | Mirage Long Pillar, Mirage Estate | Green Serpent House door; Covered Corridor right, grapple up | Bastion of Mó Mask |
The location names are the ones used by the boss table and the Long Pillars route. The 4/5 reward is inconsistent in the repo: the boss table says Bloodline progress, while the Long Pillars route names the Chaos Iron Fragment. Both point at the same completion track, but the exact item string differs.
Reward and missable warning
Each duel drops a one-per-run item, but the series reward matters more. Completing all five finishes Bloodline Awakening, awards the Phantom and Blade achievement, and tempers Sanguine into Infernal Rouge. The fifth trial also yields the Bastion of Mó Mask, one of the flags required for the true ending.
The deadlines are hard:
- Pillars 1–4 must be finished before the Green Serpent House door in Pangzhen. That door is the first true-ending cutoff.
- Pillar 5 must be finished before The Last Chance bell on Mount Soulrend. It is the final gate.
- Skipping any Pillar leaves Bloodline Awakening incomplete, and the ending flags cannot be changed after the fact.
Missed optional bosses normally remain available in post-story free roam, but the ending flags do not wait for cleanup. Treat the Pillars as route work, not optional content. The true ending checklist tracks the full flag set.
Fight plan: bait, parry, punish the guard break
Every Gold-Masked One fight uses the same core loop: bait the counter, parry it, punish the guard break. He is a patient counter-fighter, so the fight is not a damage race. Throw out a safe attack to provoke his response, parry the response rather than trading with it, and then convert the guard-break into your heaviest combo. Between strings, take one clean punish and reset.
The later duels add pressure but not a new win condition. The boss table calls 3/5 and 4/5 “watch red blade; punish between strings” and “same, harder; use arena edges.” For 5/5, the compendium describes Mo Yuan as 223,200 HP, patient, and punishing to greed; use the arena edges to avoid being cornered.
Attack tells
| Tell | Response | Punish |
|---|---|---|
| Normal sword string, blue flash | Parry on the hit | Guard-break pressure |
| Red blade, red flash | Dodge, do not parry | Reset and re-engage |
| Delayed counter after your attack | Parry the counter, not the bait | Heavy combo on the guard break |
| Guard-break stagger | Dump your heaviest string | Reset before greed |
| Arena edge / corner | Move to open space | Re-establish mid-range |
No named moveset or full colour map is published for the Gold-Masked One. The verified tells are the blue parry, the red blade, and the counter behaviour. The later duels are described as harder versions of the same fight, not as new characters with new kits. If a swing is ambiguous, guard is the safer default against a normal string, but never stand in a red commitment.
Recommended weapon and build
Bring a parry-first main with strong guard-break. The fight rewards clean defensive reads and punishes long committed animations. A fast weapon lets you take the one-counter punish and get out before the next string; a heavy weapon is fine only if you can reliably stop after the guard break.
Bleed is documented as useless against Golden enemies, so do not bring the Jagged Steel bleed plan. No elemental weakness is published for the Gold-Masked One or Mo Yuan. Keep a weapon swap available for the Sha-Chi refill, and use a defensive Phantom Edge if you are still learning the counter timing. The best builds guide covers the parry options, and the combat system explained explains the Sha-Chi and Breach loop behind the guard-break punish.
Common mistakes
- Treating it as a damage race. The loop is bait, parry, punish — not trade.
- Dodging instead of parrying the normal strings. You lose the guard-break window.
- Parrying the red blade because the table says so. Red is unblockable; dodge it.
- Missing a Pillar before the Green Serpent door. The true-ending flag is lost.
- Leaving the fifth Pillar until after The Last Chance. The final gate closes.
Sources & confidence
The five locations, gates, rewards, and Bloodline Awakening completion come from the Long Pillars route, which draws on GameSpot, GameRant, KeenGamer, the PBZ Wiki, and PowerPyx. The shared counter-and-parry loop, the “same, harder” escalation, and Mo Yuan’s 223,200 HP and patient-counter description come from the boss compendium and the site’s secret-boss guide. The red-blade shorthand conflict is flagged rather than smoothed over: the boss table says “parry red blade” in places, while the core rule treats red as dodge-only.
Sources & further reading
- All 5 Long Pillars and Bloodline Awakening — PowerPyx
- All bosses and rewards — KeenGamer
- Boss compendium — Kungfupunk
- Boss fight guides — AllThingsHow
We link to the primary source for every hard number. If a source conflicts, we say so in the text.
By the PBZ Guide Team · Reviewed by the editorial desk Written in English from primary sources and cross-checked play routes. Spot an error? Tell us and we will update the guide. We link to the primary source for every hard number. If a source conflicts, we say so in the text.