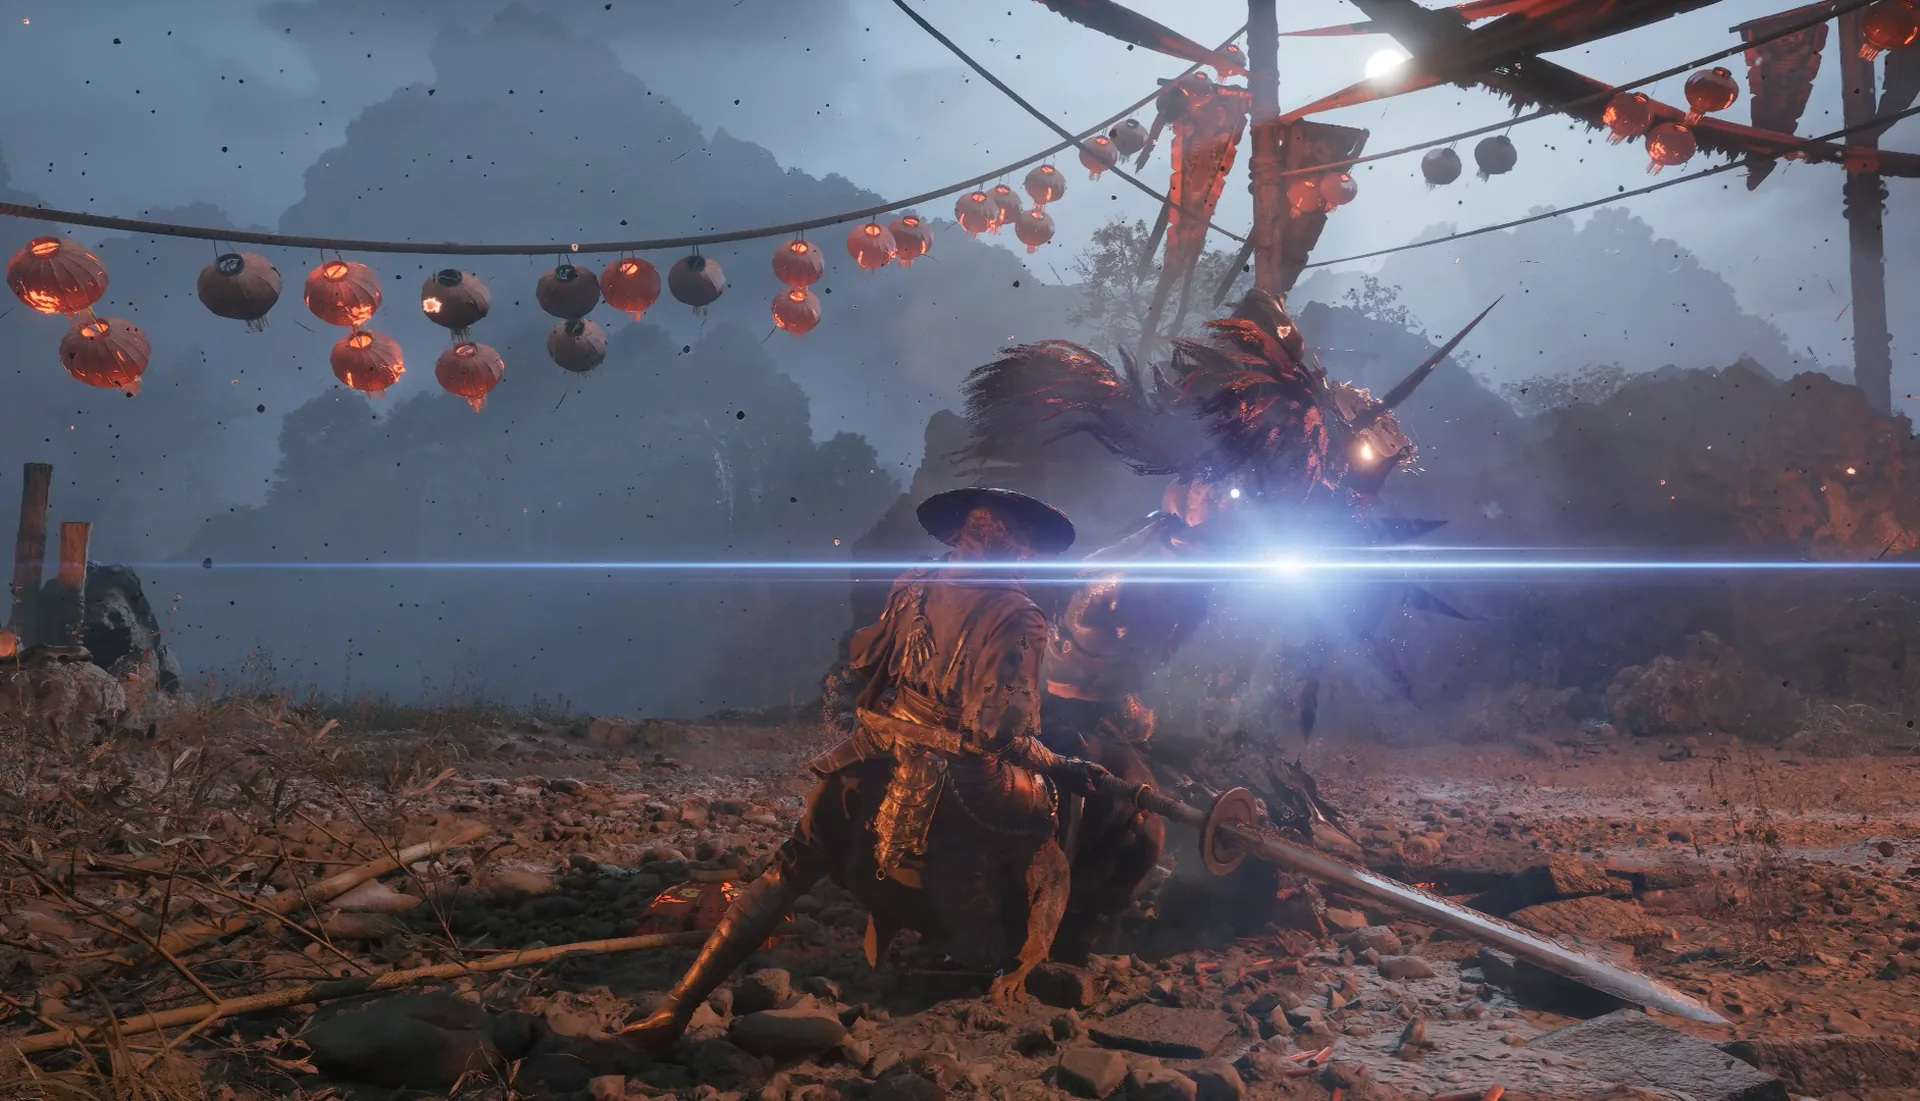
Jagged Steel is the first boss you meet after the prologue, and the fight is deliberately simpler than Peng Meng. It is still a real check: the leap punishes backpedalling, the spin punishes panic, and the Bleed buildup keeps working after the hit that caused it. The boss table compresses the whole encounter into three instructions — sidestep the leap, guard the spin, cleanse bleed — and that really is the core loop.
Location and unlock
Jagged Steel is a main-story boss in Weeping Creek Valley, Chapter 1, fought on the riverbed. It is the region’s first boss, before the Mandate outpost and before Peng Meng. The Weeping Creek Valley route has you ring the valley bells as you descend, then fight Jagged Steel on the riverbed as step 2, with the outpost, Forge, Peddler, and Cell Key coming afterwards.
There is no unlock condition. Follow the creek down and the fight happens. Because it sits on the critical path, you cannot sequence around it, and you should not try: the drop is the first real weapon upgrade of the run.
Reward and missable warning
Defeating Jagged Steel grants the Jagged Steel weapon — the boss and the drop share a name. It is a one-handed bleed weapon: its heavy strings apply Bleed toward Blood Loss, it stacks Blood Blade, and its temper adds Open Wounds so Bleed passes through block. The tempered material is the Iron Butcher Mask, which comes from the Iron Butcher in the Mountain of Imprisonment.
The drop is not missable because the boss is mandatory, but it is one-per-run and there is no refight. The weapon remains relevant for most of the game as an early damage spike, with one important limit: Bleed does nothing to Puppets, Golden enemies, and Phantom enemies, so keep a second blade for those matchups. The all weapons guide has the full temper and source table.
Fight plan: sidestep, guard, cleanse
The documented plan is short, so the value is in executing each part cleanly.
The leap. Jagged Steel’s gap-closer is a committed leap. Sidestep it rather than backpedalling. Backing up keeps you on the same line and lets the follow-through catch you at maximum extension; a lateral step takes you off the landing axis and gives you a clean punish on recovery.
The spin. The spin is a multi-hit guard check. Hold guard through the full rotation rather than trying to dodge the first hit and eat the second. If your guard is low, disengage before the spin starts, not during it. The end of the spin is the safer punish window.
The bleed. Bleed keeps ticking after the hit, so a fight that looks stable can fall apart while you are setting up the next exchange. Cleanse after a disengage, not mid-string. If you have no cleanse, shorten your engagements and let the bar settle before re-entering.
Attack tells
No colour map is published for Jagged Steel. Use the universal grammar and the three documented behaviours:
| Tell | Response | Punish |
|---|---|---|
| Committed leap | Sidestep, do not backpedal | Punish the landing recovery |
| Spin | Guard through the full rotation | Punish after the spin ends |
| Bleed application | Cleanse after disengaging | Reset before re-entering |
| Blue-glowing hit | Parry | Sha-Chi drain and short counter |
| Red-flash hit | Dodge | Do not block or parry |
The blue/red rule still applies even though the boss table does not map every move. If a hit glows blue, parry it; if it flashes red, dodge it. When the colour is unclear, guard is the safer default against a normal string, but do not stand in a red commitment.
Recommended weapon and build
Use a guard-friendly main and keep a cleanse available. The fight is early enough that the Wooden Sanguine or your starting Sanguine is fine; the point is to learn the parry timing, not to meet a damage check. If you already have the Dread Axe from a later run or New Game Plus, its guard-break makes the spin recovery shorter, but do not assume it on a first playthrough.
Do not build around Bleed for this fight. The boss’s own drop is a Bleed weapon, but the encounter does not reward stacking a status the boss is already using against you. For the wider early-game plan, see the beginner guide and the combat system explained.
Common mistakes
- Backpedalling the leap. Sidestep; the leap tracks the retreat line.
- Dodging into the spin. Guard the full rotation or leave before it starts.
- Ignoring Bleed. It keeps damaging you after the exchange; cleanse on the disengage.
- Cleansing mid-string. You will eat the next hit and re-apply it.
- Overvaluing the drop in every matchup. Bleed is useless against Puppets, Golden, and Phantom enemies.
- Skipping the Forge. The outpost is immediately after this fight; upgrade before Peng Meng.
Sources & confidence
The location, mandatory status, and reward come from the boss table and the Weeping Creek Valley route, which is built on PowerPyx’s played walkthrough and the KeenGamer boss list. The three-step strategy — sidestep the leap, guard the spin, cleanse bleed — is the boss table’s own summary, repeated by the region guide. The weapon’s Bleed, Blood Blade, and Open Wounds properties come from the all-weapons table. No HP value or named moveset is published, so the attack-tell section stays at the level the repo can support.
Sources & further reading
- Boss fight guides — AllThingsHow
- All bosses and rewards — KeenGamer
- Phantom Blade Zero walkthrough — PowerPyx
- All weapons and locations — KeenGamer
We link to the primary source for every hard number. If a source conflicts, we say so in the text.
By the PBZ Guide Team · Reviewed by the editorial desk Written in English from primary sources and cross-checked play routes. Spot an error? Tell us and we will update the guide. We link to the primary source for every hard number. If a source conflicts, we say so in the text.