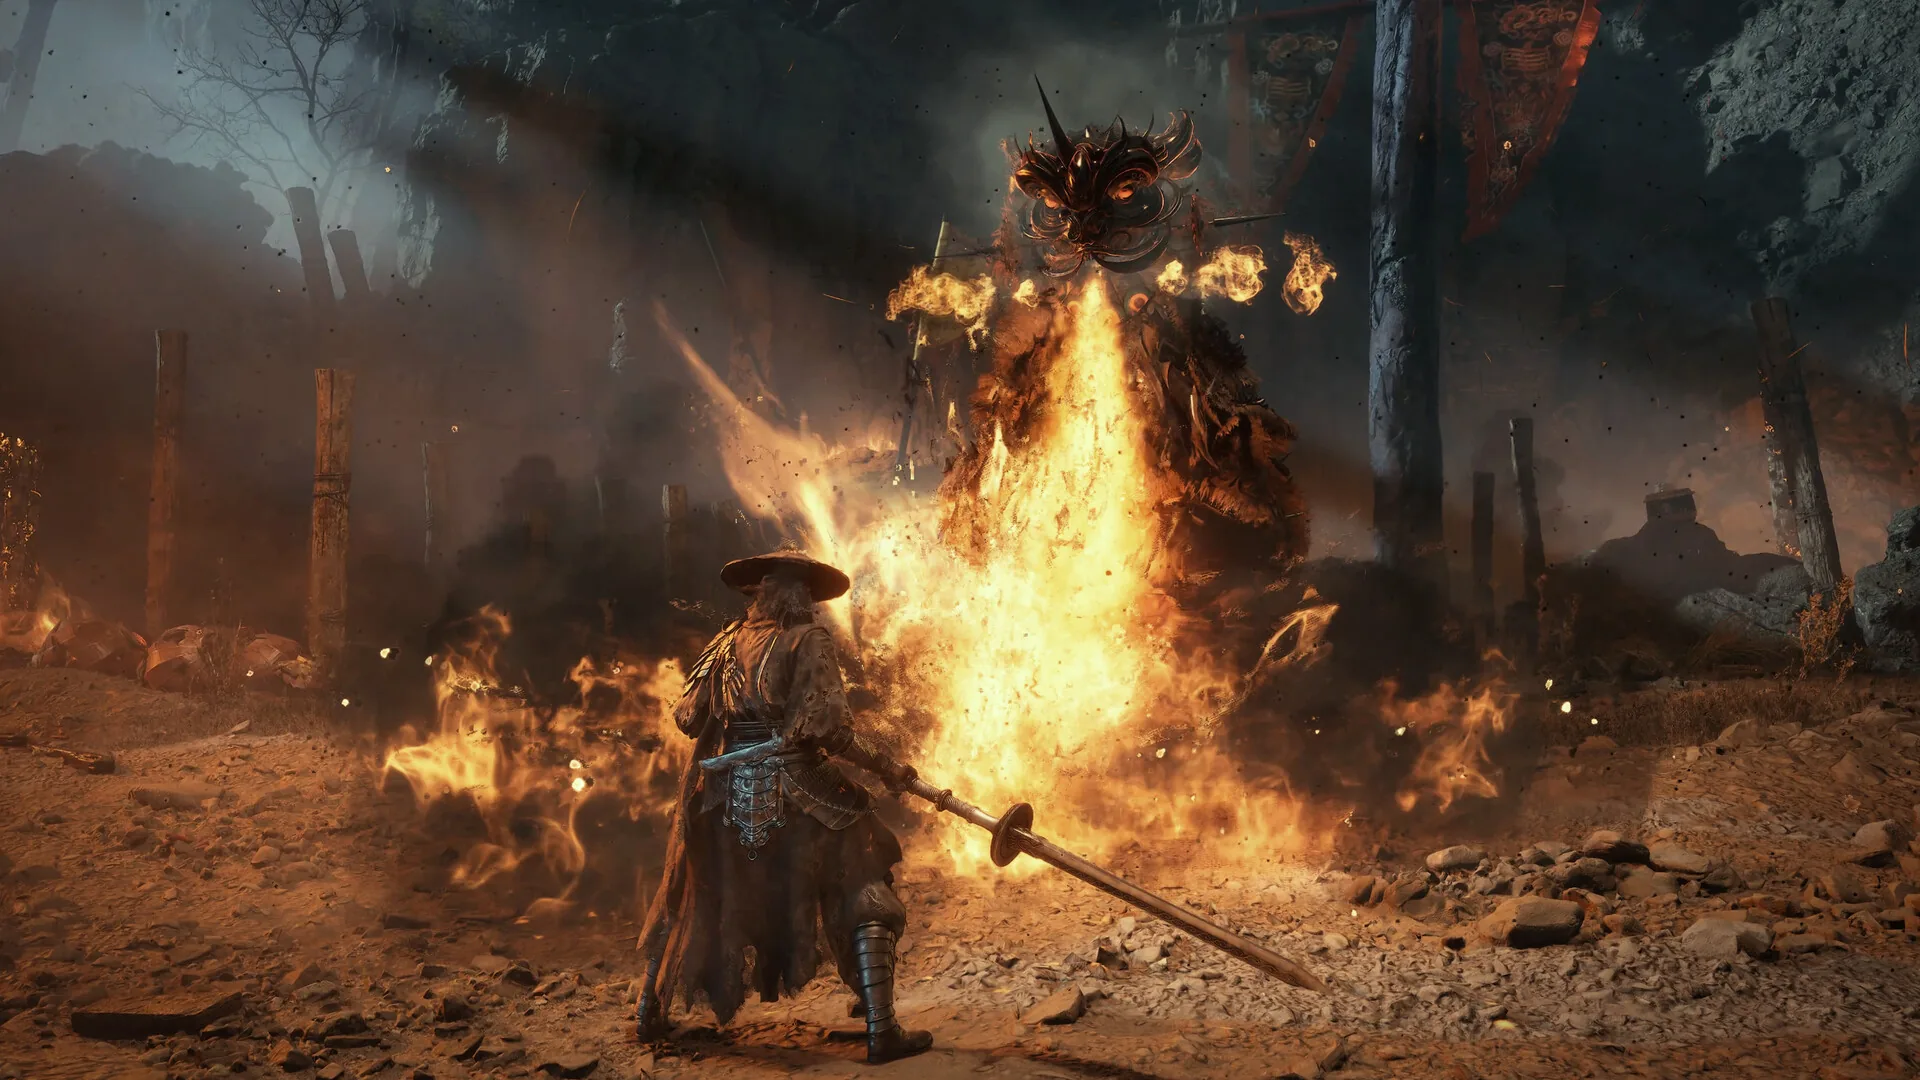
Zuo Shang is the last wall, and the only fight in Phantom Blade Zero that asks you to unlearn everything the game taught you about aggression. The true final boss is a two-form endurance test with the highest HP pool in the game, and it is entirely optional — missable if you skip the lake quest. This guide covers the unlock path, both forms, the gold-charge tells that open the only safe punish windows, and the Aureate reward.
Location and unlock
Zuo Shang, True Lóng is fought at the Fallen Dream lake, atop Soulrend Cliff, after the Meng Hua fight. It is not on the critical path. To reach it you must complete the true-ending route:
- Finish Secrets at the Heart of the Lake — collect six Memory Flowers, defeat Dusk, recover four Acolyte Masks, obtain the Mirror, find Puppet No. 99, and speak with the High Elder.
- Talk to Inanis to receive the Violet Blossom.
- Win all five Lóng Pillars — the fifth is Mo Yuan at the Mirage Long Pillar (223,200 HP).
- After Meng Hua, take the gold portal atop Soulrend Cliff.
Skipping the lake quest locks you into the Annihilation ending and removes Zuo Shang entirely. The fight is a single encounter with two name bars: Zuo Shang, Shadow Sovereign (form 1) and Zuo Shang, True Lóng (form 2, 240,630 HP). There is a checkpoint between forms — dying in form 2 restarts there with full health and heals.
Attack tells: the gold-charge rule
The core of the fight is reading the gold charge. When Zuo Shang begins to glow gold and gather blades, he is committing to a long, punishable recovery. These are the only safe windows to deal meaningful damage. Everything else is chip.
| Tell | Response | Punish |
|---|---|---|
| Gold charge (blades gather) | Back off, wait for the burst | Full combo after the recovery |
| Snap-summoned swords (blue) | Parry the streak | 1–2 hits |
| Seven-hit lunge (red) | Dodge through, not away | 2–3 hits after the final thrust |
| Four-kick aerial (red) | Dodge sideways, late | 1 hit on landing |
| Giant gold blade sweep (form 2) | Jump or dodge the arc | None — reset spacing |
| Dragon head rises + “Perish in the Lóng’s breath!” | Sprint to the side, stay close | Gold charge punish |
The breath attack is telegraphed by the dragon head rising and a voice line. It covers a wide arc; the safe direction is into the boss, not away. Staying close also puts you in position to punish the gold charge that follows.
Phase 1: Shadow Sovereign
Form 1 is a duel with a human-sized opponent who uses golden blades, snap-summoned swords, and a seven-hit lunge. The rhythm is chip stagger — you are not trying to burst him down. Land one or two hits after a parried blue streak, then reset. Greed gets punished by a counter-swing.
The seven-hit lunge is the most dangerous move in this phase. It is a red attack, so it ignores guard. Dodge through it rather than away; the final thrust has a long recovery that is your best opening. The four-kick aerial is similar — dodge sideways, late, and take one hit on landing.
Do not spend Sha-Chi on flashy combos here. Save it for the gold-charge punishes. When he glows gold, wait for the burst, then dump your full combo into his recovery. This is the only phase where you can reliably stagger him.
Phase 2: True Lóng
The second form is a 240,630 HP monster — the highest in the game. The arena becomes the Fallen Dream lake, and the fight shifts from dueling to positioning. Giant gold blades sweep the arena in arcs; the dragon head breath covers wide angles; the gold charges become longer and more punishing.
Stay close in this phase. The breath attack is the biggest threat, and it is easiest to dodge by moving into the boss. The gold charges are still your punish windows — they are longer here, and the recovery is generous enough for a full combo plus a weapon-switch reset.
Chip stagger still applies, but the window is tighter. Do not overcommit after a parry; the boss recovers faster in this form. The fight ends with a button-prompt finisher — do not skip it, it is the only way to close the encounter.
Best weapon and build
The research report is explicit: bring your best parry weapon and nothing fancy. There is no verified elemental shortcut — True Lóng’s elemental multipliers are datamine-only and uncorroborated, so treat any “use fire” advice as unconfirmed.
- Weapon: your highest-level parry weapon. Fast dual blades work well for chip stagger; a guard-break weapon is viable if you can land the gold-charge punishes consistently.
- Accessories: anything that extends survivability. The fight is long; healing economy matters more than damage.
- Sha-Chi: keep it above empty. You need it for the gold-charge punishes and for weapon-switch resets mid-combo.
Reward
Defeating True Lóng grants:
- Aureate — the boss’s weapon, and the best parry weapon in the game per the research report.
- Radiant Heart — a key item tied to the true ending.
- With Heart and Blood — a Gold trophy.
The fight also locks in the true ending. If you are chasing the Platinum, note that KeenGamer calls With Heart and Blood missable, so this is the one trophy you cannot clean up in free roam.
Common mistakes
- Blocking the red lunge. The seven-hit lunge ignores guard. Dodge through it.
- Healing at range. The breath attack and gold blades cover the arena; heal during a gold-charge recovery, not after backing off.
- Spending Sha-Chi on chip. You need it for the punish windows.
- Dodging away from the breath. The safe direction is into the boss.
- Skipping the lake quest. No lake quest, no Zuo Shang, no true ending.
- Greed after a parry. Form 2 recovers faster; take one or two hits and reset.
Sources & confidence
This guide synthesizes the boss compendium from Kungfupunk, KeenGamer, pbz.guide, and AllThingsHow, with the True Lóng strategy drawn primarily from pbz.guide’s Zuo Shang page. The biggest uncertainty is True Lóng’s full moveset — only the gold-charge tells, the breath attack, and the 240,630 HP figure are sourced; treat any other attack descriptions as capture-derived and unconfirmed.
Sources & further reading
- Boss fight guides — AllThingsHow
- All bosses and rewards — KeenGamer
- Boss database — PBZ.gg
- Trophy guide and roadmap — PowerPyx
We link to the primary source for every hard number. If a source conflicts, we say so in the text.
By the PBZ Guide Team · Reviewed by the editorial desk Written in English from primary sources and cross-checked play routes. Spot an error? Tell us and we will update the guide. We link to the primary source for every hard number. If a source conflicts, we say so in the text.