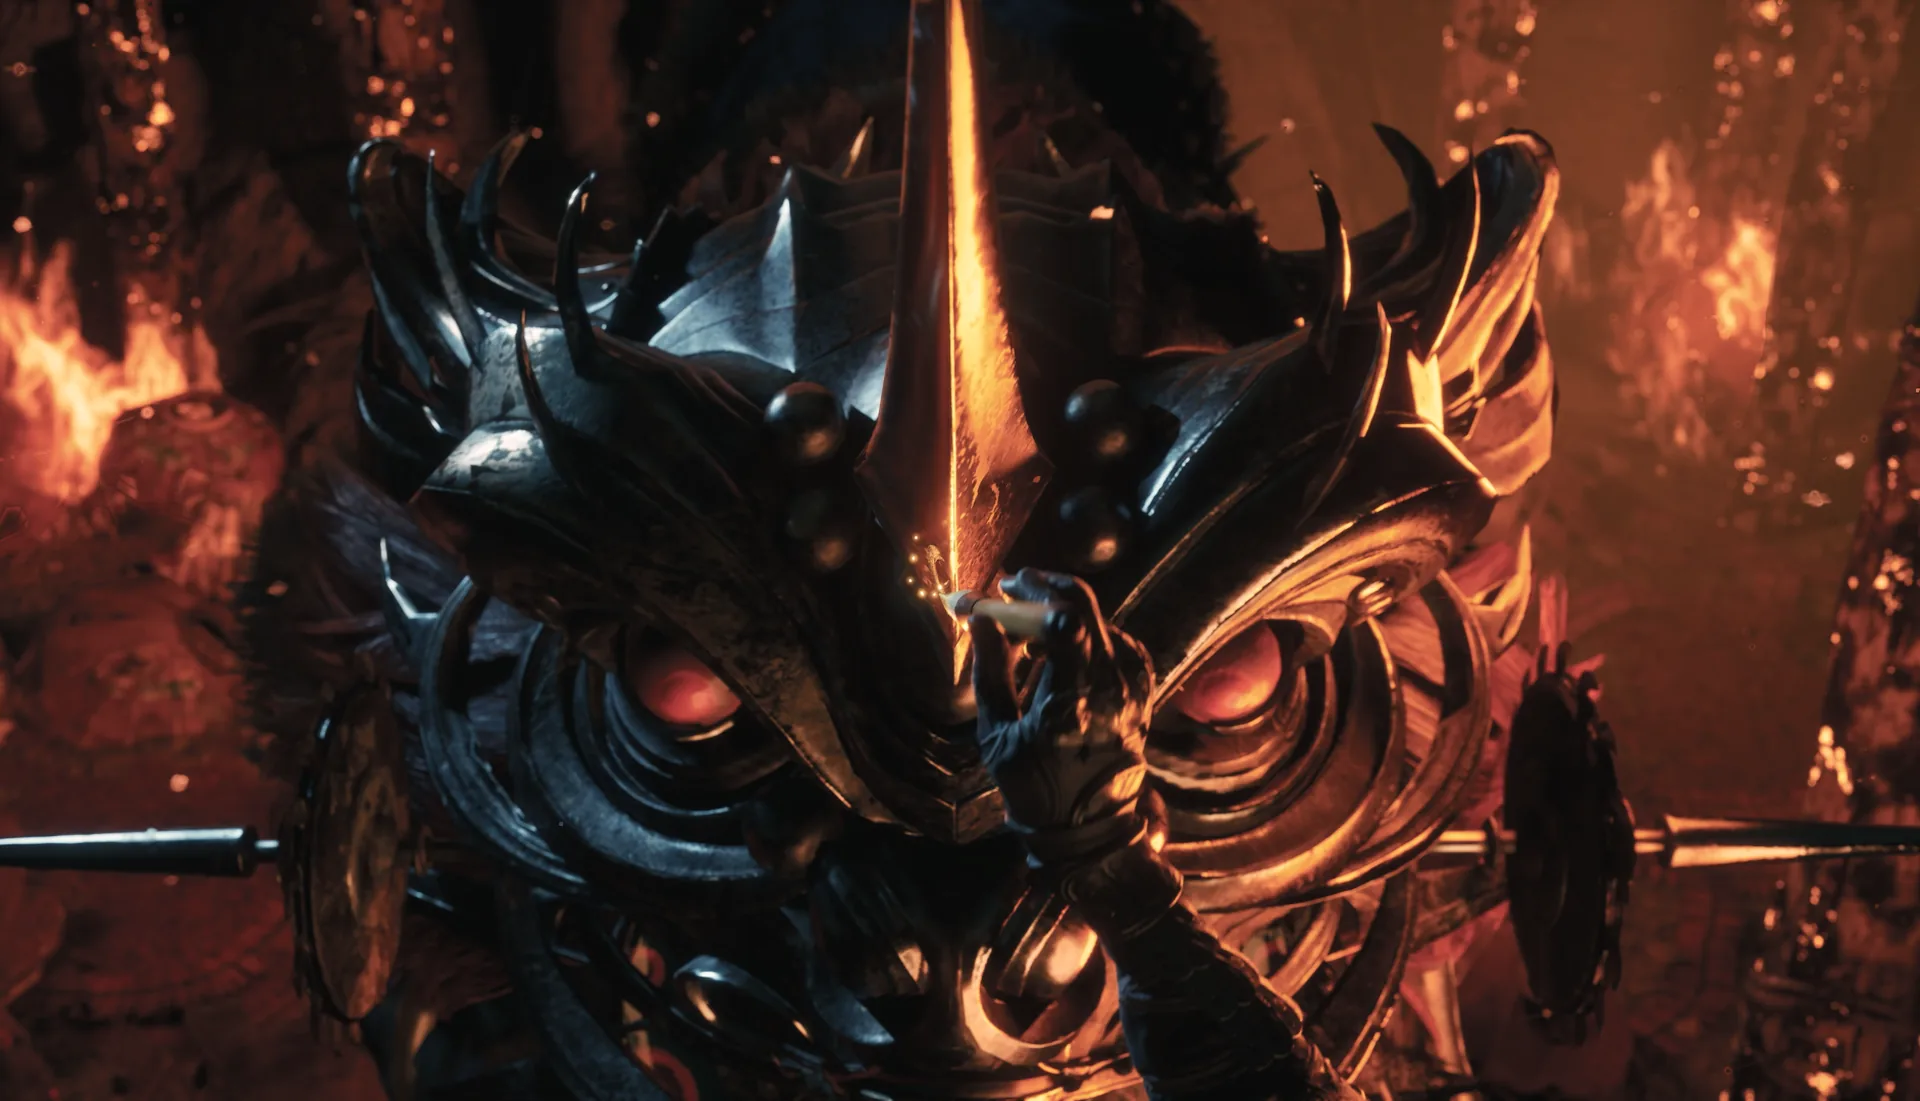
Blaze is Pangzhen’s first mandatory boss and the game’s cleanest introduction to fire as a positioning problem. He swings a censer on a chain, fills the arena with flame, and punishes players who try to heal at range. The fight is rated three out of five, but that rating assumes you respect the chain’s reach. Treat it as a mid-range duel with a fire hazard, and the two phases become manageable.
Location and unlock
Blaze is a main-path boss in Pangzhen, Chapter 4, fought at the South Gate Bridge. You cannot miss him. He is the first of the region’s mandatory sequence — Blaze, Cavalrybane, Wu Xuan, Gu Wanyue — and the fight that opens central Pangzhen after the underground tavern.
There is no unlock condition beyond reaching the bridge. The preparation that matters most is your accessory slot. Flameward cuts fire damage and Burn by 50 percent, and it is the key item for this encounter. If you do not have it yet, the fight is still winnable, but every fire mistake costs twice as much.
Reward and missable warning
Defeating Blaze grants the Fire Meteor. The Pangzhen route also lists Crimson Flesh Lily as part of the encounter’s rewards. Boss drops are one-per-run and defeated bosses never respawn, so take what you need on the current playthrough.
Blaze is mandatory, so the drop itself is not missable on a completed run. The thing worth planning around is the Flameward accessory: it is not a Blaze drop, and the fight is significantly harder without it. If you have been skipping defensive accessories, this is the fight that punishes that habit.
Fight plan and phases
Blaze has 48,560 HP in phase one and 60,700 HP in phase two, the Phosphor Consciousness form. Phase two is a checkpoint: die there and you restart at phase two with full health and heals restored. That means phase one is where you can afford to be aggressive, and phase two is where you should be disciplined with gourds.
Phase one is a chain-and-fire duel. The censer lash reaches roughly 7 to 8 meters, and the chain sweep extends past 10 meters — healing at range is a trap. The spinning leap and close whirl punish stationary play. The red-flash overhead slam is a dodge, not a block. The blue strings are your parry reps. The red burst and body slam are hard disengages.
Your damage comes after a parried blue string or after the overhead slam. Do not chase the chain sweep immediately; the recovery is shorter than it looks, and the follow-up is designed to catch the player who runs straight back in.
Phase two keeps the same vocabulary and adds green fire to the arena. The fire is a positioning tax: it takes away the space you used in phase one and forces you to fight in smaller pockets. Punish after a parried string or a slam, then move rather than holding the pocket. If you are healing at range in this phase, the chain will reach you.
Attack tells and red/blue/black handling
| Tell | Response | Punish |
|---|---|---|
| Blue strings | Parry | Combo after the string |
| Red overhead slam | Dodge | Combo on recovery |
| Red burst | Dodge out | Reset |
| Body slam | Sidestep | Short punish |
| Censer lash / chain sweep | Stay close or move laterally | Do not backpedal |
| Spinning leap | Track the landing | Combo on recovery |
| Green fire | Leave the area | Reposition |
Blue means parry, red means dodge, and Blaze is one of the cleanest teachers of that split. The blue strings are your Sha-Chi drain and Breach setup; the red overhead slam and red burst are the moves that delete health bars if you try to guard them. No black-flash heavy is documented for Blaze, so the third colour in this fight is the green fire — an area-denial cue, not a guard-break tell. Treat green as “leave,” not “block.”
Recommended weapon and build
Slot Flameward. That is the build. The accessory cuts fire damage and Burn by 50 percent, and the fight’s difficulty is balanced around having an answer to the fire. If you own it, use it; if you do not, consider whether you can afford to wait.
Beyond the accessory, bring a parry weapon you trust. The blue strings are the fight’s rhythm, and the red slam is the punish check. No other elemental shortcut is documented. A weapon switch is useful for refilling Sha-Chi after a long parry sequence, and you should enter with full gourds because phase two’s green fire limits your safe healing spots.
For broader fire-fight preparation, the best builds guide covers the accessory and weapon combinations that hold up through Pangzhen, and the Pangzhen walkthrough places Blaze in the region route.
Common mistakes
- Healing at range. The chain reaches past 10 meters.
- Blocking the red overhead slam. It ignores guard.
- Standing in green fire. Leave the area.
- Burning every gourd in phase one. Phase two is a fresh bar and a checkpoint.
- Chasing after the chain sweep. The recovery is shorter than it looks.
- Skipping Flameward. The fight is much harsher without it.
- Treating the censer as a short-range weapon. It is not.
Sources & confidence
This guide draws on the AllThingsHow Blaze breakdown, cross-checked against phantomblade.guide’s boss database and KeenGamer’s boss-and-rewards list for placement and reward. The two health values, the Phosphor Consciousness phase name, the censer-lash range, the red overhead slam, the blue strings, the green fire, and the Flameward recommendation are from the sourced breakdown. The Crimson Flesh Lily addition comes from the Pangzhen route rather than the boss table, so treat the full reward list as route-sourced. No full frame data is published, and HP values vary by source and cycle.
Sources & further reading
- Blaze boss fight — AllThingsHow
- Boss database — phantomblade.guide
- All bosses and rewards — KeenGamer
We link to the primary source for every hard number. If a source conflicts, we say so in the text.
By the PBZ Guide Team · Reviewed by the editorial desk Written in English from primary sources and cross-checked play routes. Spot an error? Tell us and we will update the guide. We link to the primary source for every hard number. If a source conflicts, we say so in the text.