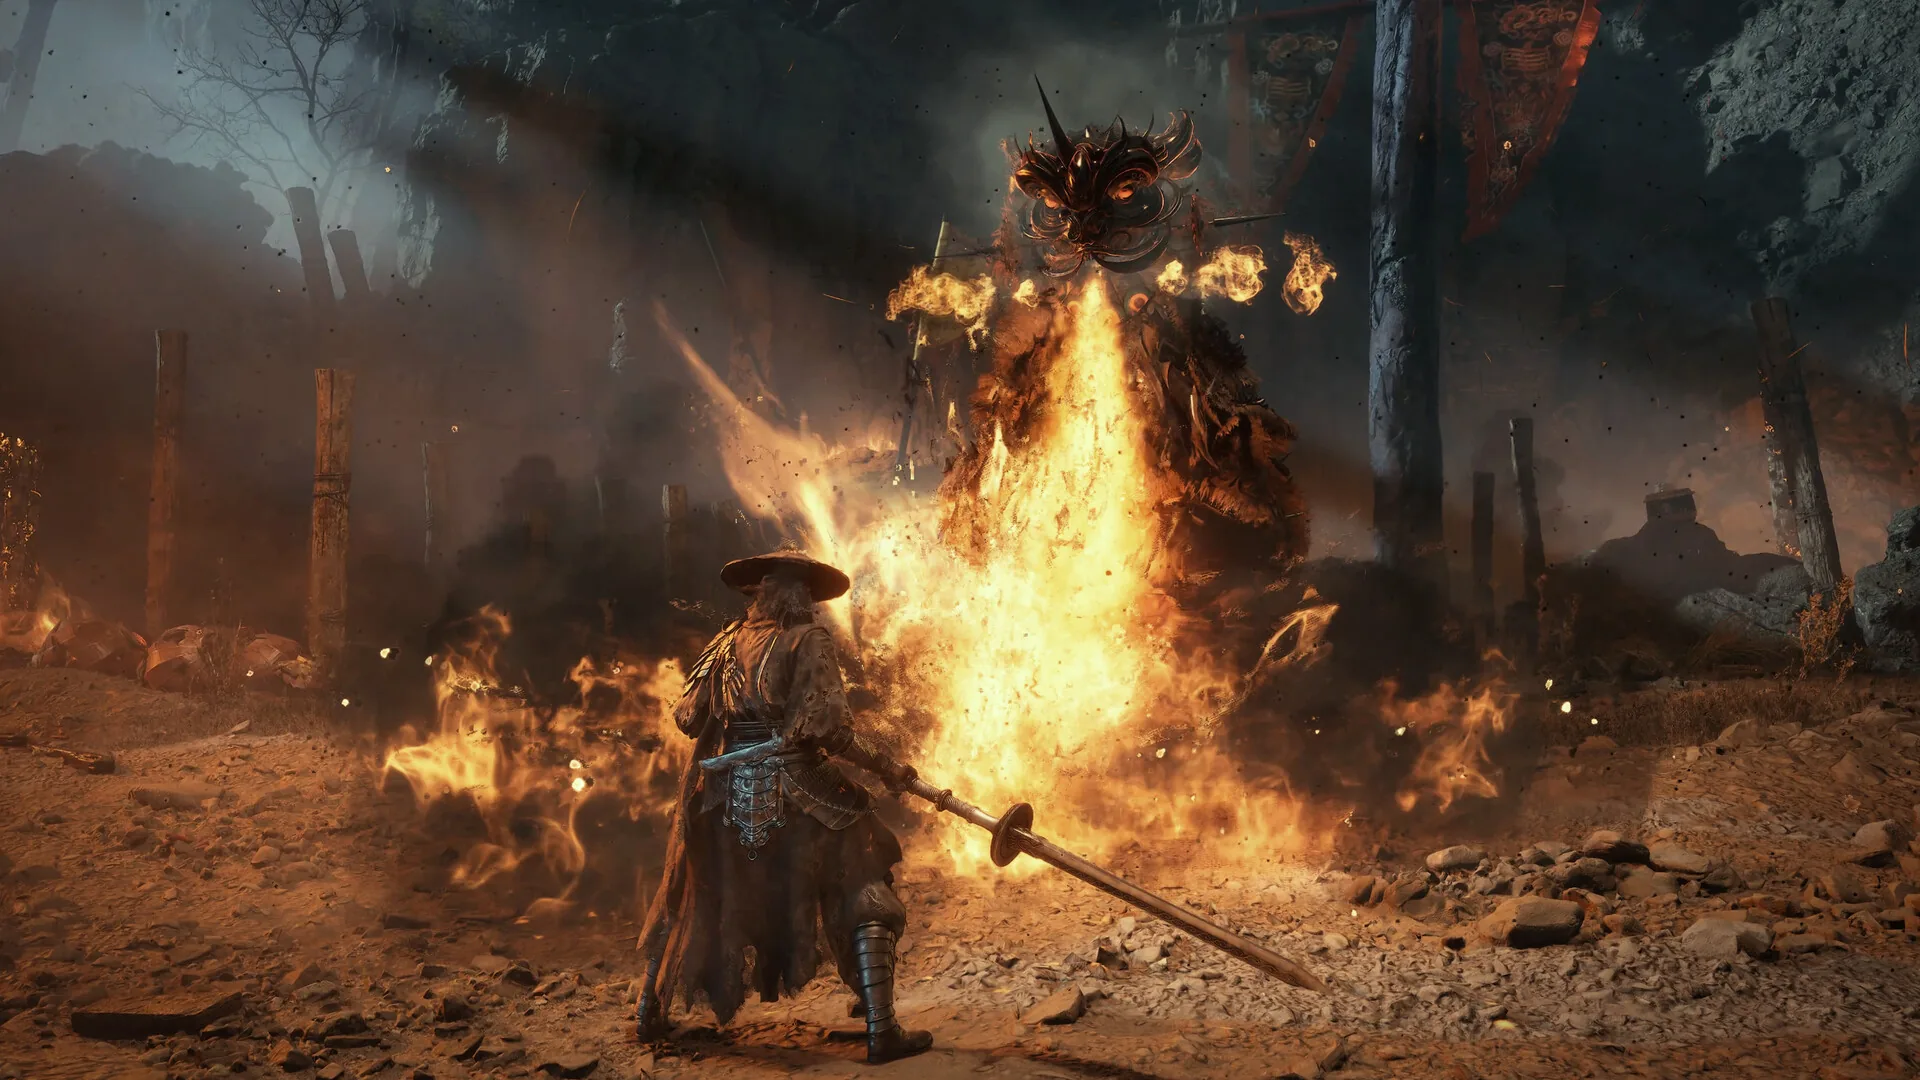
Peng Meng is the first boss in Phantom Blade Zero that asks you to actually read a fight rather than survive one. He sits at the end of Weeping Creek Valley’s opening chapter, hits hard enough to punish panic, and teaches the game’s core grammar in one compact duel: blue means parry, red means dodge, and greed gets you killed. Beat him and the rest of the game’s combat language clicks into place.
Location and unlock
Peng Meng is a main-story boss, not an optional one, so you cannot miss him. He appears in Weeping Creek Valley, Chapter 1, at a location called Axemaster’s Fall. He is the second true boss of the run, following Jagged Steel in the riverbed, and he gates your progress deeper into the valley.
Because he is mandatory, there is no unlock condition to satisfy and no quest flag to trip. Walk the critical path and he will be waiting. The only thing worth doing before you enter is confirming your weapon is upgraded and your gourds are full — the fight is short enough that a bad opening can snowball.
Attack tells: blue, orange, red
Peng Meng’s entire moveset is built around three color cues. Learn them and the fight becomes readable.
- Blue streak — a parryable attack. Time your block to the streak, not to the wind-up.
- Orange flare — a dodge cue. Do not try to guard it.
- Red flash — the grab. It lands roughly 0.6 seconds after the flash, so dodge late rather than early.
The grab is the single most common death in this fight. Players see the red, panic-dodge immediately, and get caught as the animation completes. Wait for the flash, then dodge into the follow-through.
His other signature is the three-part slam: an unparryable opener, then a ring shockwave, then an overhead chop. The opener cannot be parried, so respect it, then handle the shockwave and chop as they come. The chop and his roar are your cleanest punish windows.
Phase-by-phase strategy
Peng Meng has one health bar — there is no phase-two reset here. What changes is his behavior as the bar drains.
Opening (100% to roughly half): He approaches aggressively and strings together his blue and orange attacks. Stay patient, parry the blue streaks, dodge the orange flares, and take one or two hits after each completed string. Do not chase him mid-combo.
Mid-fight: The three-part slam becomes more frequent. Treat the unparryable opener as a reset button — back off, let the shockwave pass, then punish the overhead chop. This is where most of your damage comes from.
Near death: He stops approaching you. This is the trap. Players wait for him to come to them, the fight stalls, and they get impatient and walk into the grab. Close the distance yourself and finish him.
Best weapon and build
For a first kill, bring a guard-break-focused main weapon. Peng Meng rewards breaking his guard and punishing the openings rather than trading hits.
| Priority | Choice | Why |
|---|---|---|
| Weapon | Guard-break main | Opens punish windows faster |
| Playstyle | Parry-first | Blue streaks drain his Sha-Chi |
| Resource | Keep Sha-Chi topped up | Breach punishes hit harder |
| Defense | Hold guard through strings | Prevents combo-catch deaths |
If you have already cleared Jagged Steel, you have a workable weapon for this. The Dread Axe — Peng Meng’s own drop — is not available to you yet, but it becomes a strong early pick for the fights that follow, including Master Bi Hai later in the Village of Lu.
For broader fundamentals, see the combat system explained and the beginner guide.
Reward
Defeating Peng Meng grants the Dread Axe, tied to an achievement/trophy. It is a one-per-run drop — boss rewards do not respawn, so you cannot farm it by refighting him. If you somehow miss it, note that missed optional bosses remain available in post-story free roam, but Peng Meng is mandatory, so you will not miss this one.
The Dread Axe is worth using immediately. Its charged cleave is cited as effective against the golden bell in the Master Bi Hai fight later in the same region, and it serves as a solid guard-break option through the early chapters.
Common mistakes
- Healing at mid-range. Peng Meng closes distance fast. Heal only after a confirmed punish window, not when you feel nervous.
- Dropping guard after hit one. His strings are longer than they look. Hold guard until the combo visibly ends.
- Dodging the grab on the flash instead of after it. The red-flash grab lands about 0.6 seconds late. Dodge into the follow-through.
- Waiting for him to approach near death. He will not. Walk him down and end it.
- Trying to parry the unparryable slam opener. That first hit of the three-part slam is not a parry. Respect it.
A clean first-attempt route
- Enter with full gourds and an upgraded guard-break weapon.
- Parry every blue streak; dodge every orange flare.
- When the three-part slam starts, back off the opener, then punish the chop.
- Dodge the red-flash grab late, every time.
- Hold guard through full strings; never relax mid-combo.
- When his health is low and he stops advancing, close the gap yourself.
- Claim the Dread Axe and move on toward the Village of Lu.
Sources & confidence
This guide draws on the AllThingsHow Peng Meng boss-fight breakdown and the Phantom Blade Zero boss compendium (KeenGamer, pbz.guide, Kungfupunk). The main uncertainty is numerical: HP values vary by source and cycle, so no damage or health figure here should be treated as universal. Attack timings such as the 0.6-second grab delay come from a single reliable guide and are best treated as directional rather than exact.
Sources & further reading
- Boss fight guides — AllThingsHow
- All bosses and rewards — KeenGamer
- Boss database — PBZ.gg
- Trophy guide and roadmap — PowerPyx
We link to the primary source for every hard number. If a source conflicts, we say so in the text.
By the PBZ Guide Team · Reviewed by the editorial desk Written in English from primary sources and cross-checked play routes. Spot an error? Tell us and we will update the guide. We link to the primary source for every hard number. If a source conflicts, we say so in the text.